
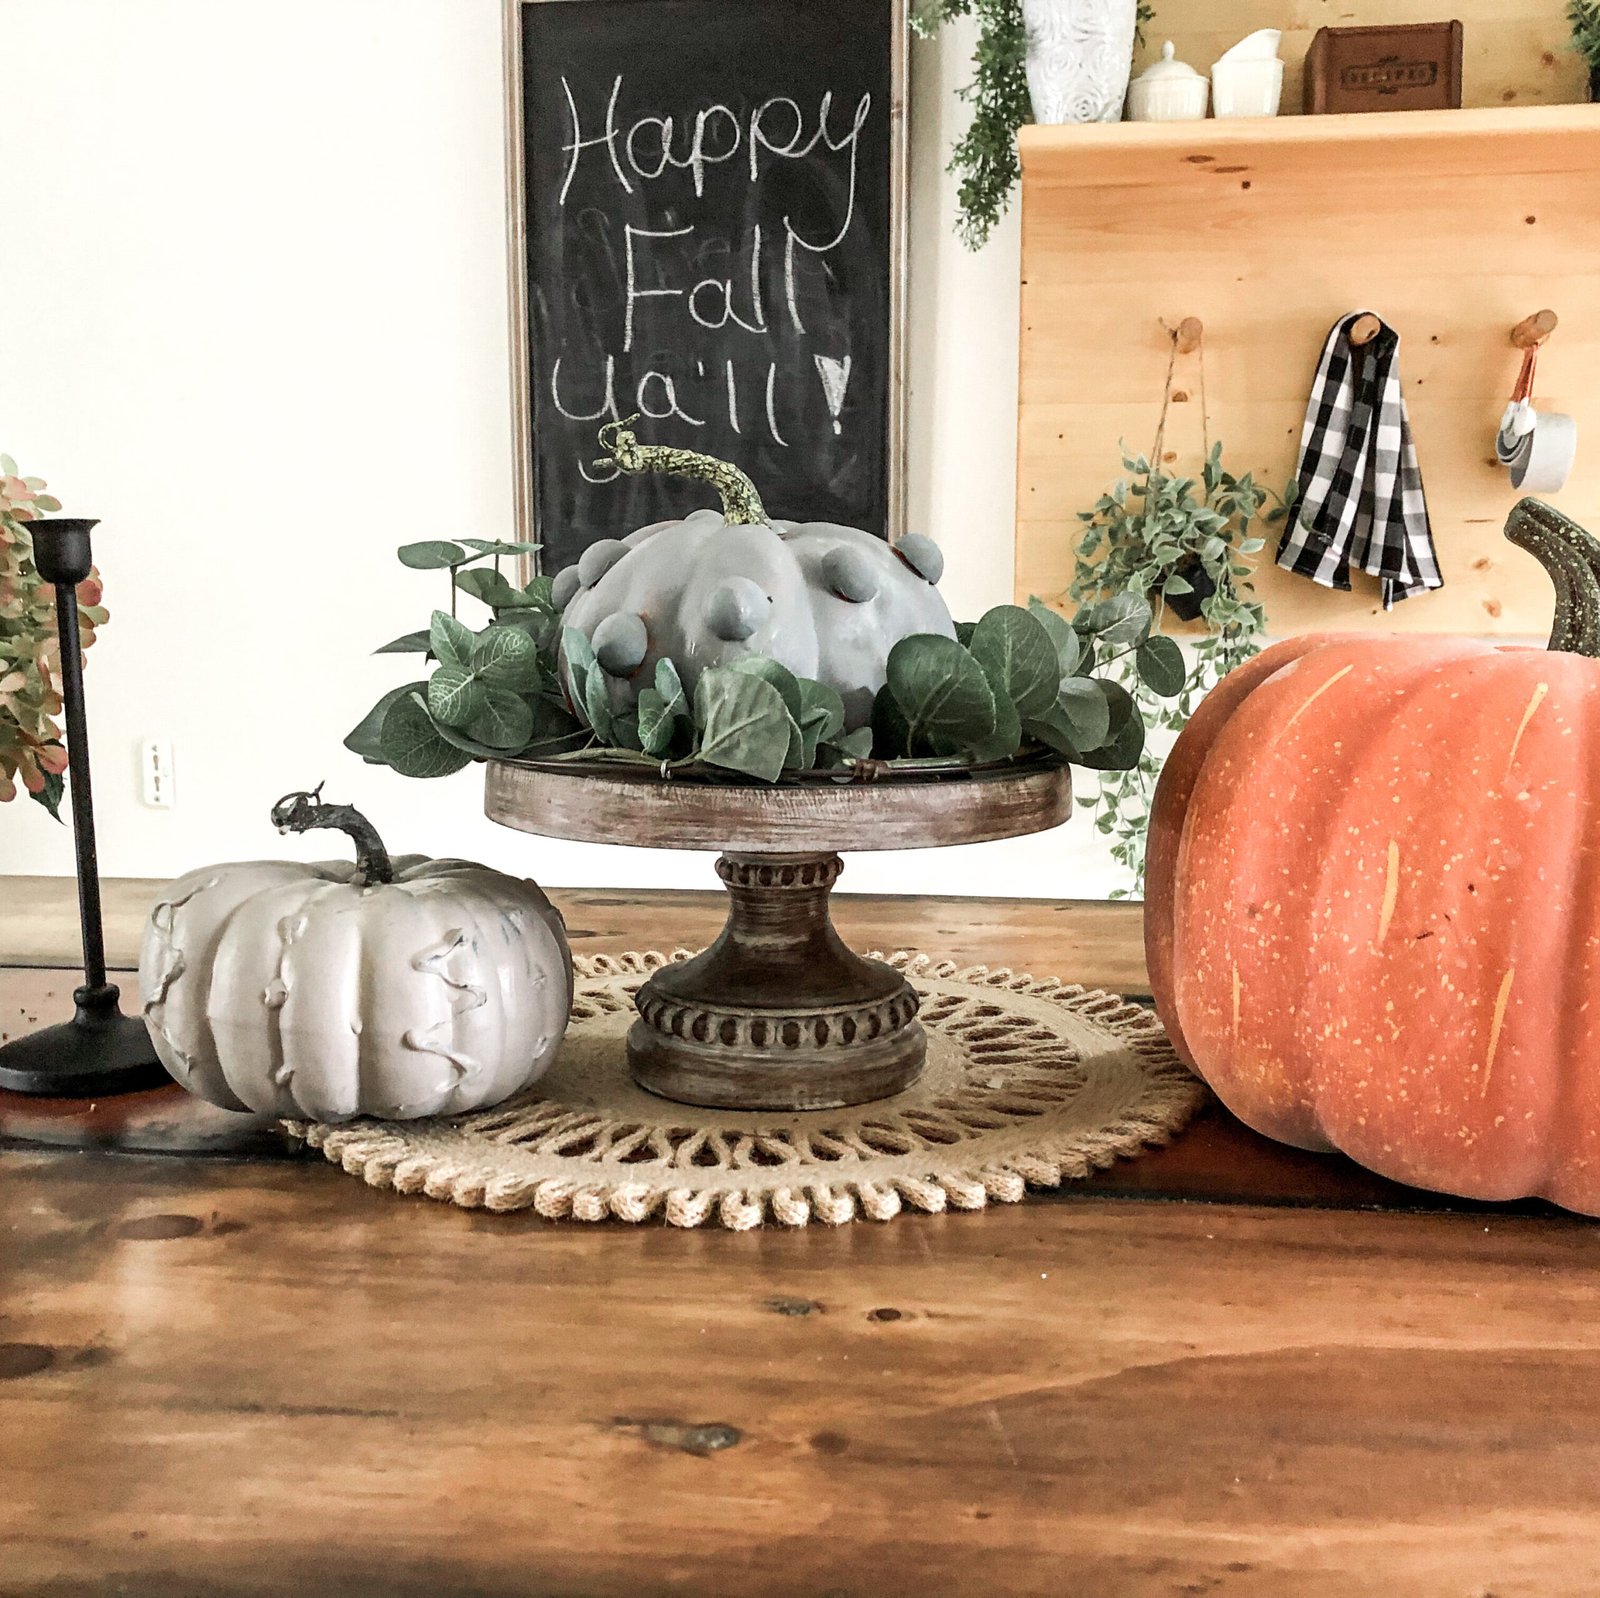
DIY Fall Decor – Decoupage Pumpkin
Today I am sharing an easy DIY tutorial for decoupage pumpkins.
My decoupaged pumpkins are inspired by the Van Morrison Song, Moondance.
Have you ever heard it?
It’s one of my FAVORITE songs.
Sure, other artists have covered it, like Michael Buble.
But none are as magical as the version by Van Morrison
The song paints a beautiful picture of the romance of fall.
Dancing under the moon of a star filled October sky.
“Well, it’s a marvelous night for a moondance
With the stars up above in your eyes
A fantabulous night to make romance
‘Neath the cover of October skies”
You may have seen pumpkins decoupaged in all kinds of paper.
Like these by the very talented KariAnne from Thislewood Farms.
You can use fabric, paper napkins or torn up book pages.
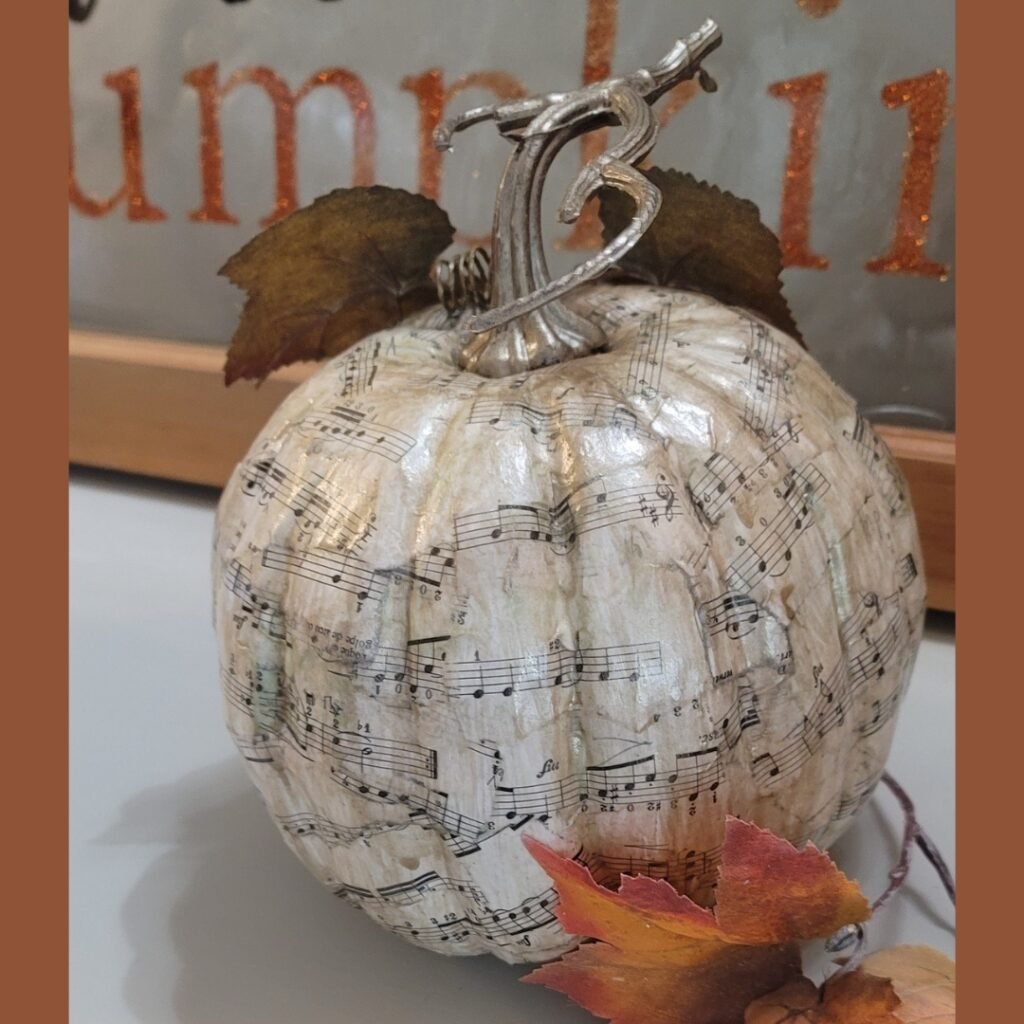
But I had a song in my heart, so I used old music sheets!
It’s so easy to decoupage pumpkins.
This is a craft project for just about any age.
All you need are:
Faux pumpkins
White craft Glue
Sheet Music (or book pages)
Gold Paint
The Faux pumpkins are easy to find this time of year.
You can get them from your local craft stores like, Hobby Lobby, Jo Ann Fabrics and Michaels.
Of course you can always get them from Amazon.com

I also used traditional washable white craft glue.
You could use Mod Podge, but white craft glue is so easy to find and it is so inexpensive.
Old sheets of music [or books]
AND, If you don’t like sticky hands, you can use some gloves, too.
To start, cover your area with plastic.
Things can get a bit messy when you decoupage.
I found these beautiful faux pumpkins at Hobby Lobby (and 40% off!).


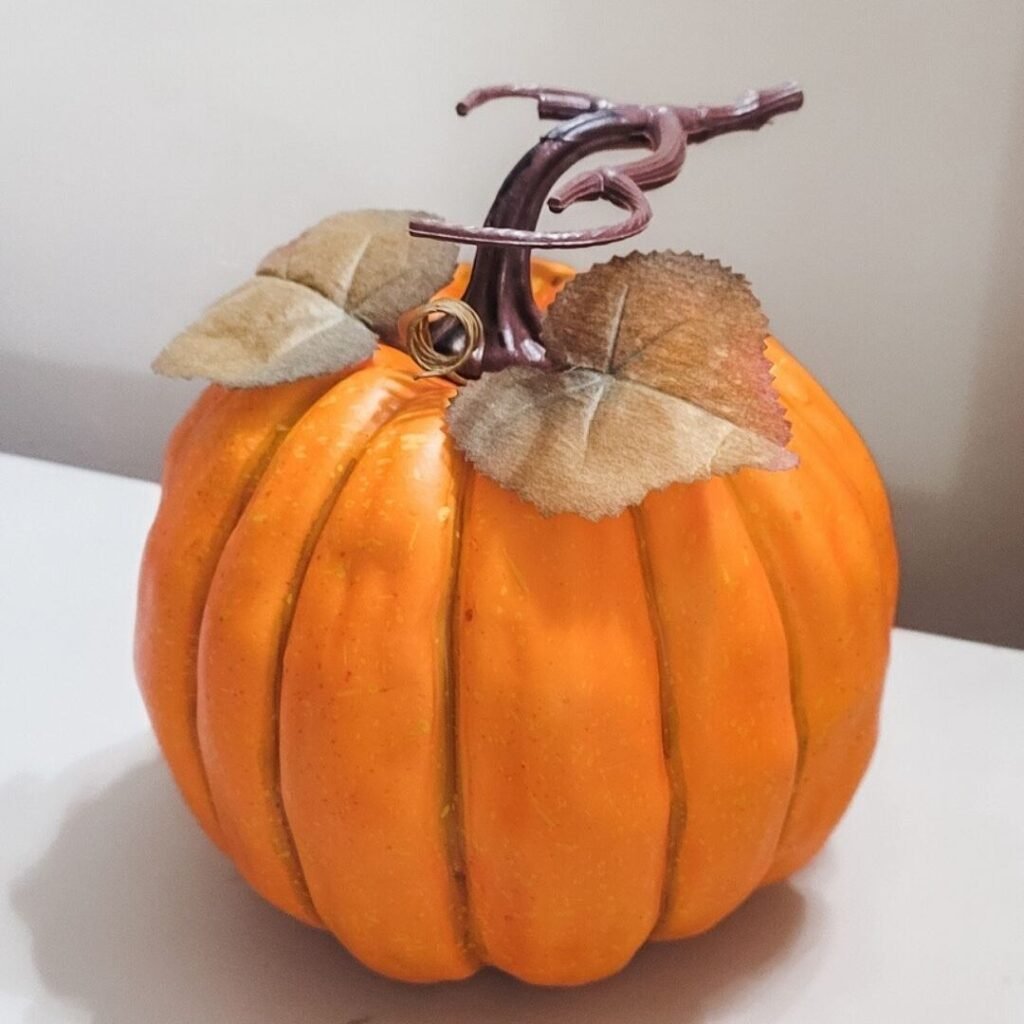
To get the pumpkins ready, pop out the stems, and leaves if there were any.
Just set them aside, I have plans for them.


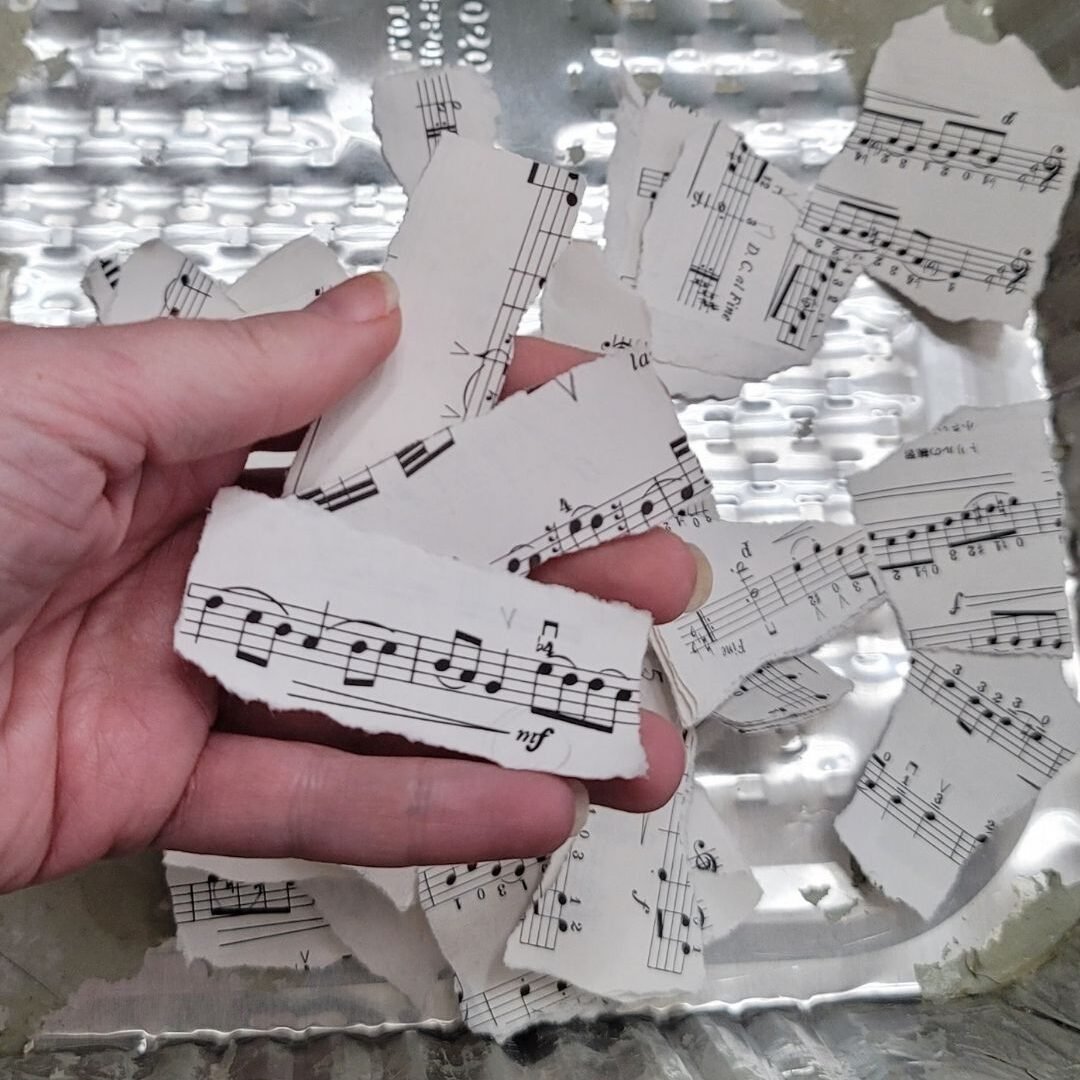
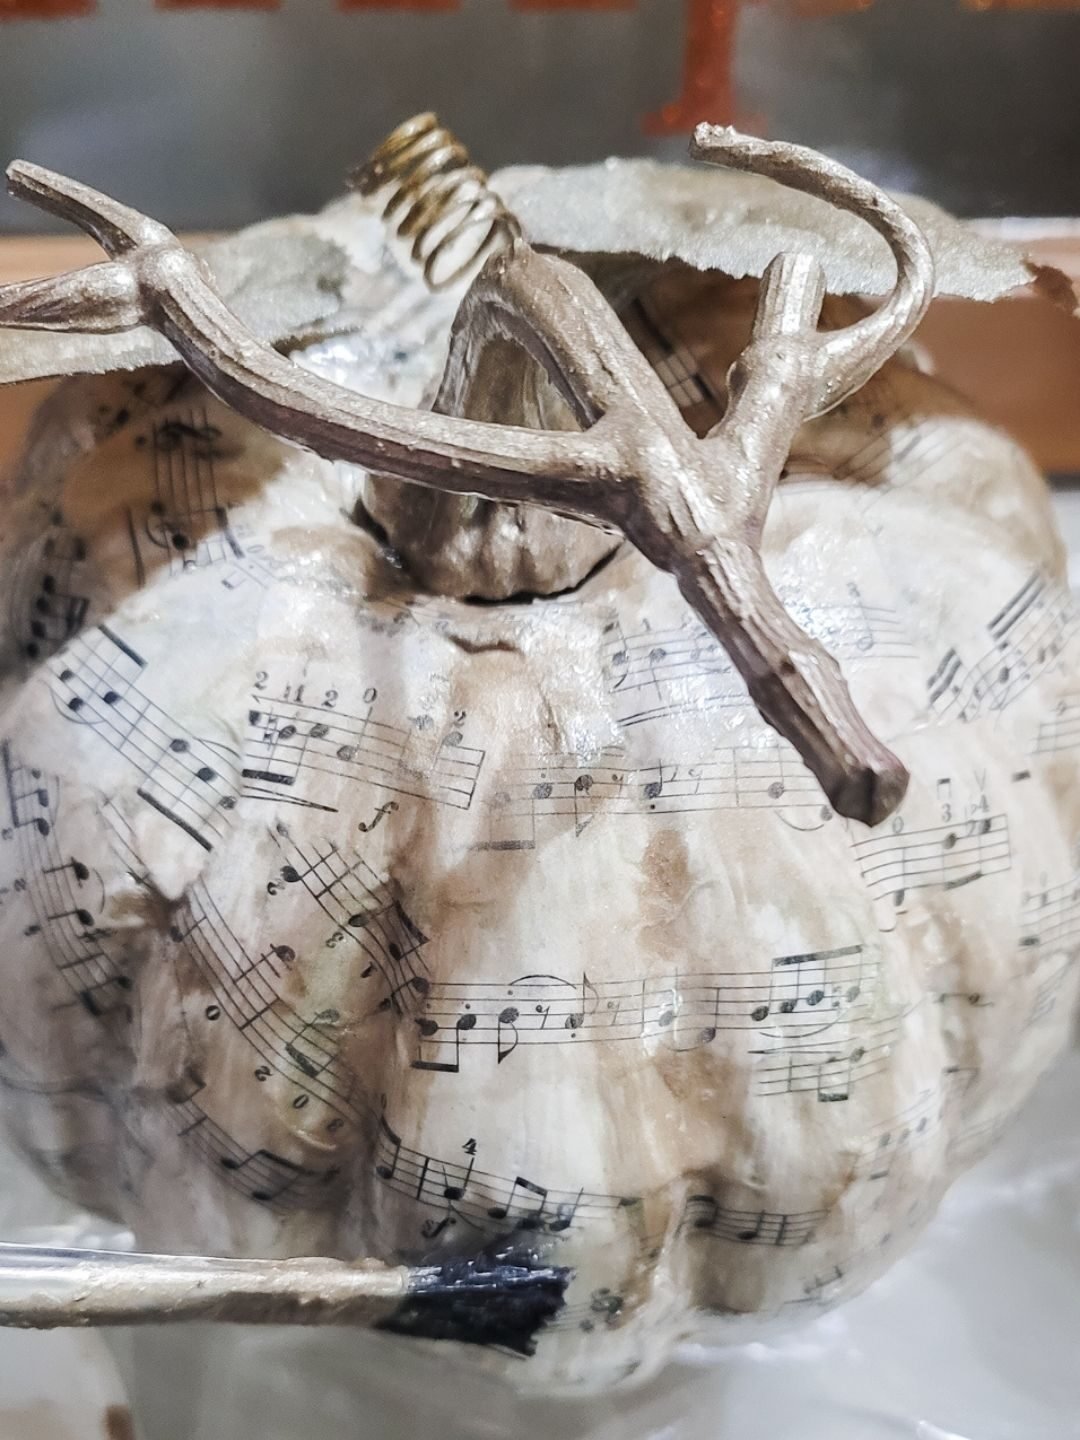
The next step is to rip up the sheet music (or book paged) into pieces that are about 2″ to 3″ long and 1″ to 2″ wide.
Make sure to vary the pieces, you don’t want it to look too uniform.

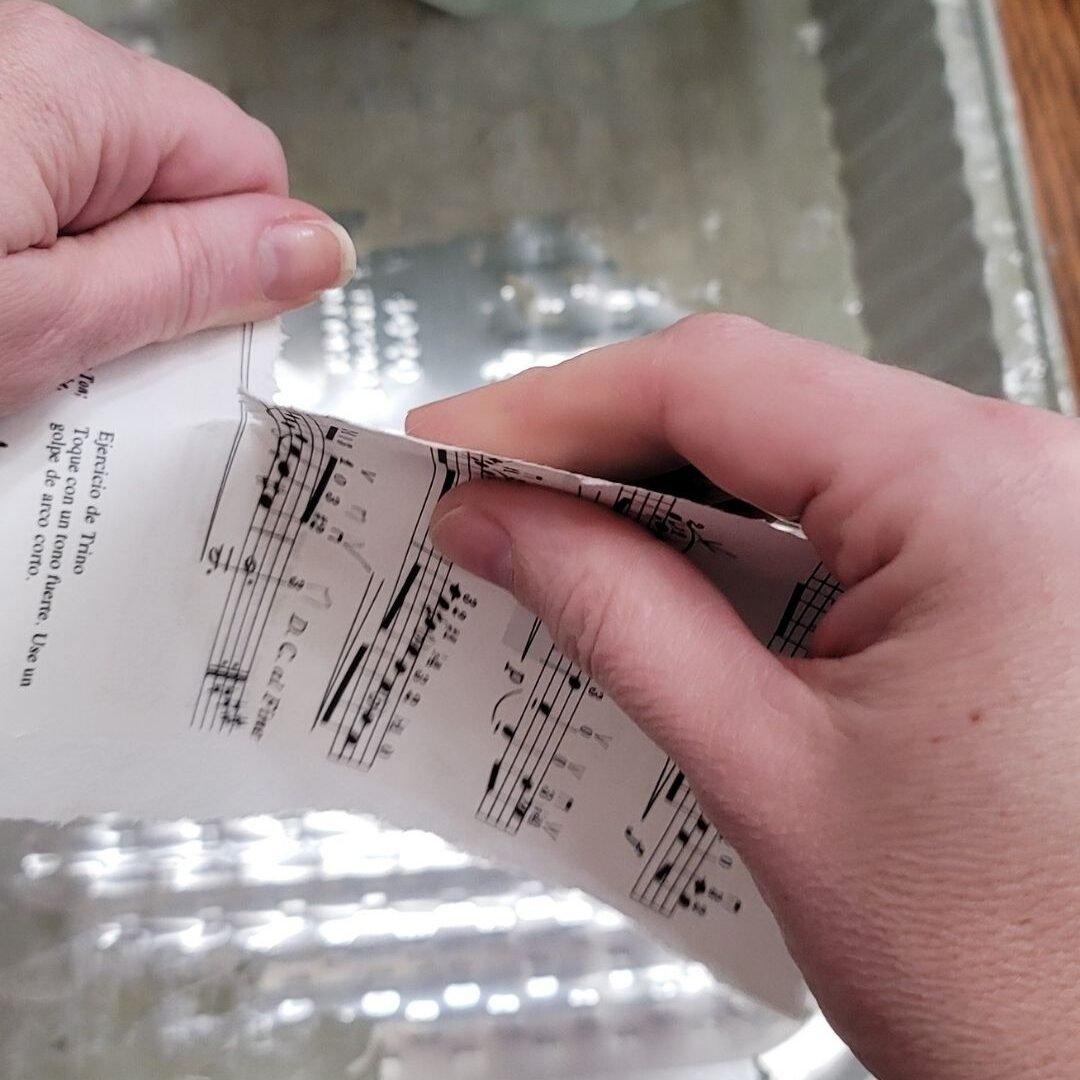
Sheet music is a bit thick, so I have a tip to soften the paper.
Get a container of warm water and soak pieces of sheet music to soften them up.
I actually used a resealable silicone bag, but I recommend using a bowl or shallow dish.


The paper starts to become a bit transparent and softens.
This helps the paper mold to the curves of the pumpkin.
While the paper is soaking, pour glue in to a bowl.
If the glue is too thick, you can thin it with a bit of warm water.
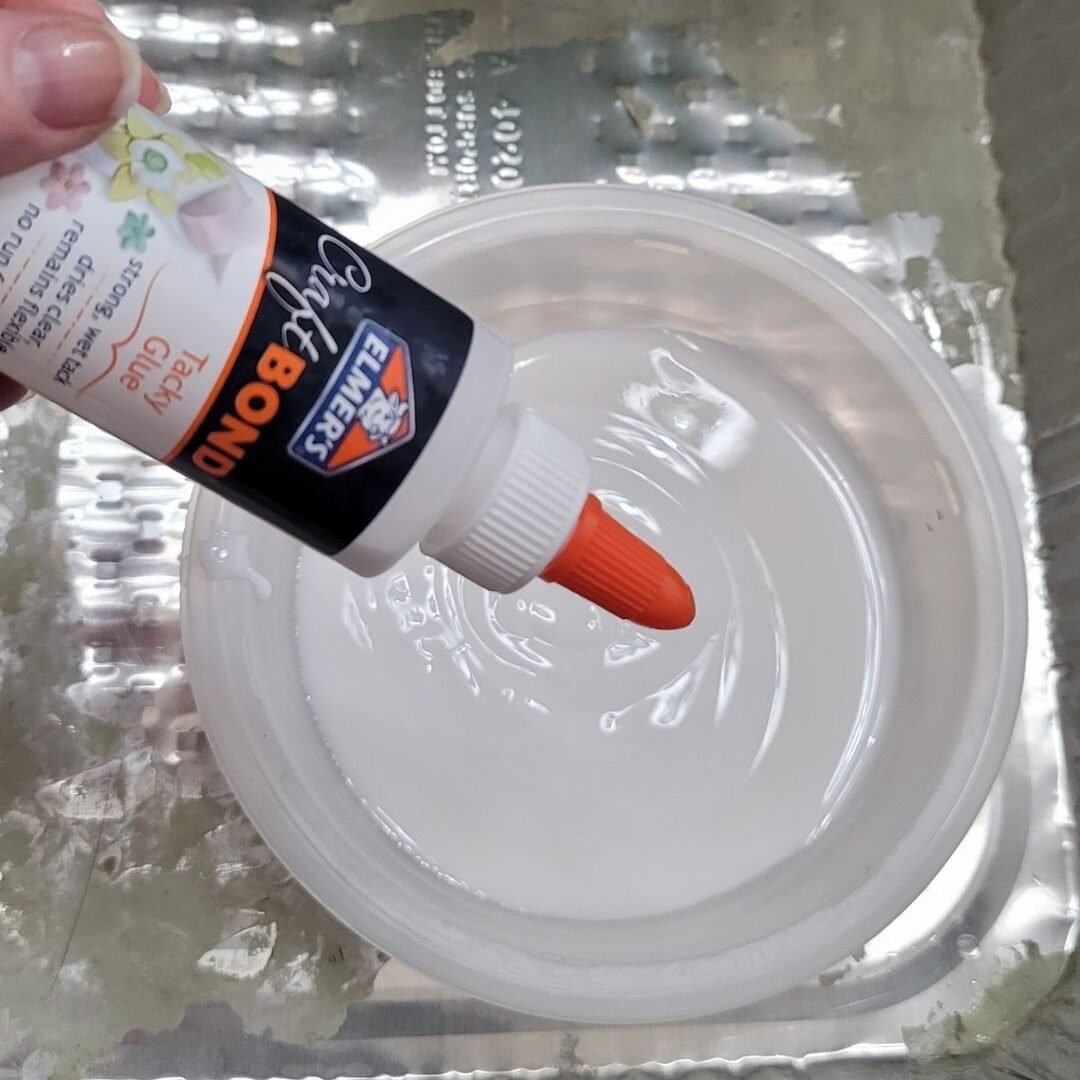
Just don’t make the glue too thin, because it makes the paper slippery and it does not like to stick to the pumpkin.
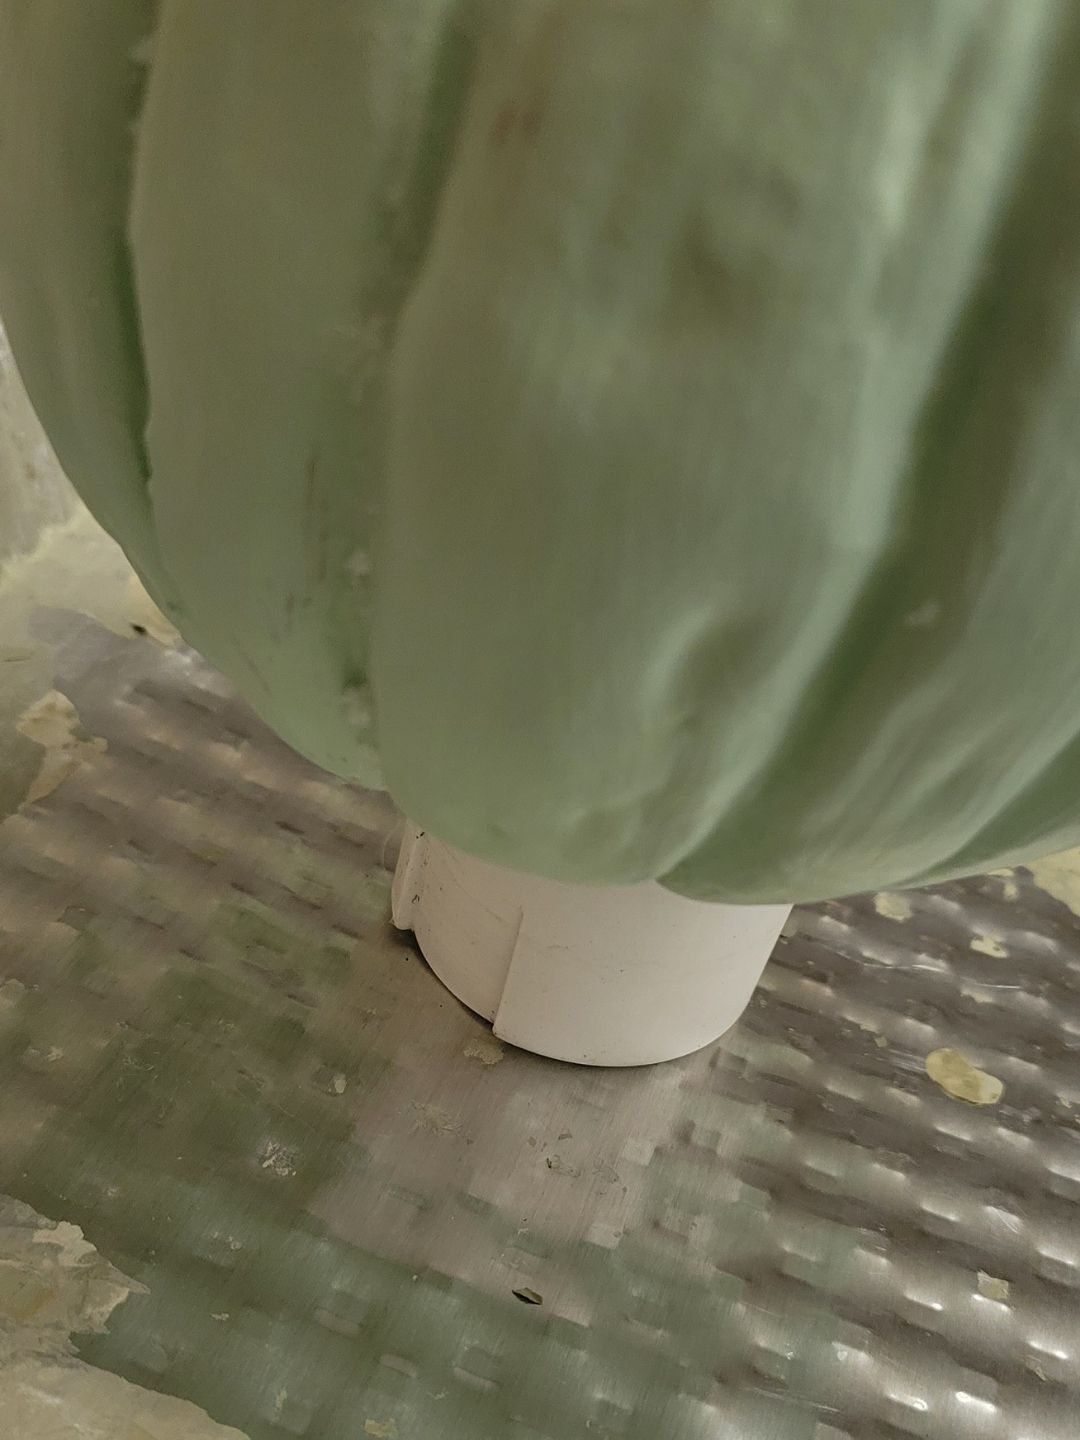
Before I decoupage the pumpkin, I like to flip it over and start from the bottom.
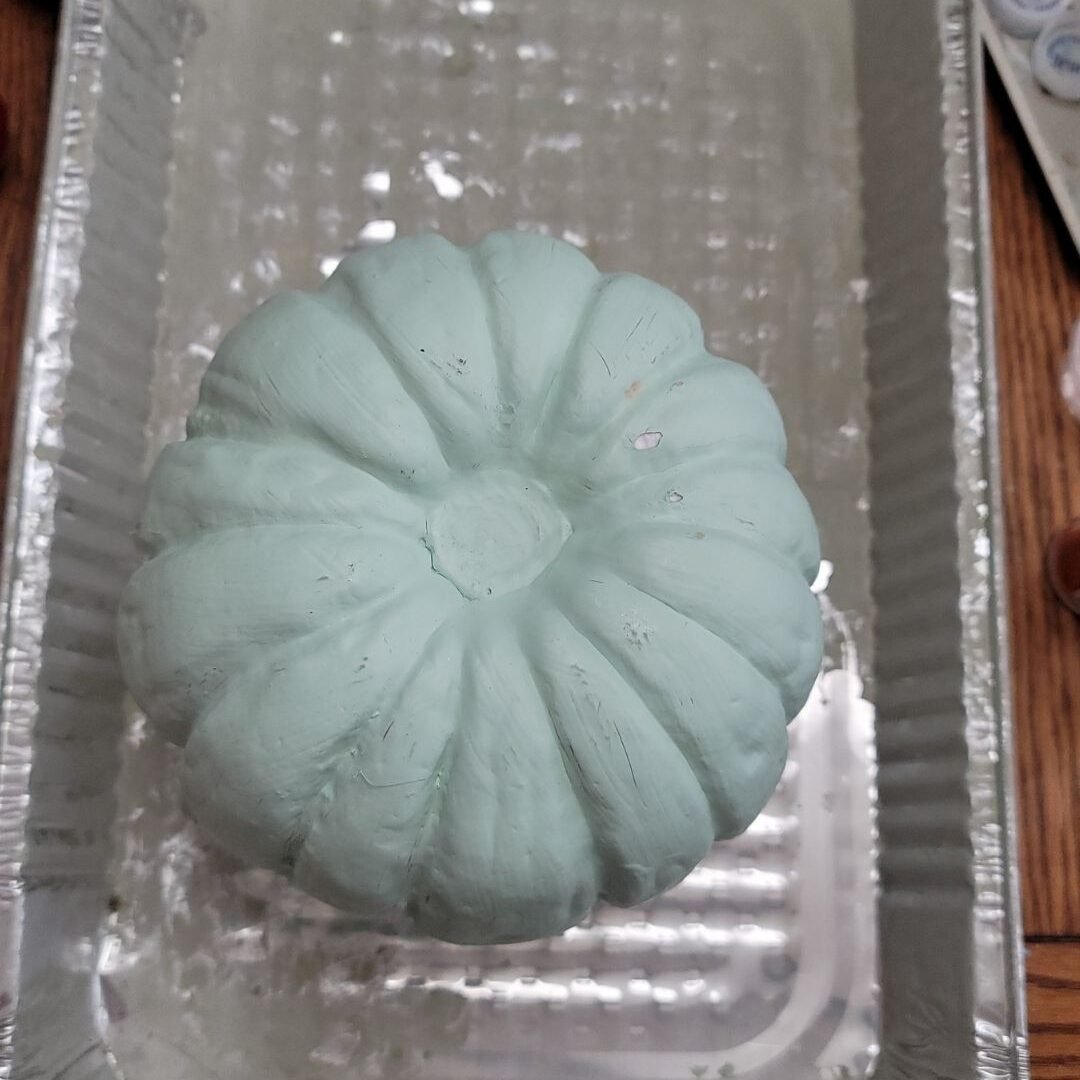
Did you notice the color change?
The orange faux pumpkins were quite dark, so I painted them a neutral color so that the orange color wouldn’t bleed thru.
It also helps to set your pumpkin on a cup to lift it up a bit.

This is where you get your gloves on because things are about to get messy.
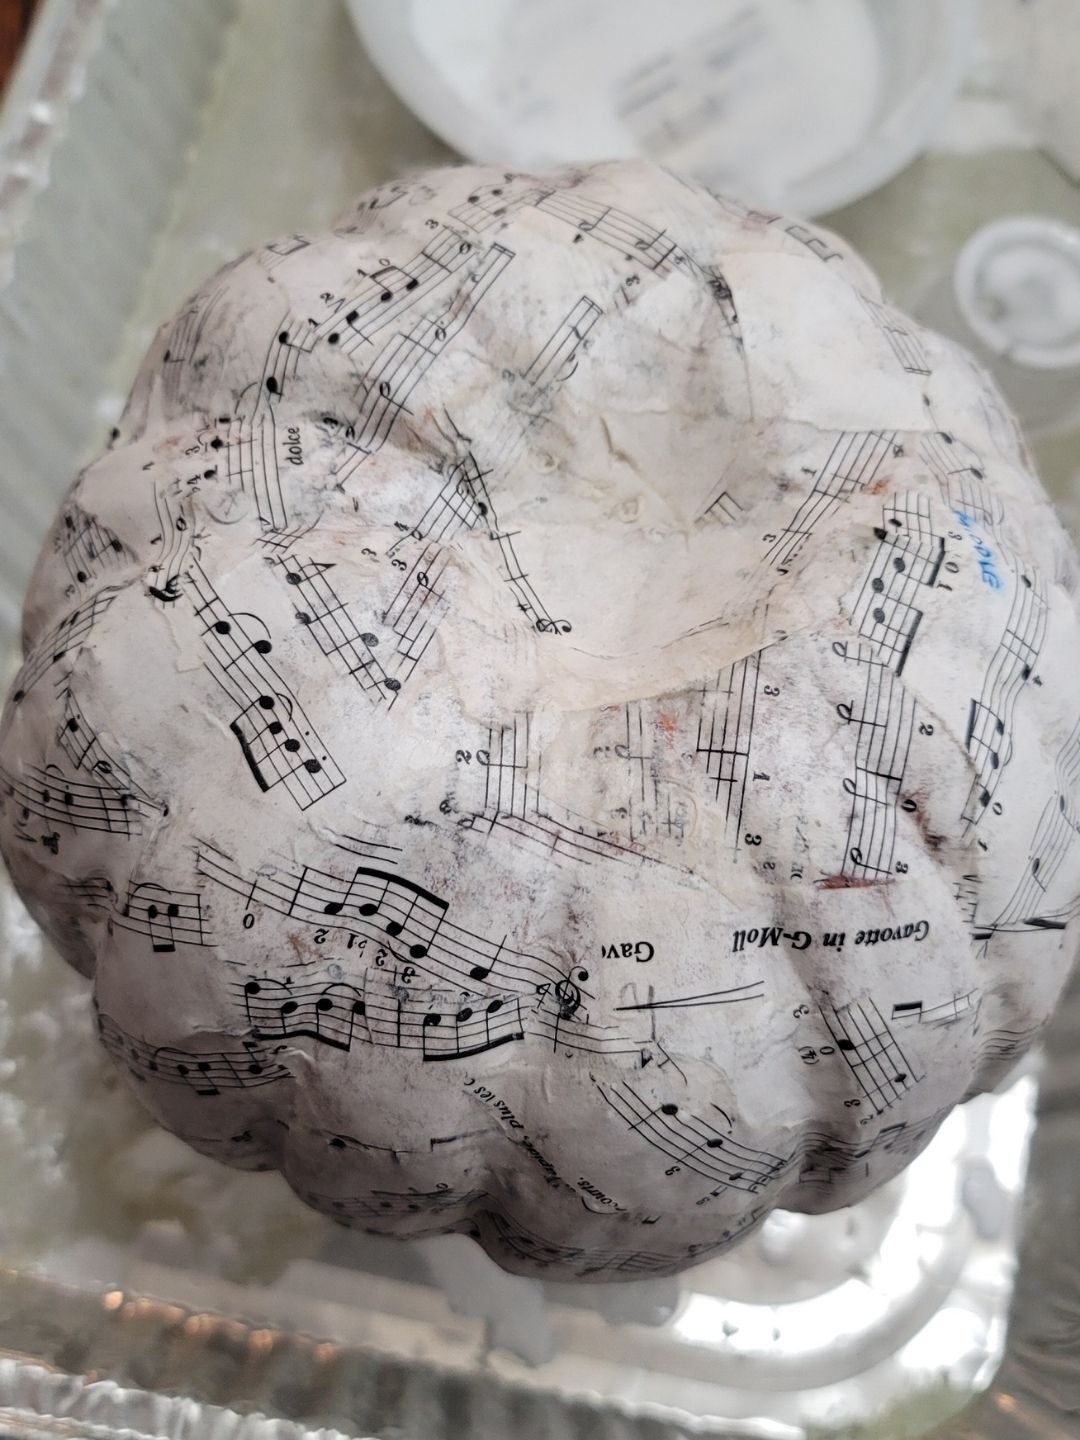
Dip the pieces of wet paper in the glue, wipe off some of the excess glue and smooth it on to the pumpkin.

Overlap the pieces a bit.
Working from the top down [I guess we are really going from the bottom, up], continue slightly overlapping pieces of paper around the faux pumpkin.
I love the sheet music, there are hand written notes tucked in amongst the songs.
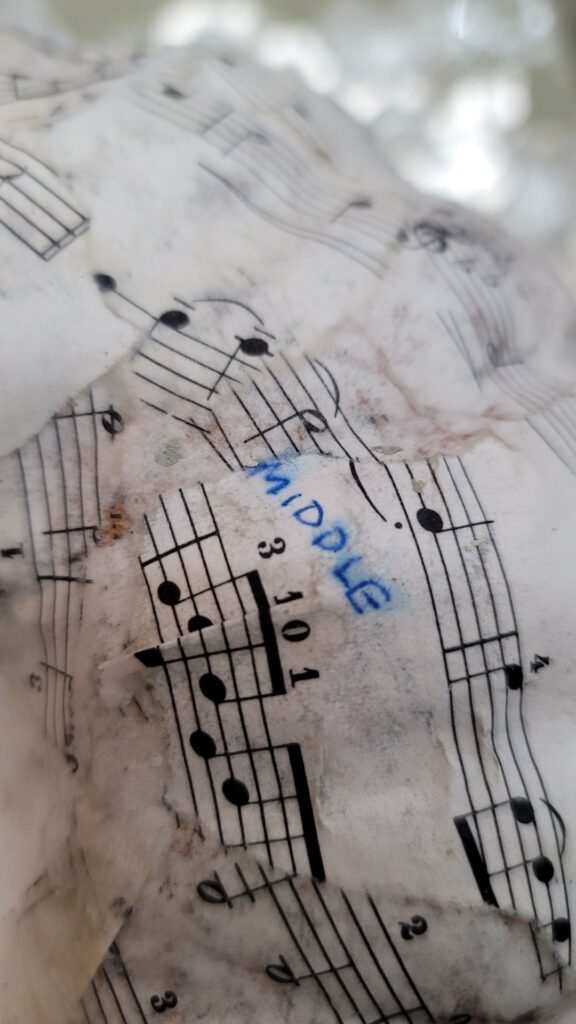
It adds a bit of charm, don’t you think?
Once you cover most of the pumpkin, use your gloved hands to smoooosh the paper down in all the crevices.
You can work out the excess glue, so you don’t have any drips.
And hum a bit of Moondance
“And all the leaves on the trees are falling
To the sound of the breezes that blow”
Pretty soon you will have covered about 3/4 of the faux pumpkin.
Let it dry overnight.
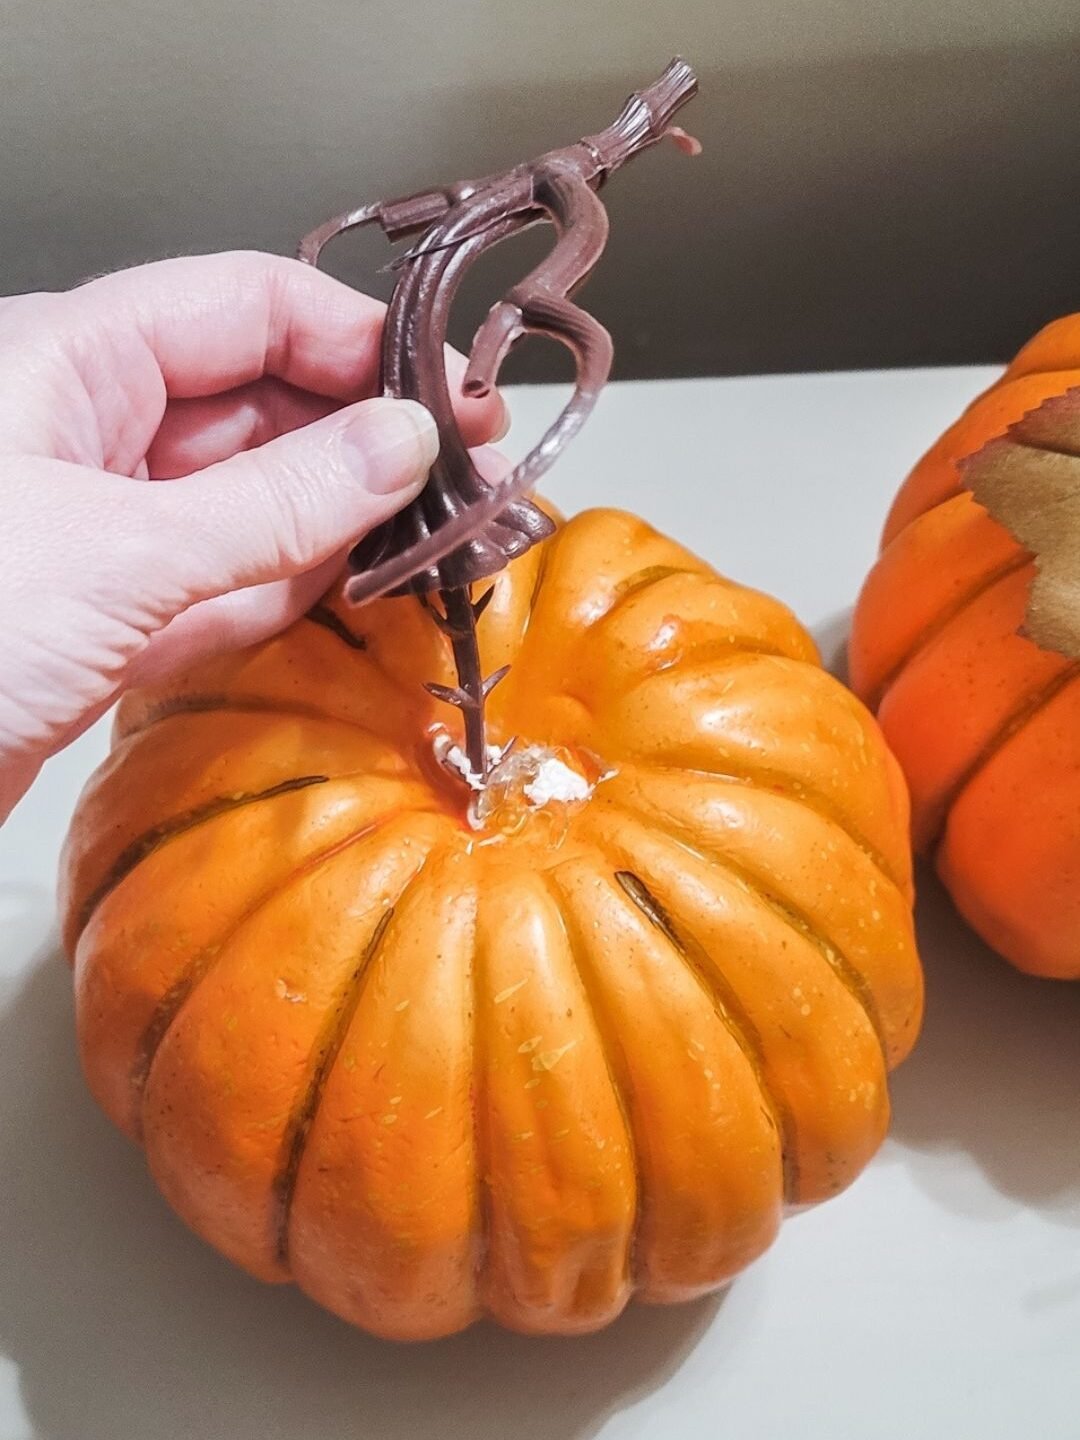
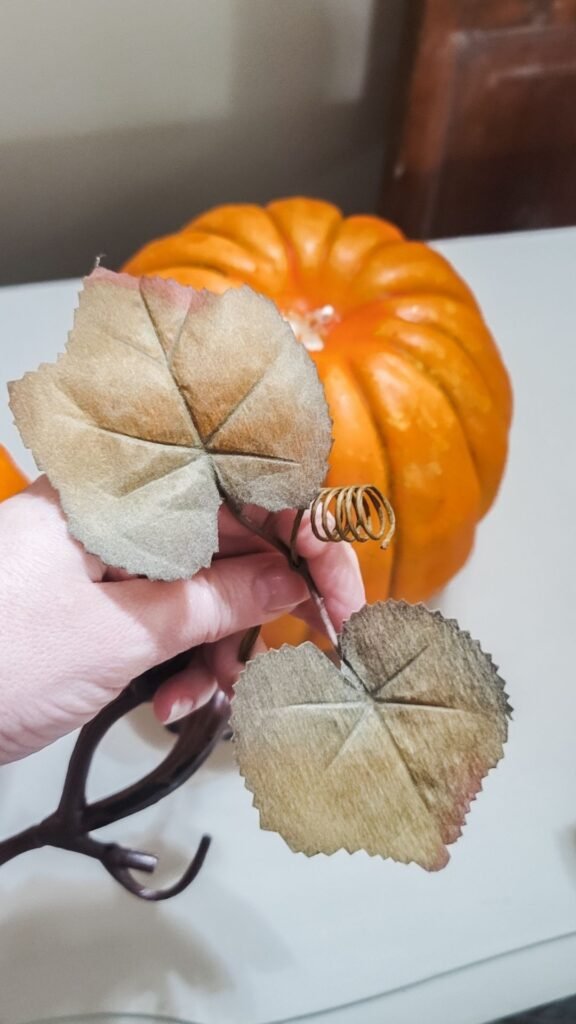
As the decoupage pumpkin was drying, I painted the pumpkin stems and leaves with a gold wash.
Then the stems and leaves aside to dry.
After the decoupaged pumpkin was dry, flip it right side up and finish applying the paper by dipping it in to the glue and smoothing it over the pumpkin.
Don’t forget to overlap your pieces.
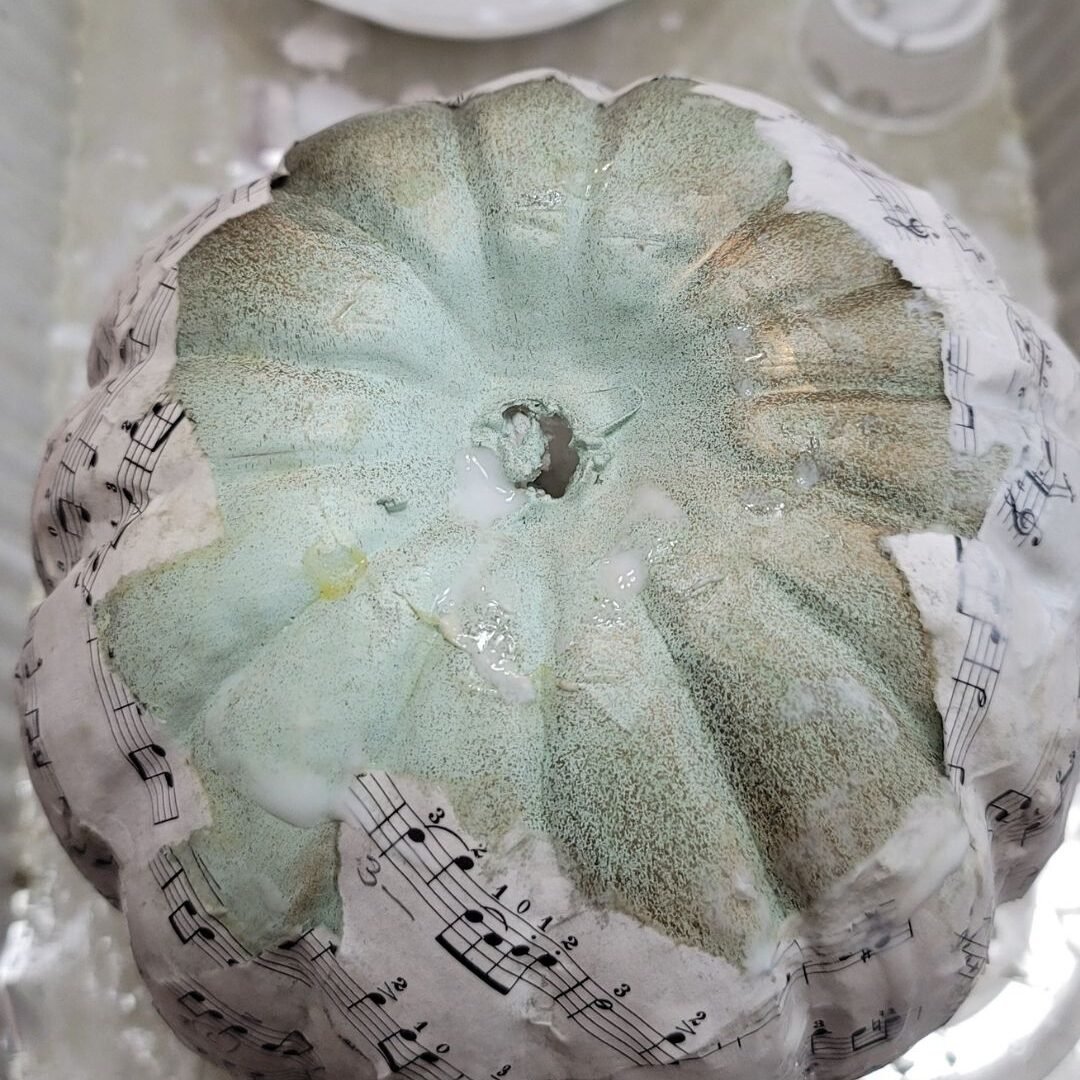

Let your pumpkin dry overnight.
Oh, I am so excited because the pumpkin is almost ready.
Almost…
I need to add a bit of romance to the decoupaged pumpkins, because Moondance is jazzy and romantic.
I popped the gold stems back in to the pumpkin.
Then I dry brushed a bit of the gold on the pumpkin and sealed it with a clear coat.
The gold creates a loverly antique effect.
And the poly seals the pumpkins.
Now all you need to do is let them dry overnight, one more time.
That’s it! How easy was that?
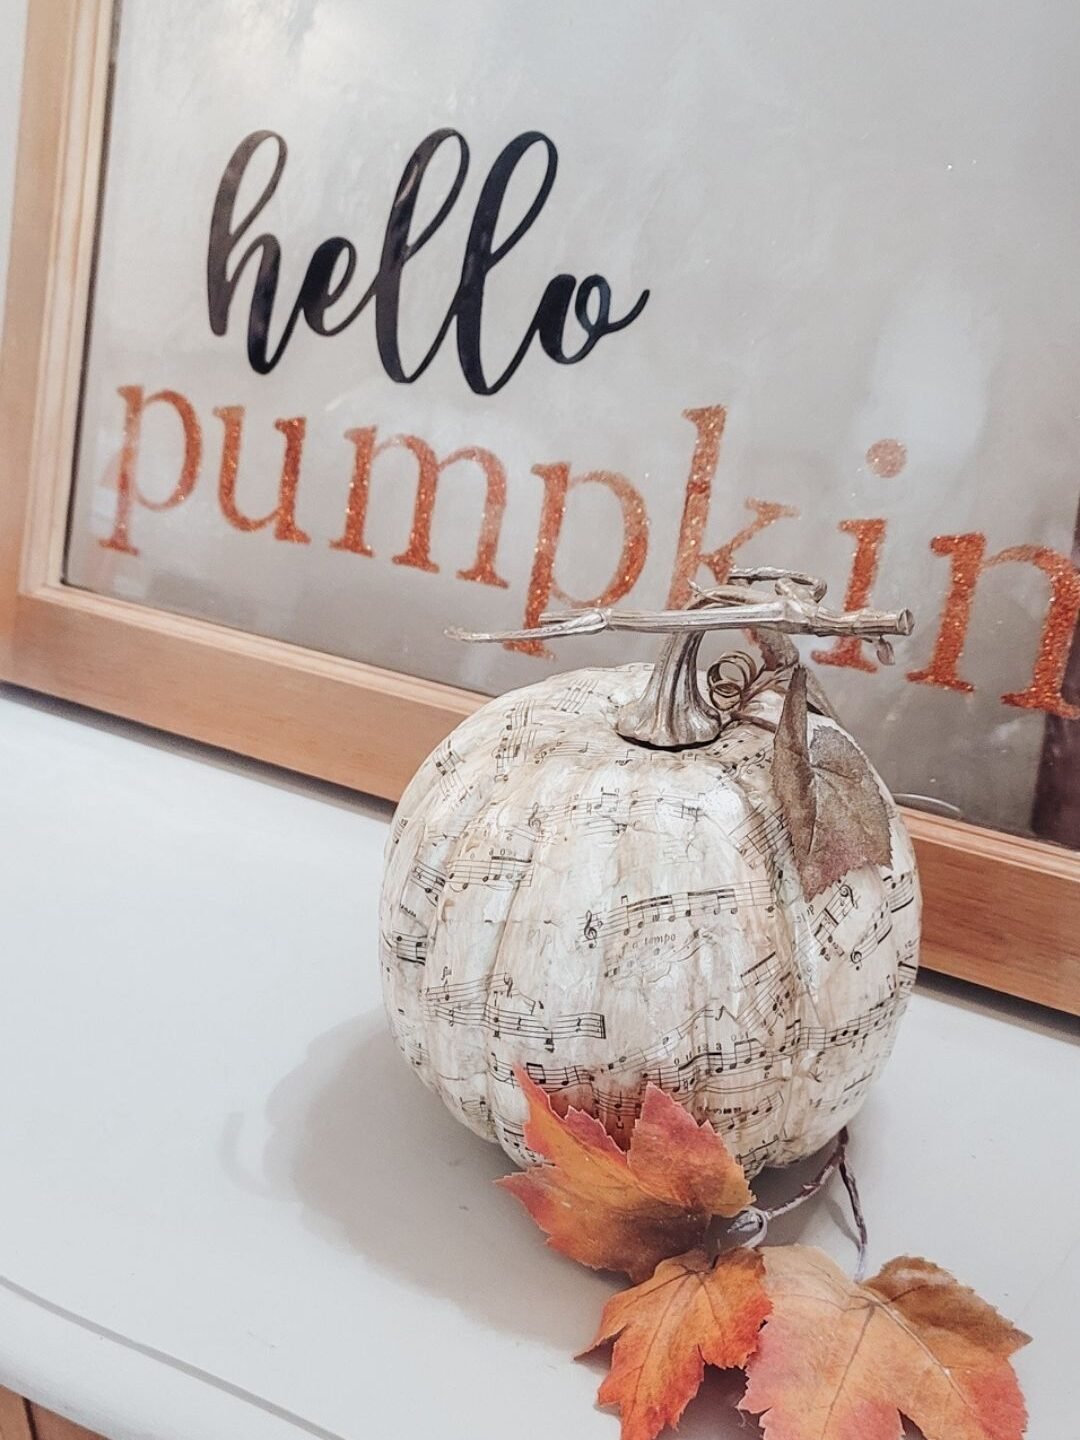
The notes dancing around the pumpkins are kind of romantic, aren’t they?
A charming pumpkin inspired by Moondance and October.
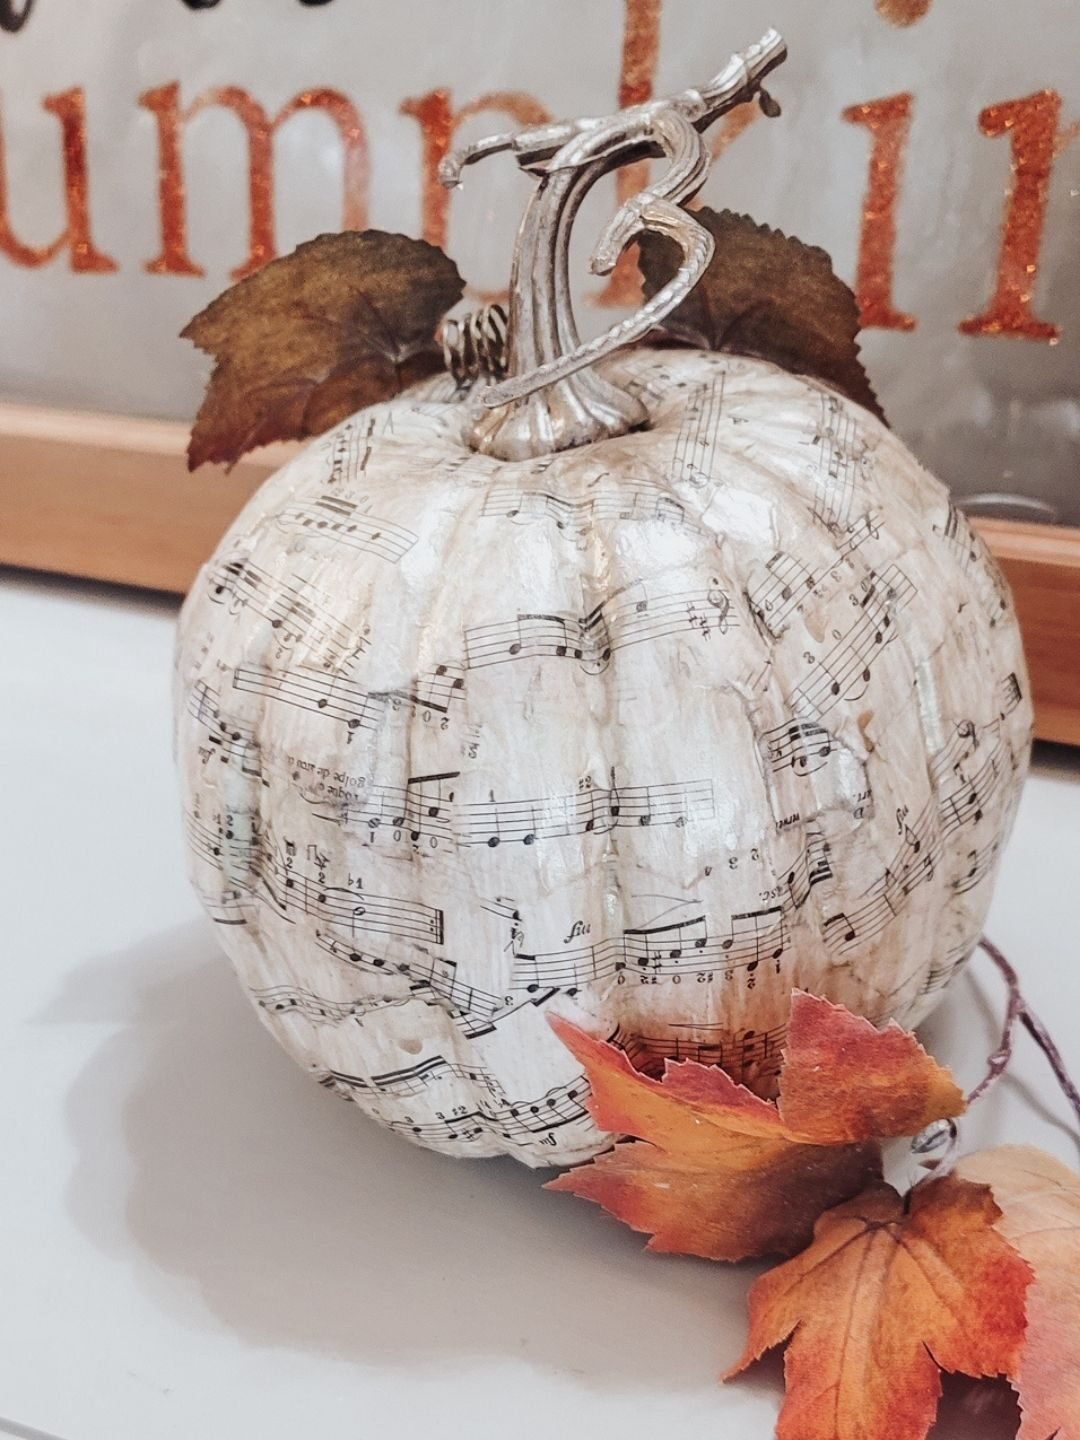
Now I have a loverly pumpkin on my mantle and a song in my heart.
I hope the decoupaged pumpkins inspired you to decoupage something.
What will you use, old books, wrapping paper, napkins or fabric?
Let me know in the comments, I’d love to hear about what you created.
Oh, and don’t forget to pin the project!
How about a few more DIY’s to help you get ready for fall…

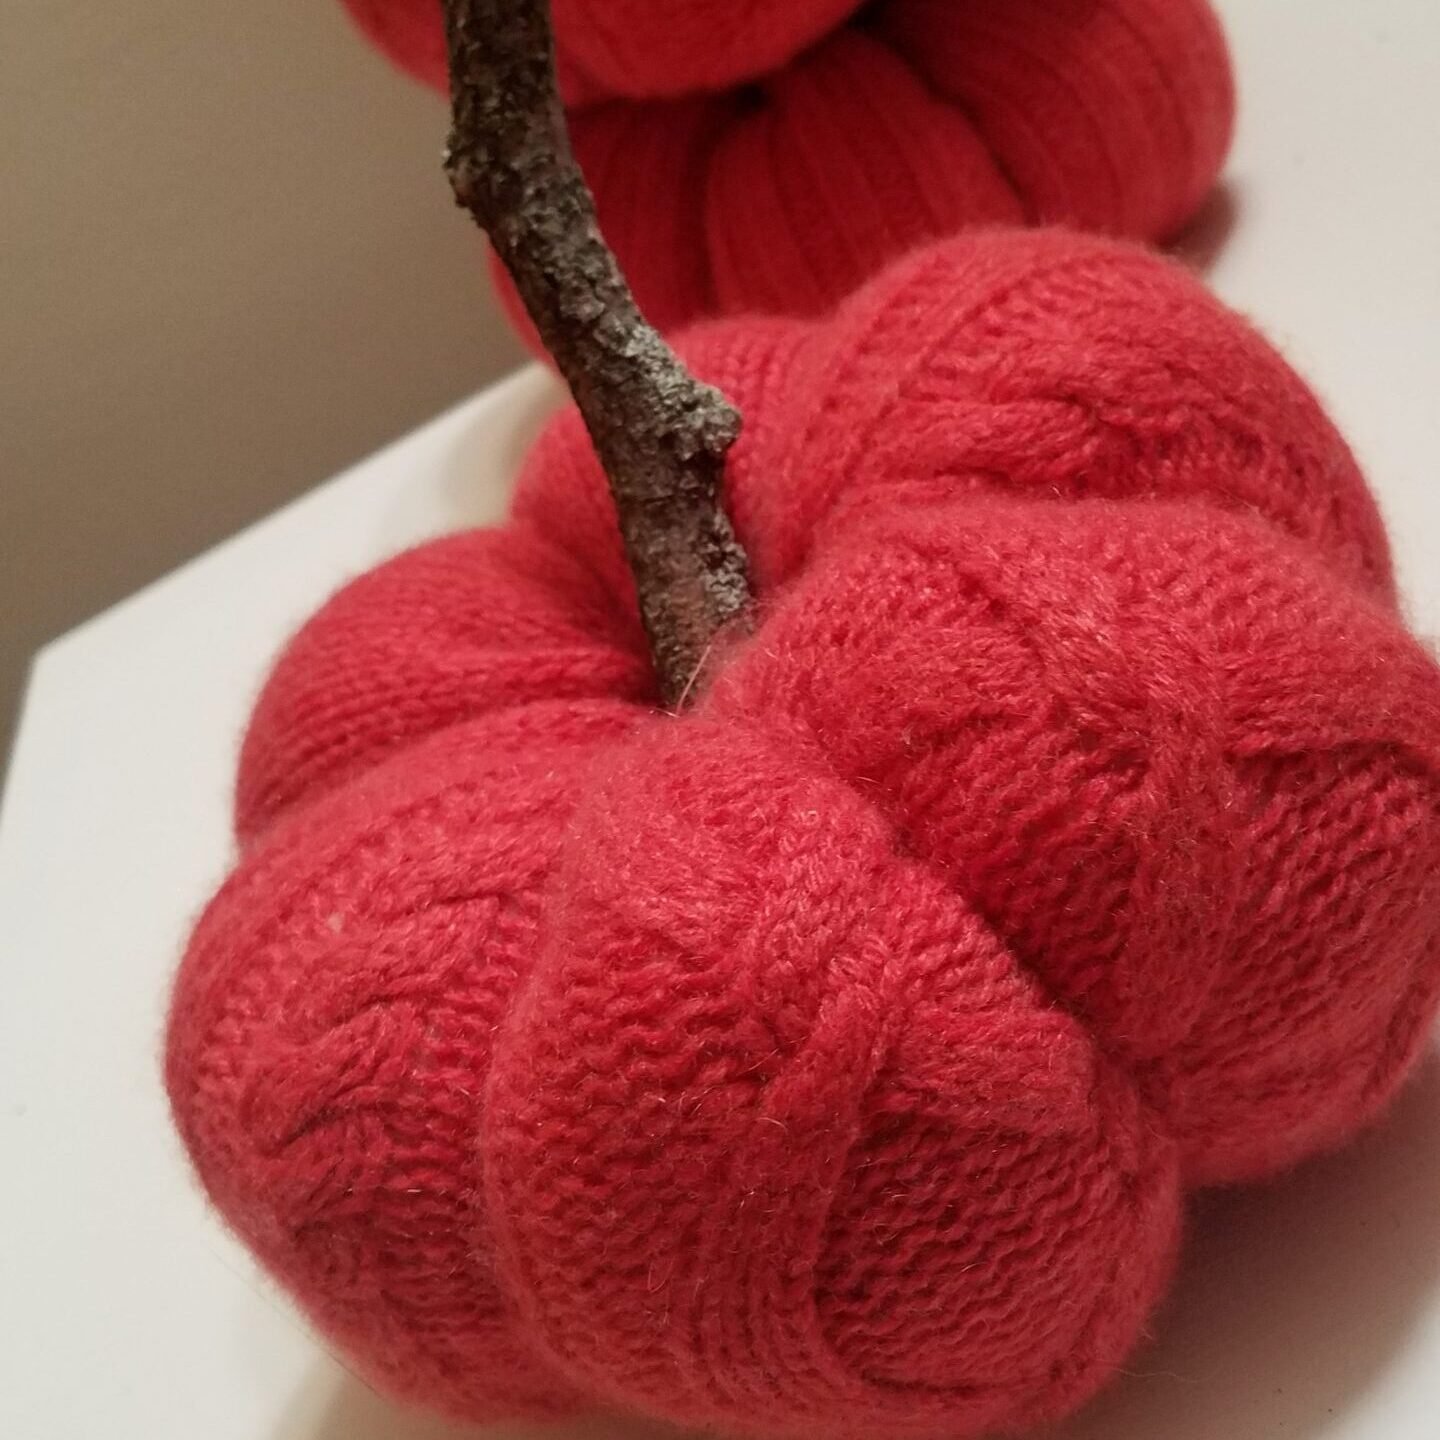
Sweater Fairy Tale Pumpkin Tutorial


Fall Garland DIY – Perfect for Halloween
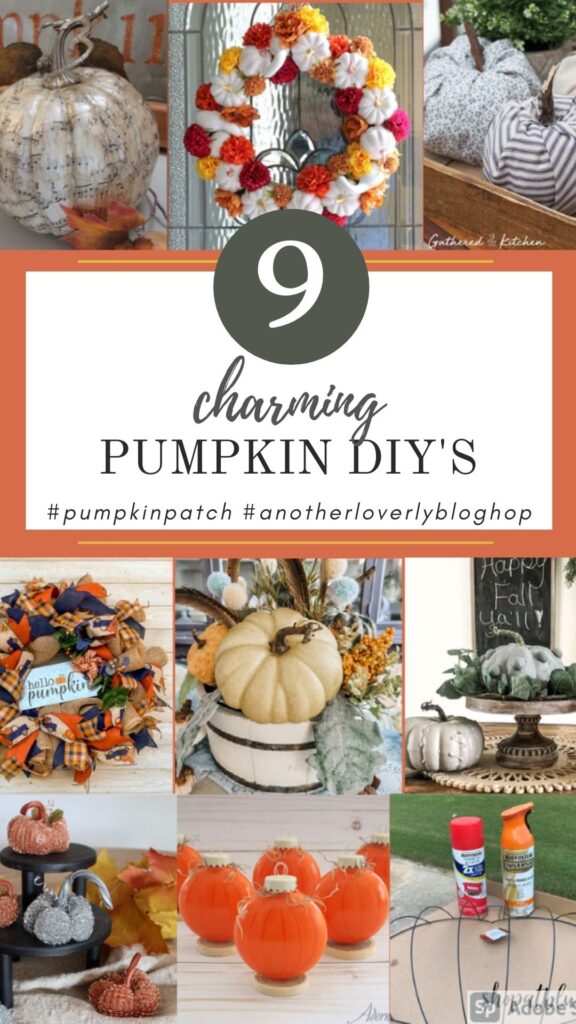
If you have pumpkin on the brain like I do, my friends have gotten some of their pumpkin projects ready to share with you for Another Loverly Blog Hop!


Anne at Ikorn Crafts is sharing her DIY for this fun mesh fall wreath.


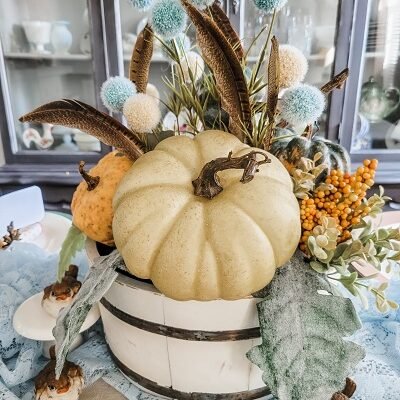
Carol from Blue Sky at Home is sharing her DIY for this festive pumpkin wreath

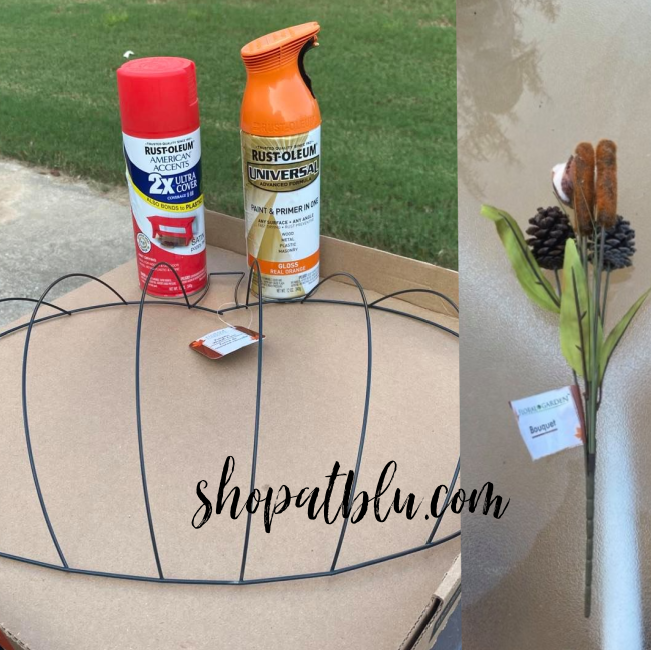
Sue from Shop at Blue is sharing a festive Dollar Store Pumpkin Wreath


Nicole from Adorn the Table is sharing her adorable pumpkin place card holders

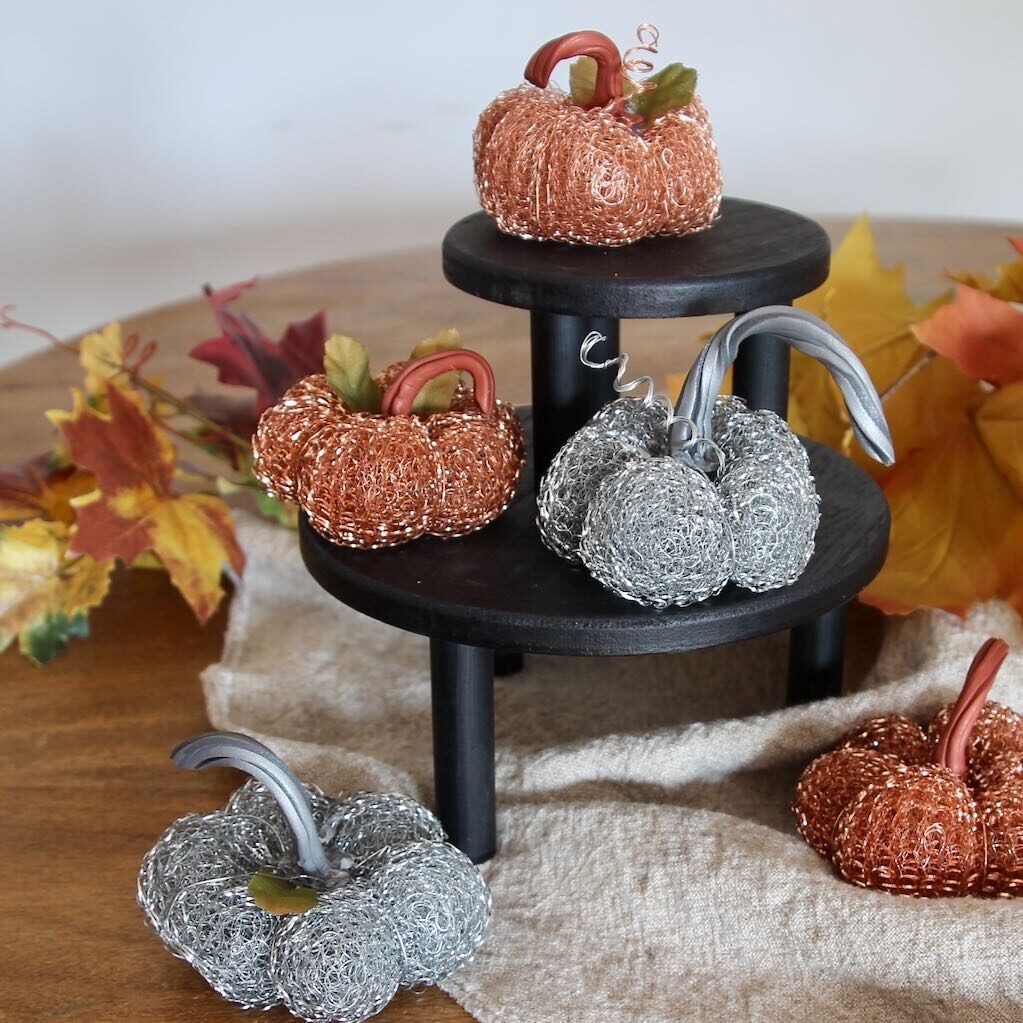
You’ll never guess how Diane from South House Designs made these metallic pumpkins


Stephanie from Gathered in the Kitchen is sharing the DIY for these adorable farmhouse fabric pumpkins

Kristin from Fifth Sparrow No More created this beautiful fall center piece in a FIRKIN (what’s a FIRKIN?)

Nicolle from Our Tiny Nest shows you how to make these cute pumpkins with a secret tip – click on the photo to find out how easy tip.
Juliet from A Loverly Life is sharing her Moondance inspired Decoupage Pumpkin.
Thank you so much for visiting – I look forward to seeing you next week for Another Loverly Blog Hop
- Juliet


Great tutorial and project! The pumpkins are adorable and would fit in any decor. Makes me even more ready to kick off fall! Heading for my decoupage…!
Thanks for the inspiration!
Missy
Love it! I’m always a fan of music and I love the gold stem, too! Happy hopping today! Following you all!
Thank you Leslie, it was such a fun project. Moondance is on repeat in my house all fall long.
I look forward to you joining us for another hop!
Juliet, what a lovely project. Decoupaging pumpkins is a great way to give them a personal and custom look. I love your song inspiration. Very clear instructions, too. Thank you for hosting this fun and creative blog hop.
Thank you Carol – and Thank you for sharing your beautiful wreath tutorial.
It is so beautiful and festive with the white pumpkins and brightly colored flowers.
Love these darling pumpkins. And the idea of using book pages is wonderful!
love this tutorial, Juliet! thanks for sharing!
Thank you Kimberly
This turned out so lovely! And I love Moondance. Oh swoon!!!
Thank you, Diane.
Moondance is just one of those perfect songs, too!
Your decoupaged pumpkin turned out great!
Love your pumpkin Juliet!! I have plans for doing a very similar project over on my blog too! Thanks for the link part – just linked up!! Pinned!
These are amazing! I love using sheet music in my decor since I’m a musician!
That is one of my favorite songs and you’re right, Van Morrison is the best! Your pumpkin is great, I love anything decoupaged. It’s the perfect way to inject the magic of the season and music into your decor!
Such a lovely piece and it’s amazing what can be done with these pumpkins. Pinned
How cute are these? Love the neutral palette the pages introduce.
I love these pumpkins. Great tutorial. Thanks for sharing this.
Thank you Carol, you are so sweet.