
DIY Shower Steamers Recipe- Christmas Ornaments
This simple shower steamer DIY, or shower melts recipe, is such an easy way to create a gift that is perfect for an ornament exchange with family, friends or co-workers.
This month’s blog hop theme is an Ornament Exchange, so my creator friends and I have put together 5 fun DIY projects perfect for sharing with friends.
Make sure to check out the links at the bottom of the post to see all the loverly ornament DIY’s.
First things first.
What is a shower steamer?
Now you may be asking yourself, what is a shower steamer?
Shower steamers, or shower melts, are not to be confused with bath bombs.
They have similar ingredients, but shower steamers are placed at the bottom of your shower out of the direct water stream for an aroma therapy experience.
These DIY is shower steamer ornaments are so easy to make.
You may want to make a few extra so you can have some for yourself.
Here’s what you’ll need to make them:
- Baking Soda
- Citric Acid
- Essential Oils [peppermint, pine and eucalyptus]
- Witch Hazel
- Clear Ornaments – the fillable, 2 halves like

*Affiliate disclosure
This post may contain affiliate links. When you click on links for recommended products and make a purchase, I may receive a small commission. There is no added cost to you.
I truly appreciate it when you click on the affiliate links, because it helps support my blog, A Loverly Life.
It enables me to create free content for you.
So from the bottom of my heart, thank you for shopping with my affiliate links!you will also need the following:
- Small Spray Bottle
- Glass mixing bowl
- Whisk
- Freezer Paper or Wax Paper
- Surgical Gloves
- Hot Glue Gun
- Ribbon
Since these will be Christmas Ornaments, I chose peppermint and pine essential oils.
You can also add a bit of eucalyptus.
These three essential oils combined smell like a Hallmark Movie Christmas, and transform a shower into a luxurious spa experience.I used 3″ ornaments like these:


See how they separate in the middle.
You will get 2 shower steamers per ornament.
This recipe creates 3 ornaments.2 shower melts per ornament – 6 shower steamers total.
These are the ones I recommend:
Since these will be Christmas Ornaments, I chose peppermint and pine essential oils.
You can also add a bit of eucalyptus to help with congestion, too.
These three essential oils combined smell like a Hallmark Movie Christmas, and transform a shower into a luxurious spa experience.I like to use quality essential oils, here are a few of favorites:

One quick note before we begin.
I do NOT recommend doubling the batch.
Working in smaller batches makes it easier.Are you ready?
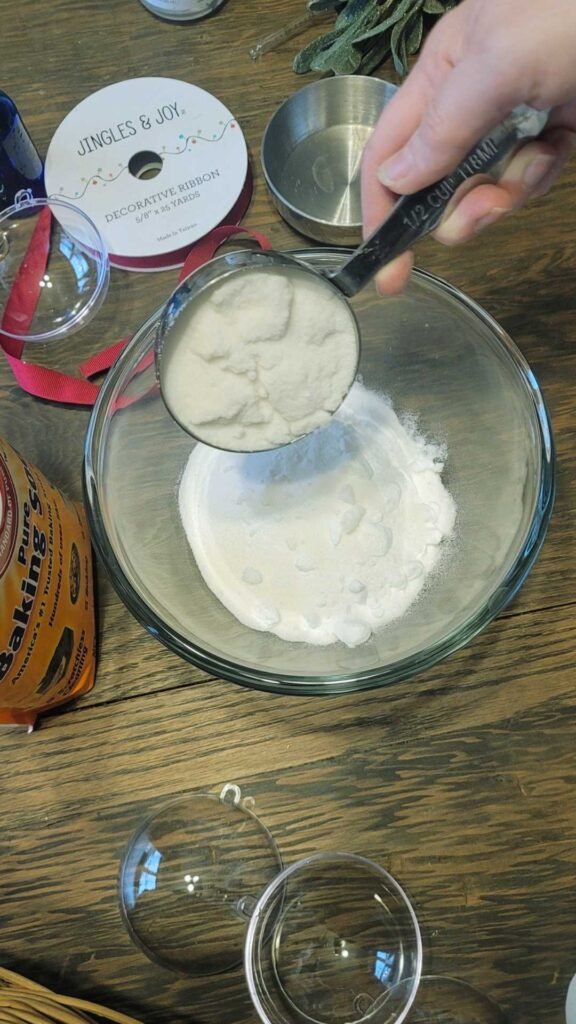
Here’s how you make the shower steamer ornaments:Start by adding 2 cups of baking soda to a glass bowl

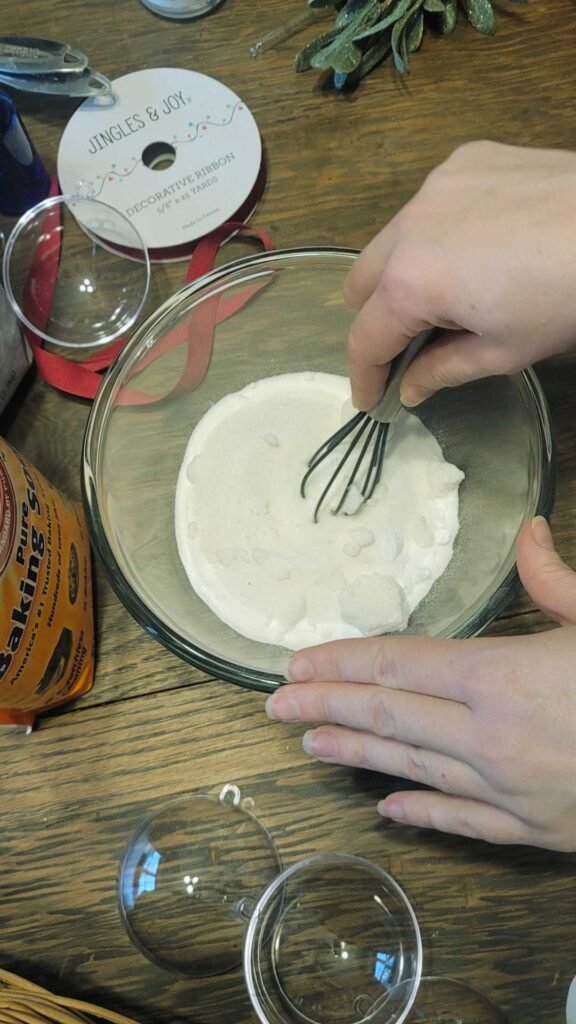
Then add 1 cup of citric acid and mix with a wisk, breaking up any clumps that you find.

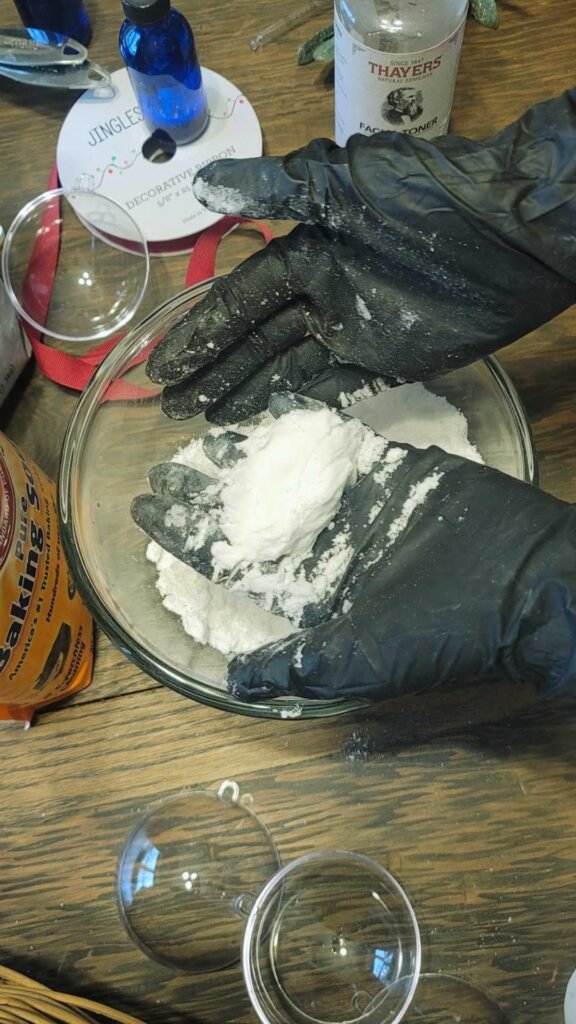
For the next step, you will want to put on surgical gloves.
Add 40 drops of each essential oil.40 drops pine essential oil
40 drops peppermint essential oil
40 drops eucalyptus essential oil [optional]

Use your gloved hands to mix the essential oils into the mix of baking soda and citric acid.
Doesn’t it smell heavenly?
Just like the holiday memories.You can add 10 more drops to adjust the scent to your liking.
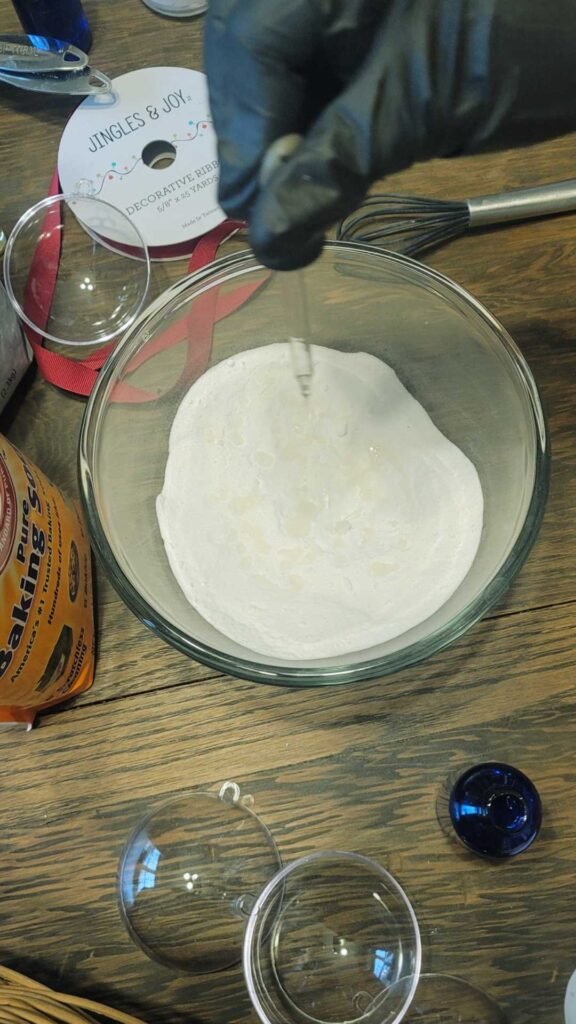
The last ingredient is witch hazel.
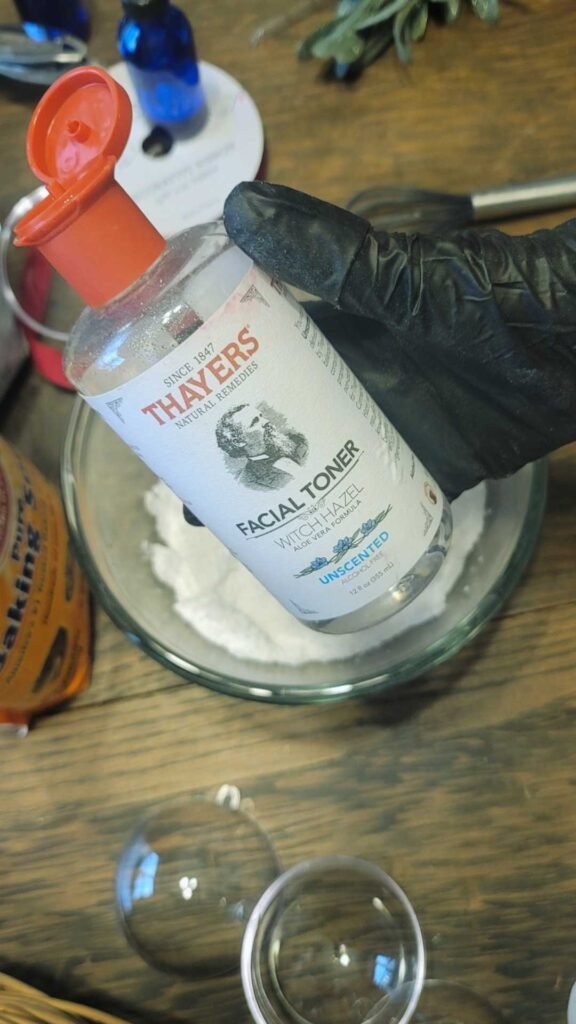
Add it to a spray bottle
This next part is important
CAREFULLY wet the mixture by starting with 20 spritzes
Then work the witch hazel in to the mixture.
Add 20 more spritzes and mix together.
Repeat until the mixture is the consistency of wet sand.
If you mix too much, you risk adding too much moisture and activating it.You can tell if you add too much moisture, because the mixture starts foaming.
Take it slow, and mix in between groups of 20 spritzes.
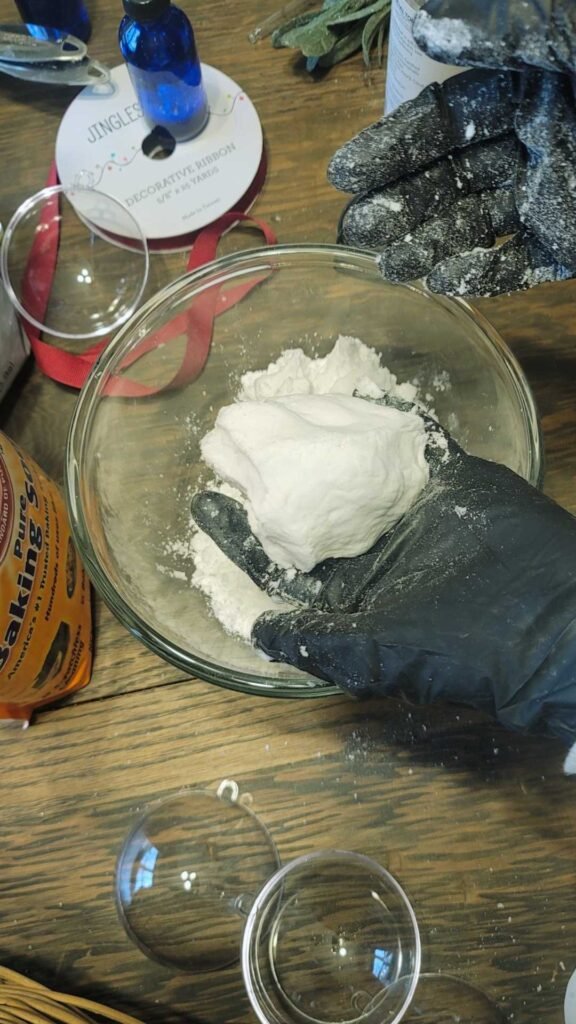
It is still just a bit too dry in this image, so I added about 20 more spritzes of witch hazel
See how the mixture holds together in the image below?
Now it is ready to pack into the ornament halves.
Gently pack the mixture into each half of the ornament.

Make sure to clear the edge on the bottom half.
It’s the edge where the other ornament half locks in.
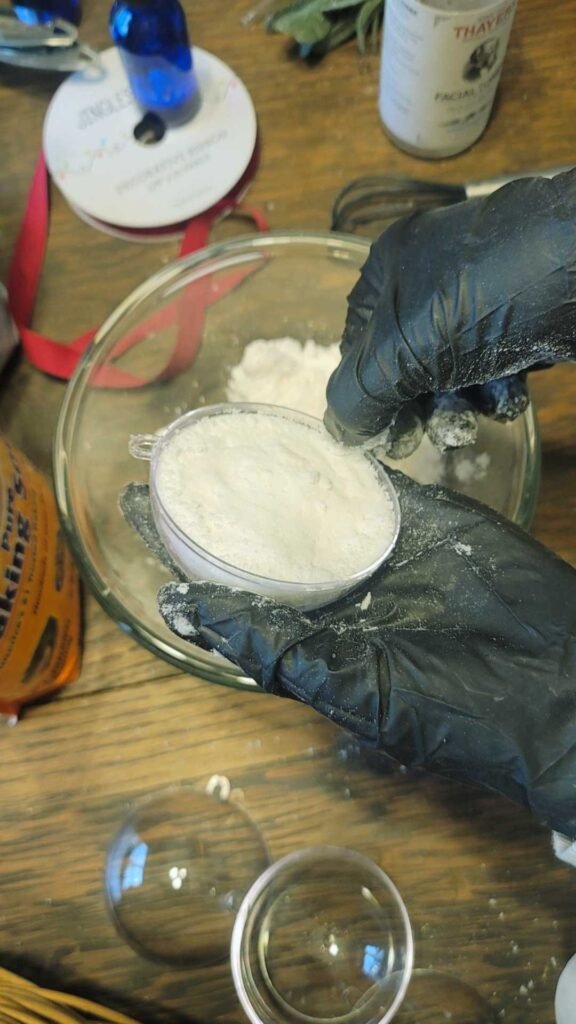
If you over fill the ornaments, they won’t fit together.

Once you have your ornaments filled, let them dry overnight.
I set mine on a cupcake mold to hold them nice and flat.
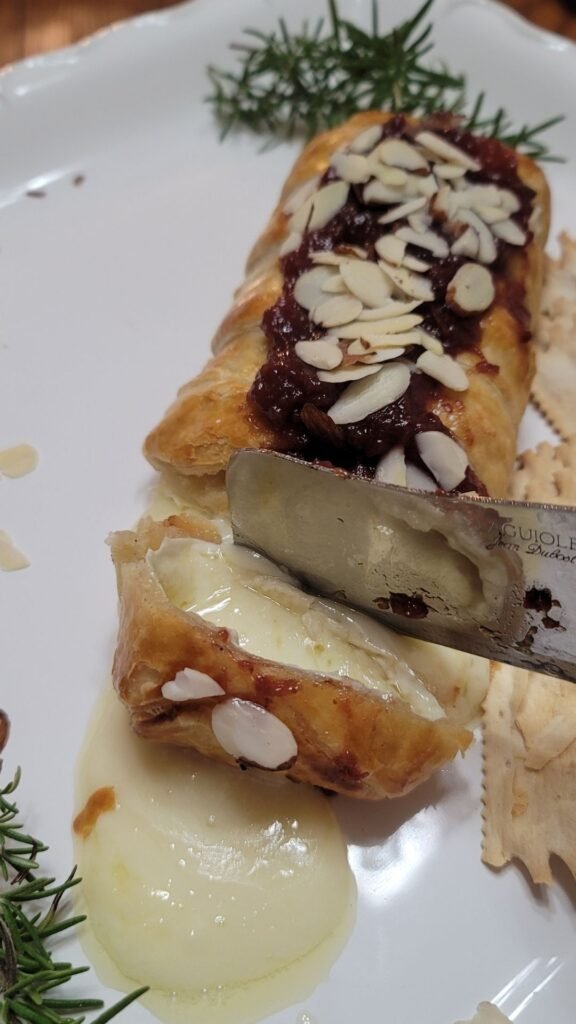
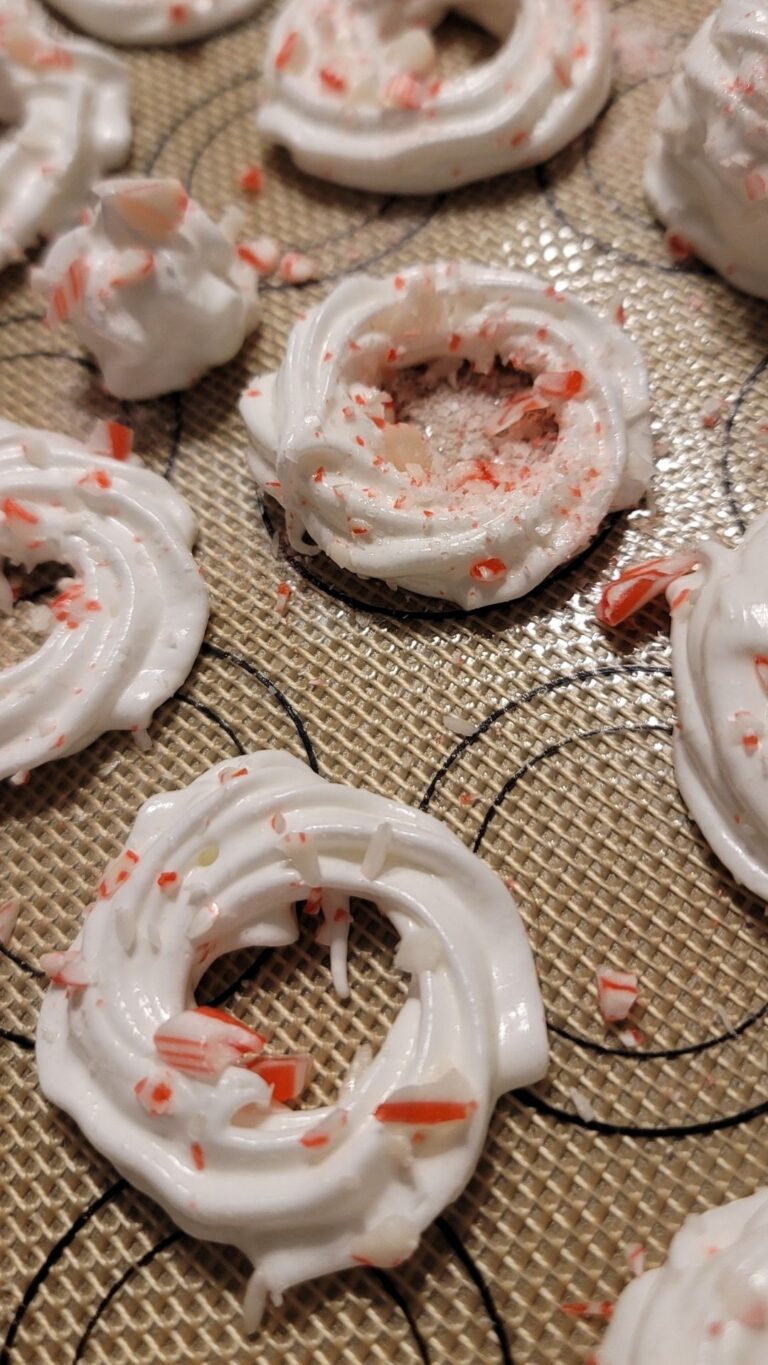
Speaking of gifts, check out my other blog posts featuring some of my favorite treats to share around the holidays.


Once the shower melts ornament halves have cured overnight, we can start assembling them.
To keep the halves from sticking together, I used freezer paper.
Use the ornament as a template and trace it out.

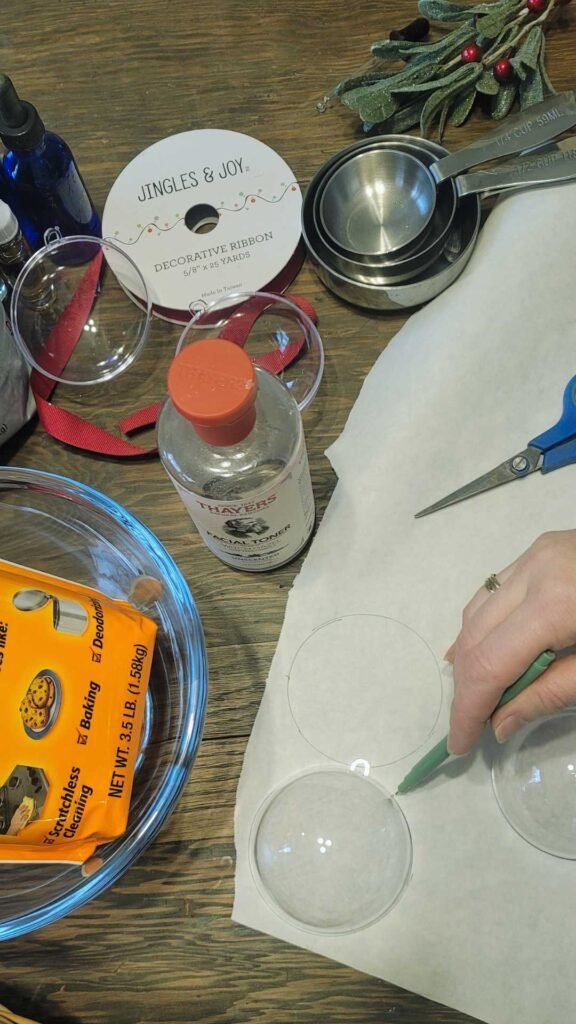
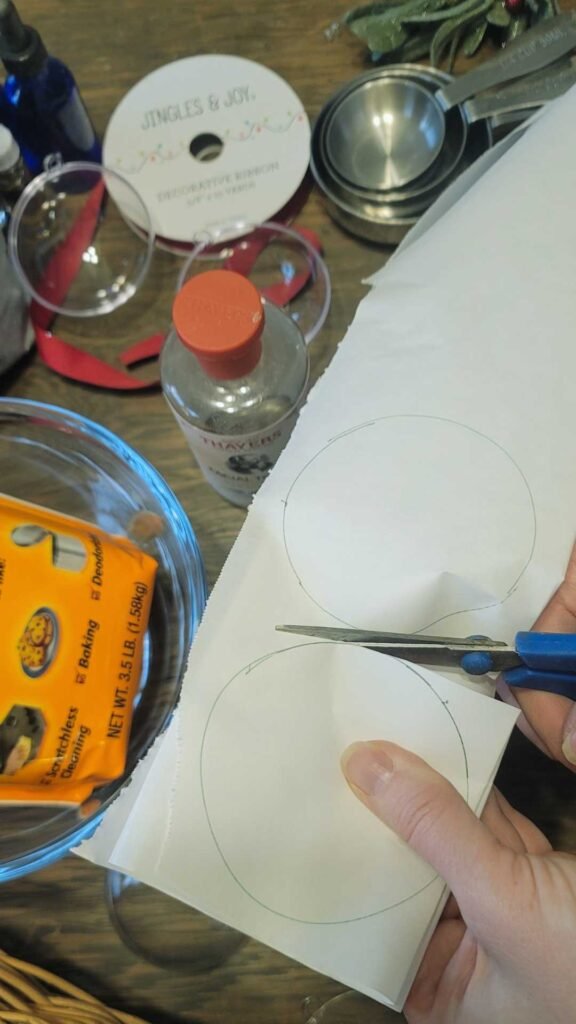
Cut the circle a bit smaller than the template.
You want it to fit inside the ornament to divide the 2 shower melts.
It keeps them from sticking together, too!


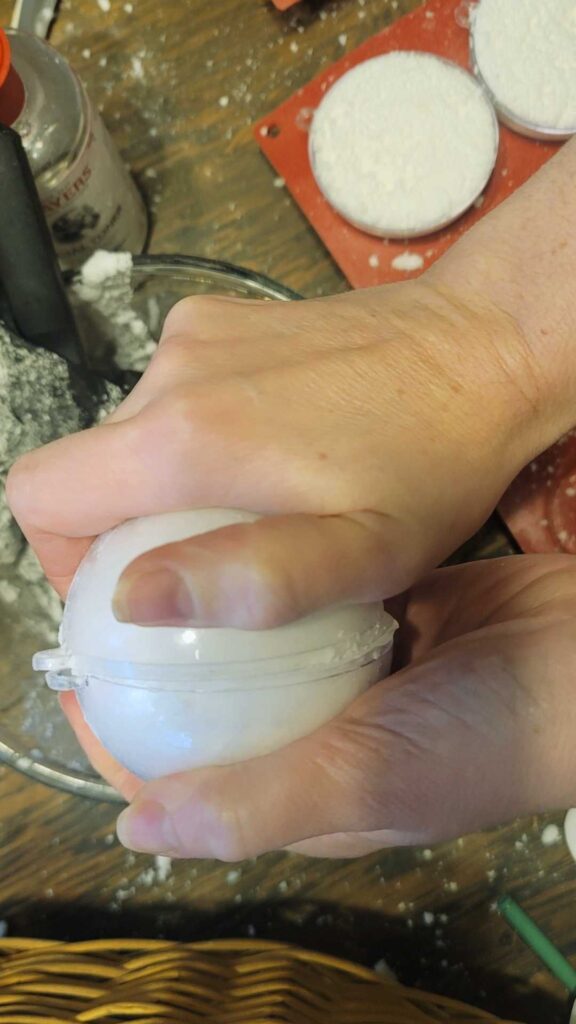
Then gently press the 2 halves together
and twist so that the ornament hanger meets in the middle
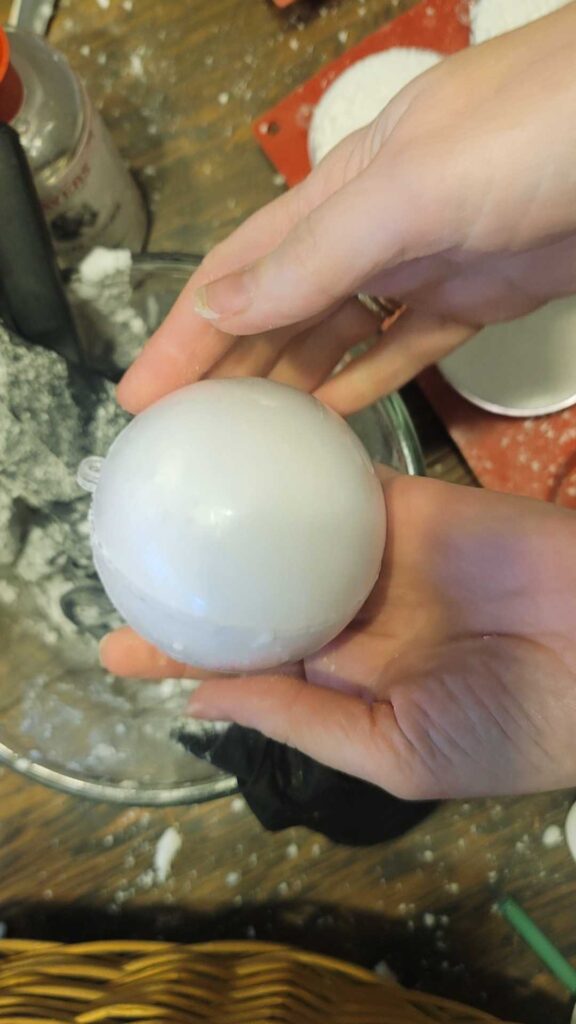
Once the ornaments are assembled, you may need to clean off the outside.
Just wipe a damp cloth over the outside of the shower melt ornament.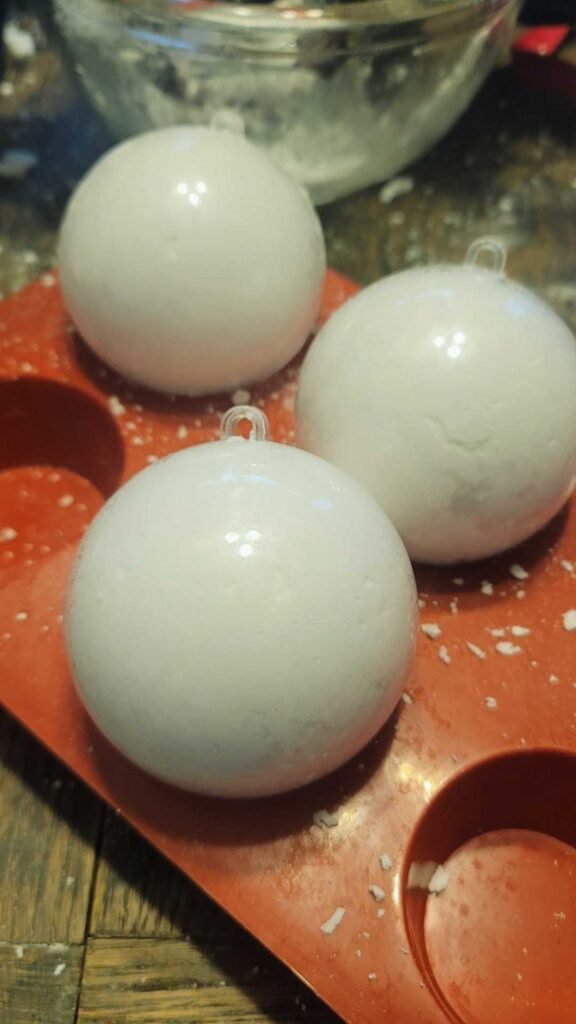

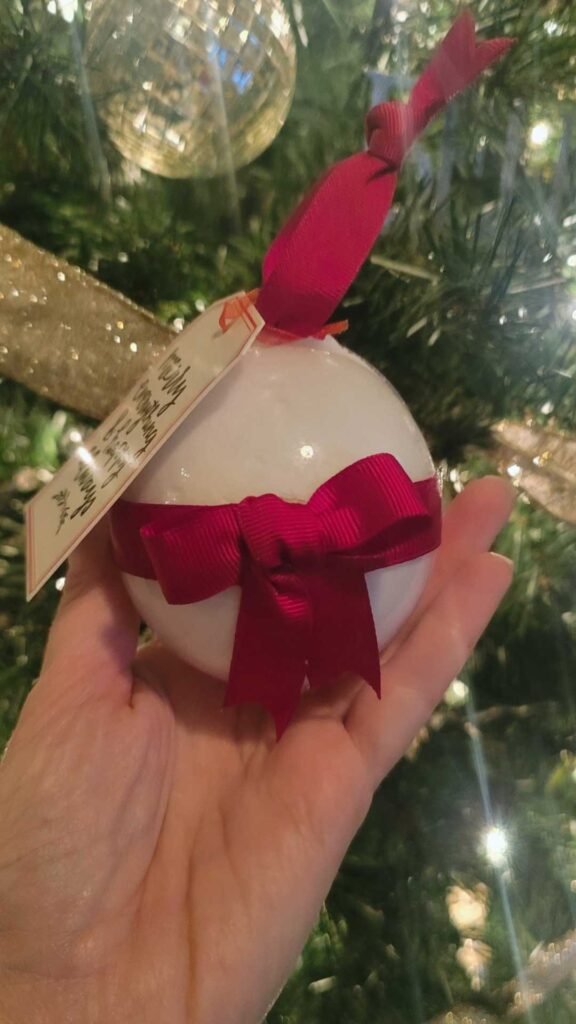
Since these ornaments will be for gifting, I wanted to make sure they didn’t pop open unexpectedly
And to make them look pretty, too!I took a red grosgrain ribbon and secured it around the perimeter using a hot glue gun

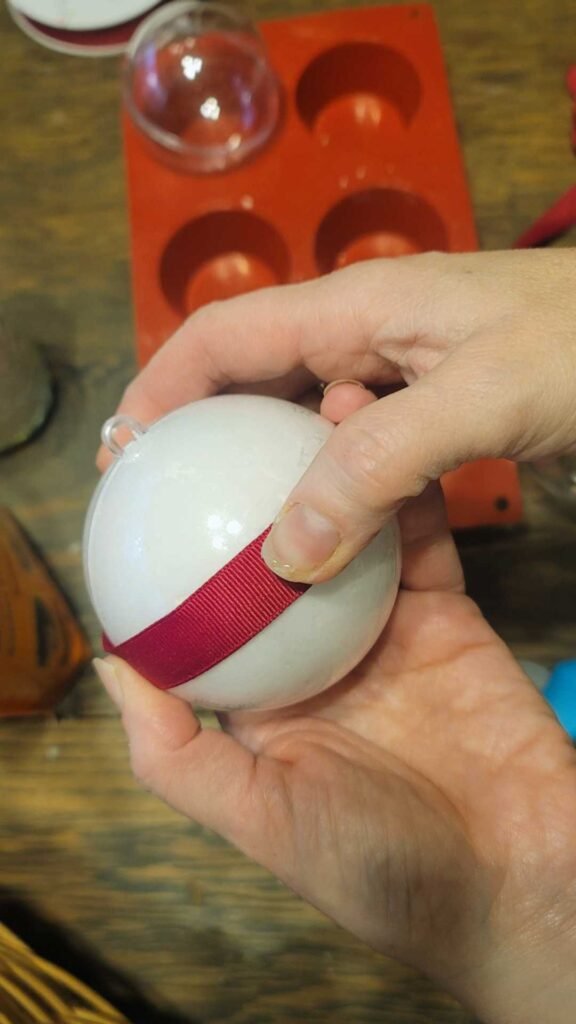

By adding the ribbon to the perimeter, it secures the ornament closed.
Then I added a sweet little bow to the front.

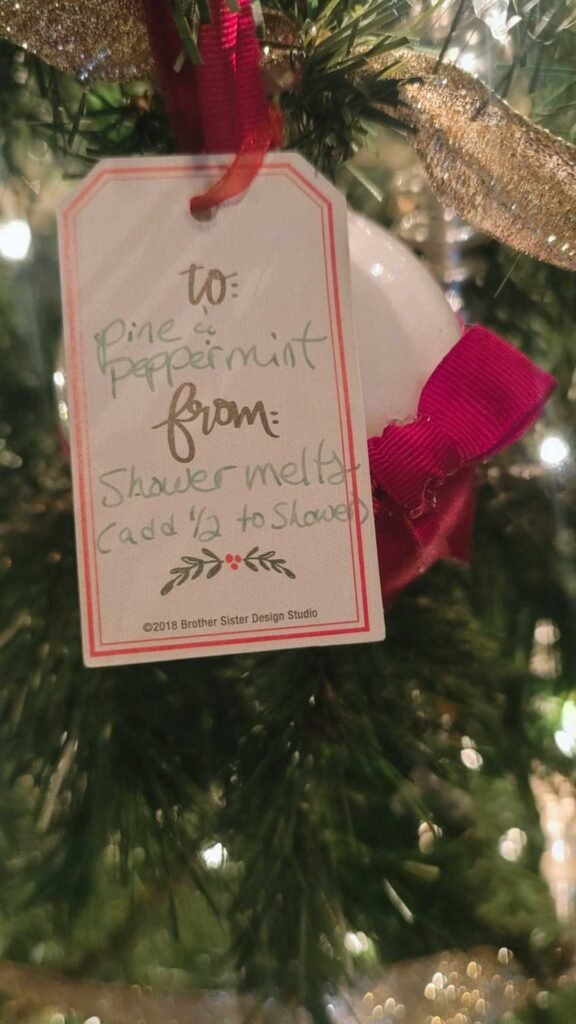
Finally I added a festive tag around a looped ribbon hanger.
Then added a little note to the back of the tag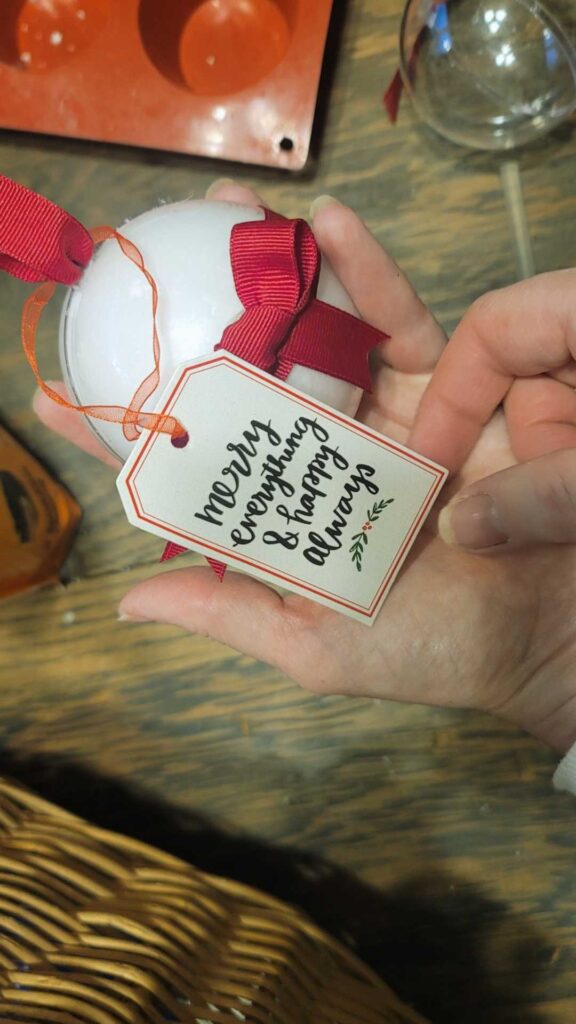
Now the shower melt ornaments are ready for an ornament exchange.
Weren’t these super easy to make?
They are great gifts for teachers, and co-workers, too.
Don’t forget to keep a couple for yourself.

Hop on over to see the fun projects from the Ornament Exchange.
I hope it inspires you to create some fun ornaments and exchange them with friends and family.
You won’t believe how Donna from An Organized Season created these elegant ornamentsCheck out this super cute ornament tutorial by Kimberly from Farmhouse to Florida
Marie from This Dear Casa made the most adorable ornament for baby’s first ChristmasSuzanne from Shop at Blue is sharing a TREEriffic Dollar Tree DIY
Pin it for later and plan ahead for next year!


These are really cute and great information. Pinned. Look forward to 2023 with you ladies! n Pinned!
Thanks Cindy – I have some loverly hops planned for 2023. Hopefully you can join us.
Wishing you and your family a Merry Christmas!
Juliet these really do look easy. I bet they would be great on a morning where you just can’t wake up or don’t feel you’re best. Gotta try! Pinned!
Thank Sue, they sure do. They are great before bed, too. Merry Christmas to your clan – XXOO Juliet
Juliet, these ornaments are such a great gift idea! They look fun to make and I bet they smell terrific! I’ve never made anything like this before, so I’m pinning now! Thanks for the inspiration!
Thanks Donna. Make some to give, but also some to keep 😉
Merry Christmas to you and your family.
Juliet thanks for hosting another fun hop! I’ll need to send you my address so you can send me one of these bath bombs! Hope you have a Merry Christmas!
Thanks for joining again, Marie! I hope you and your family have a Loverly Christmas.