How to create a budget friendly and rental friendly accent wall
Welcome to week 4 of the Spring 2022 One Room Challenge. This week I am sharing how to create a budget friendly and rental friendly accent wall.
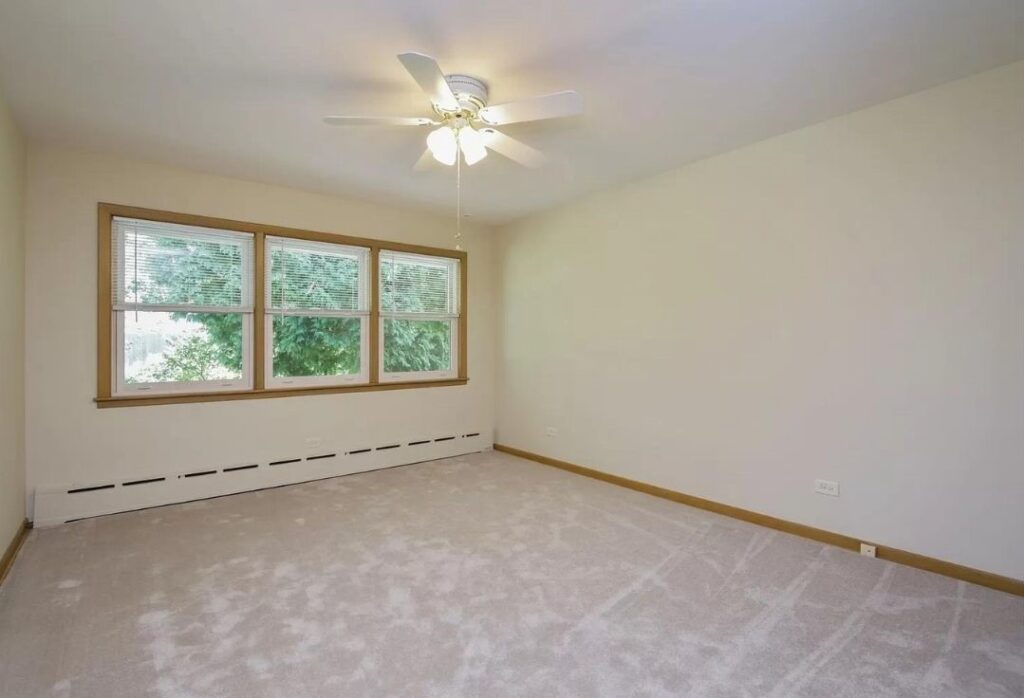
Do you remember my boring beige bedroom before I started the One Room Challenge?
Yeah, it’s pretty boring.
Sometimes that’s the story with a rental house.
I am working on adding some French Country charm to my bedroom with budget friendly and rental friendly DIY’s.
Saving money on my furniture and wall decor allows me to splurge a bit on my bedding.
I am so excited – right now I am trying to decide on my linen color.

You can read more about my plans for my French Cozy Cottage bedroom makeover over here
My favorite project, so far, is this installment using reclaimed windows.
It’s the view across from my bed.
You can read more about how I mounted the windows to the wall and all the loverly project details over here.
No nails, no screws and damage free.
Won’t that make the landlord happy?

Miss Melody seems to be enjoying the view and soaking up some rays.
My next project will be the focal wall behind the bed, using 2 pair of wood bi-fold doors.

It was raining all week, so I decided to paint indoors.
If you are painting inside, make sure to protect the area.
I used a GIGANTIC piece of cardboard.
Having an adorable assistant is an added bonus.
Lulu wants to know what’s we are working on next?!

I picked up a pair of solid wood closet doors from a barn sale a couple years ago for only $10 a pair!
The raised panels are so beautiful and width of the 4 doors together would make a loverly accent wall behind my headboard, for just over 20 bucks!
I love budget friendly home decor that looks luxe.

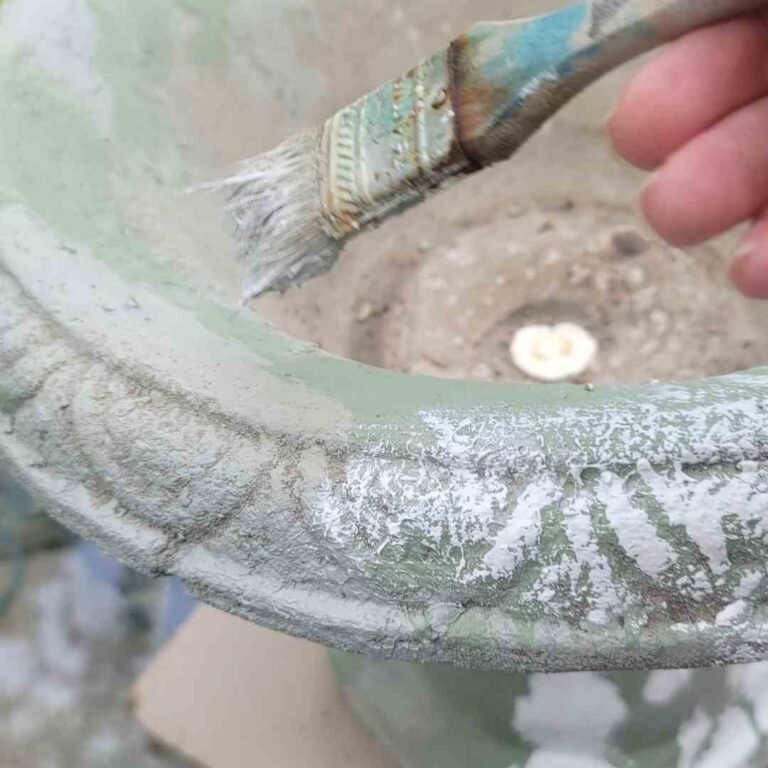
Let’s start with paint.
WHAT, no sanding?
Sometimes it is best not to sand the surface.
I knew this wood could bleed thru and decided that the surface was matte enough for the paint to adhere properly.

For this project I went with some left over paint that I had from another project.
After a couple coats of paint, the doors look completely different.
The paint is gorgeous, but I want to add something extra.

I used a wee bit of gold leaf for my antique buffet turned bedside table.
This beauty was my ORC Week 3 project
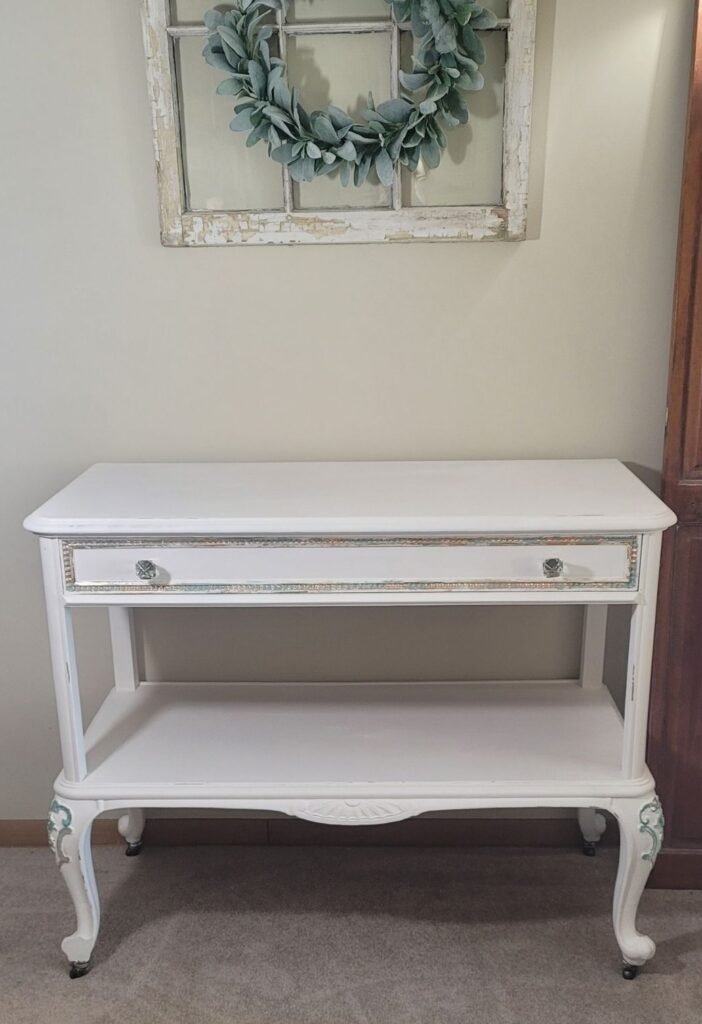
I wanted to add a bit of gold leaf to this project in an unexpected way.
The gold leaf is going to be very subtle on this, but it is going to take a few steps to get there.
A cheap chip brush is was the key to the distressed gold leaf finish.
Can you see how uneven the bristles are?
That is going to help prevent a smooth application of the gold leaf adhesive aka sizing.

Miss Melody is supervising to make sure I don’t use too much adhesive.

I dipped just the tips in the adhesive and roughly brushed on the gold leaf adhesive in random spots on the door panels.

After the adhesive is applied, watch for color to turn from white to clear.
It should be tacky, so that the gold foil will stick during the application process.

Gold foil can be purchased in various sizes and colors, too.
You can find the gold leaf that I used here.

A clean paint brush was used to pick up the gold leaf and

lay it on the adhesive by gently pressing down

Once the gold leaf is pressed on the adhesive, the brush is used to gently wipe away the loose golf leaf.
I swipe it toward more adhesive so the little pieces stick.

the gold leaf was applied in random places on the panels
It may look wonky now, but stay with me because only a bit of the gold leaf will be peeking thru when I am done.

I ended up using adding a couple of silver leaf sheets, too.

Ok, are you ready for the secret?
I am going to use the same color paint and paint over the foil.
Yep, all that gorgeous gold leaf is going to get painted over.
Ok, not COMPLETELY painted over.
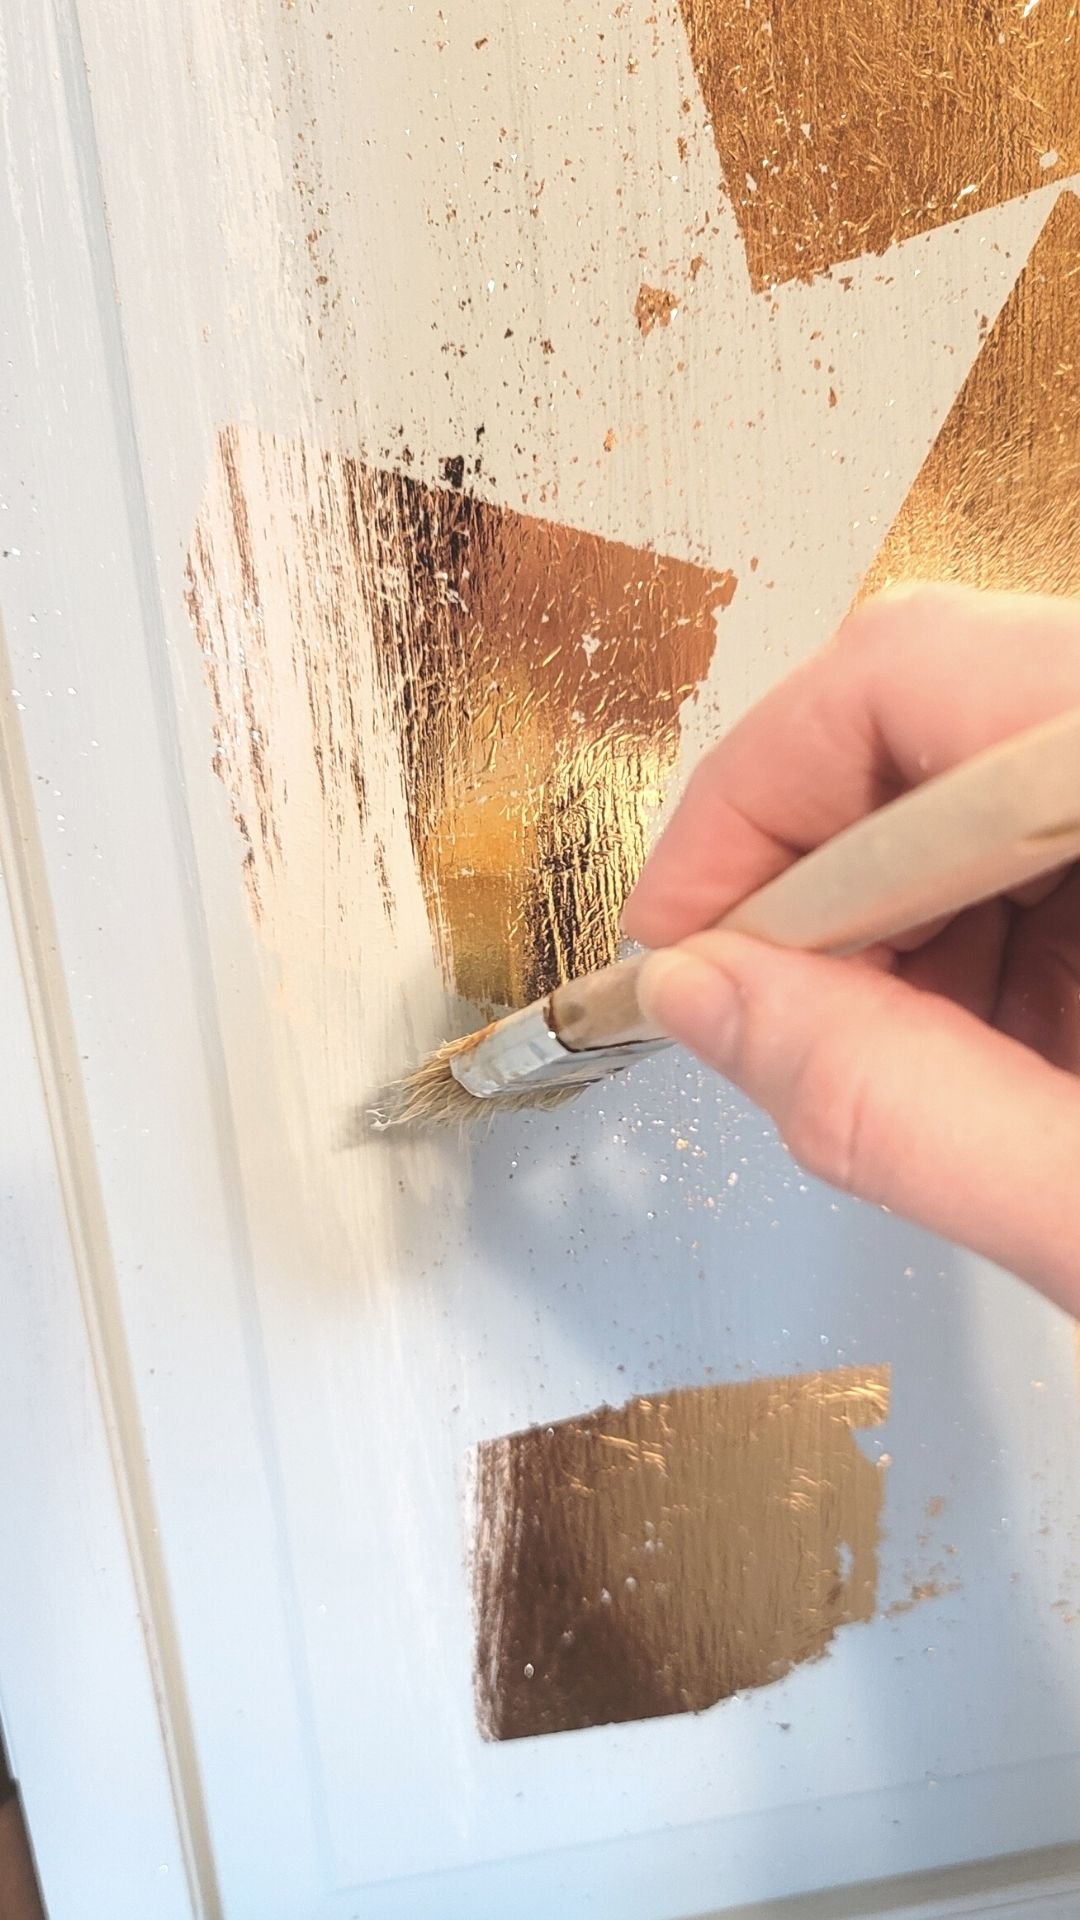
Using a cheap chip brush, I lightly painted over the gold leaf.
Blending the edges and letting some of the gold peek thru for a distressed look.

The wet paint shows lighter than the dried paint.
But can you see the gold leaf sparkling thru?

Once the paint dried, I lightly used a 180 grit sandpaper to distress the paint and expose a bit more of the shiny gold.
I don’t want the wood panels to be completely covered in gold leaf.
Just a subtle kiss of gold.

Doesn’t the distressed paint with the gold leaf peeking thru look beautiful?

I was trying to replicate the gilded wallpaper you would find in a French Chateau.
It glistens so gracefully like candle light.
The gold leaf was only $6 for a pack of 100 sheets, I probably used 20 sheets and the gold leaf adhesive was less than $5.
That means my budget friendly wood paneled wall accent cost less than $50.
Since I will be using the 3M velcro strips to adhere it to the wall, it makes this project rental friendly, too.
My French Cozy Cottage bedroom is going to have a few rustic touches mixed with furniture that mixes a bit of French Provencial and some cottage elements to make a cozy & serene sanctuary.
I think the gold leaf really brings in a bit of glam.

I can’t wait to see how it looks behind my bed.
Since my bed is on my project list for next week, we are going to have to wait and see how it looks until after I finish the bed transformation.
This bed is going to be so cute and cottagey when I am done!

The bed won’t be ready until Week 7, but storage is the theme for the projects next week!
Living in a rental home sometimes means bedroom storage is a bit limited.
My projects for next week focus on a couple creative ways to add bedroom storage.
Time to get to work…


those doors! Oh my gosh! I love them already! can’t wait to see the entire transformation!
Thank you Kimberly.
What a fun project! I love how you used the gold leaf on the doors! Thanks for joining Tuesday Turn About link party last week!