Fall DIY – Pumpkin Topiary
I have a fall DIY to share with you today, my Pumpkin Topiary using Rust-Olem hammered metallic paint. It was part of a Fall Decor share I did last year with a few other bloggers but I am consolidating all DIY posts and moving posts them over to ALOVERLYLIFE.COM.
The weather has been crisp and cool the past couple of days and has looking forward to fall. Yes, the temp will go up again for a few more weeks, but the brief cool off has me ready to start decorating for fall.
I LOVE fall decorating and I can’t even THINK of decorating for fall without PUMPKINS – or as I like to call them punkins.

One Gold Kissed Pumpkin Topiary would make a beautiful fall centerpiece or create a pair for flanking a fireplace or a large fall tablescape.
I created the pumpkin topiary with a mix of new and reclaimed pieces.
Start digging through your stash and hunting at your favorite secondhand stores to find the right components.
You can use pots that you already have or use just the project an an excuse to go thrifting to find vintage containers, bits and bobs.
The base should have a bit of weight to keep the topiary stable. I have included an option to make the pumpkin topiary removable from the planter or pot, just in case you don’t want it to be permanent.
Are you ready to make a Gold Kissed Pumpkin Topiary?
Let’s gather our materials.
Here’s what you need:
Containers or pots for bases
Leftover pot liner [if you want to make the topiary removable]
Pumpins of various sizes
Hot Glue Gun
Plaster of Paris
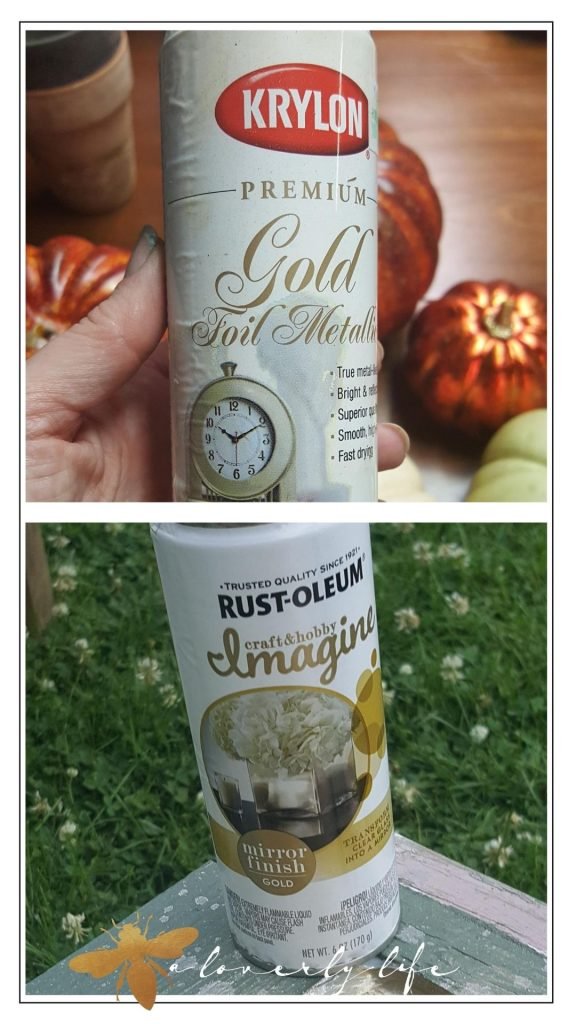
Rust-Oleum spray paint: hammered copper or hammered ver de green
Krylon Metallic Gold Paint or Rust-Oleum Metallic Gold Paint
Decorative Moss
Pinecones – go for a walk and pick some up from the ground
Reclaimed chair spindles, crib railings or twigs for topiary trunk
Random stones for filler
Various ribbon, faux leaves and accents for a bit of zhush
What is zhush, you ask?
According to Urban Dictionary
zhush (as in the French je + “oosh”) is a word whose usage dates as far back as 1968 in Britain. Its spelling, much like its origin, is elusive.
It has been defined by the American Dialect Society (who placed it on their 2003 Word of the Year List) as a verb to mean “primp or fluff up”.
Yes, we are going to zhush up our pumpkin topiary.
Pumpkin Picking Time
First you need to pick your pumpkins. The topiary can be created with sets of 2 or 3 graduated size pumpkins. You can find the pumpkins at many craft supply stores. Even the dollar store has these types of pumpkins. Use what you have (or happen to find.). You will need to be able to push a stem clear thru the pumpkins, so they should be some type of foam.
Resin or ceramic won’t work for this project.

When picking your pumpkins, make sure the pumpkins vary in size.
I used 3 pumpkins for this project; small, medium and large.
Start by removing the stems, they should pop right out with a gentle tug.
Next, go for a trial run and test it out. Stack your pumpkins to see how they look before you start to paint.
You want to create a pyramid [smallest on top, largest on bottom].
I think these will be just loverly.

Painting pumpkins
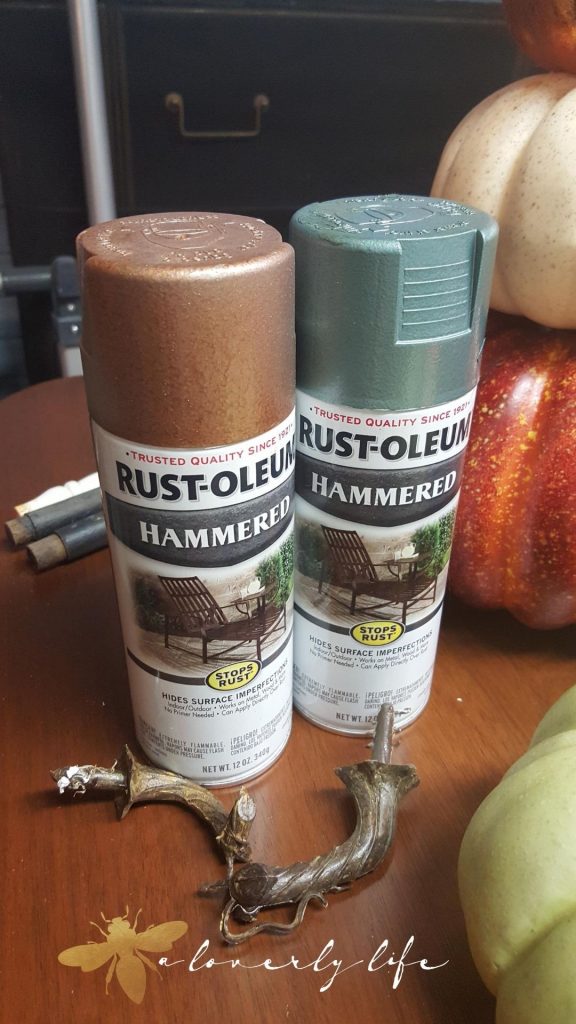
For this project, I was inspired by the Rust-Oleum line of hammered metallic spray paint.
It creates a gorgeous texture that really makes the pumpkins beautiful.
I fell in love with Copper and Verde Green. I thought they were both so pretty.
When I couldn’t decide which one I liked the best, I thought “why not make one of each?”
One of each, it is!
It is time to gather the pumpkins and spray paint. You many want to take them outside to spray. Remember when using spray paint that you want to be in a well ventilated area.
Outside is best, just make sure it is not a windy day.
You don’t want to have more paint on you than the pumpkins.

I almost forgot to tell you, put your gloves on.
Did you catch my very pretty metallic green thumb?
Yeah, I forgot my gloves. It’s a good thing that I don’t worry about manicures.
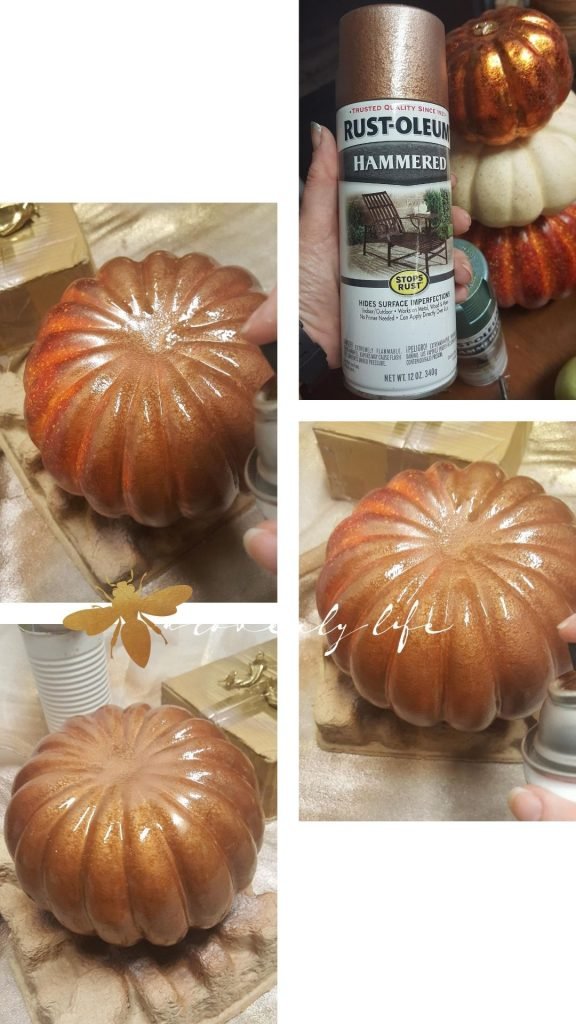
Once your gloves are on, give each set of pumpkins a couple coats of paint. Light even strokes help keep drips at bay. 2 to 3 light coats is always better than one heavy coat.
Let them dry FULLY before bringing them back in. Spending a little time drying in the sun will help.
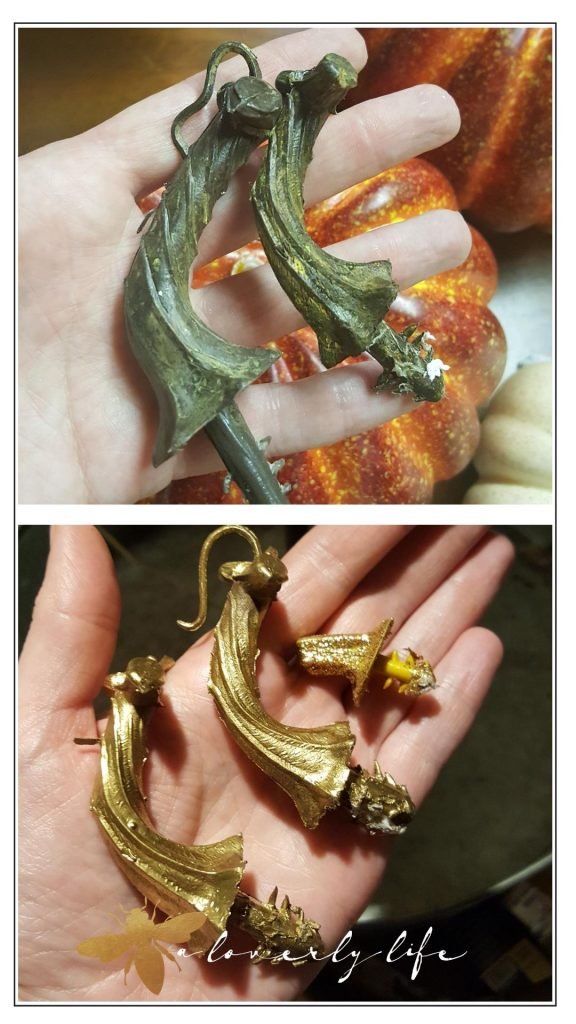
Now for a bit of zhush. Take the larger stems with you [not the little wimpy one]. Spray the stems in the gold metallic spray paint. Krylon and Rust-Oleum both make a beautiful gold metallic paint. I did not have any Rust-Oleum on hand for this projects, so I used Krylon Gold Foil Metallic.
There is only one stem used for the top most pumpkin.
For this project, I painted two stems as I am creating 2 pumpkin topiaries.
The base-ics
Once you have the pumpkins painted and drying, gather some rocks and pine cones.
The rocks will be used for extra weight and balance at the base.
Pine cones will be accents used to fill in and camouflage the base of your pumpkin topiary.
Now, while the paint is drying on the pumpkins, it is time to pick out a base and stem (or trunk) of the pumpkin topiary.
It’s good to repurpose as much as possible, so I save random found objects [cough, cough, not hoarding, cough].
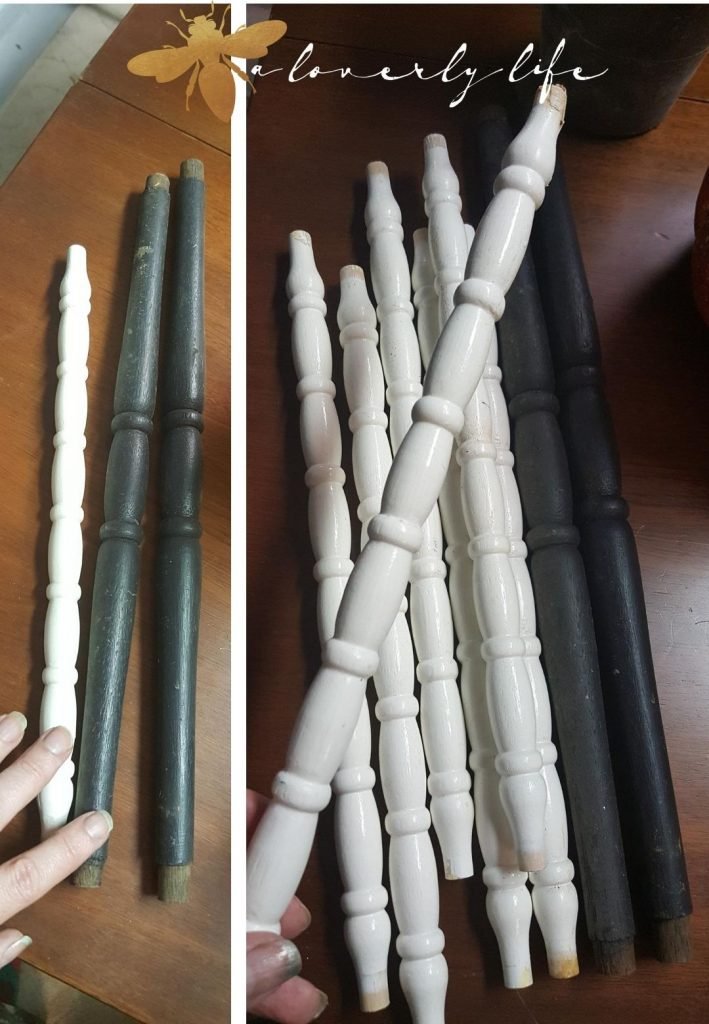
I have a collection of old chair spindles and some other spindles left over from an old changing table. Love, love, love, old chair spindles with character (they can be used for so many things). You could also use wood dowels or thick twigs, anything that is relatively straight that you will be able to poke thru the pumpkins.
Hmmm, I am really liking the black chair spindles for my pumpkin topiary.
Back to base-ics
We are ready for that base.
The base needs to be heavy enough so that the pumpkins don’t tip over. You can use a planter, or even a rusty tin can to make it more rustic. Personalize the topiary to fit your decor.
For this project, I chose a pair of footed porcelain planters.
If you don’t want the topiary to sit permanently in the container, grab one of your pot liners from the flowers you planted over the summer (do you have a stack in the shed, like me?). Place the plant liner in the container you selected and line it with plastic wrap or recycle a grocery bag that doesn’t have any holes.
I used the pot liner. These planters are a favorite of mine and would like to use them around the holidays for another project. Using the plant liner allows me to remove the entire topiary from the planter for easier storage.
We will get back to the base in a bit.

Gather the rest of your supplies; a hot glue gun, glue sticks, plaster of Paris, and a sharp knife, like an xacto knife.
Once the paint on the pumpkins are dry, the real fun begins.
Let`s get ready to assemble the topiaries.
Take the large and medium pumpkin and cut a small x in the center of the bottom and then CAREFULLY cut out a circle about the diameter of your stem. You should be able to cut thru the outer coating or shell of the pumpkin.
Do the same for the top of the pumpkin (skip this step if you are only using one pumpkin.)
The smallest or pumpkin that goes on top of the topiary only needs a hole in the center bottom of the pumpkin.
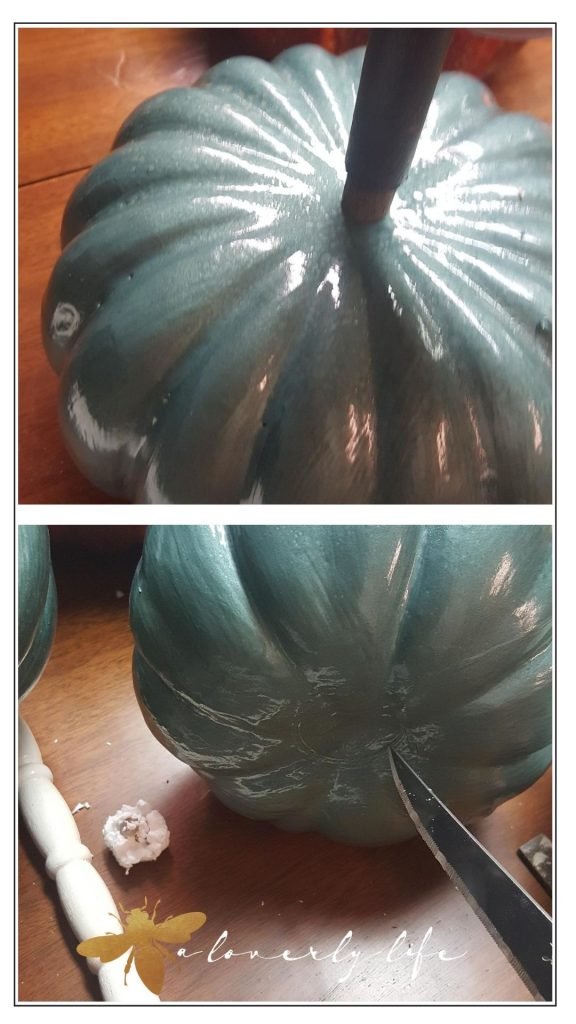

You want the hole large enough for the stem to pass thru the bottom pumpkin and middle pumpkin. I did this on a couple before I painted, but found it easier to cut the holes after I painted.
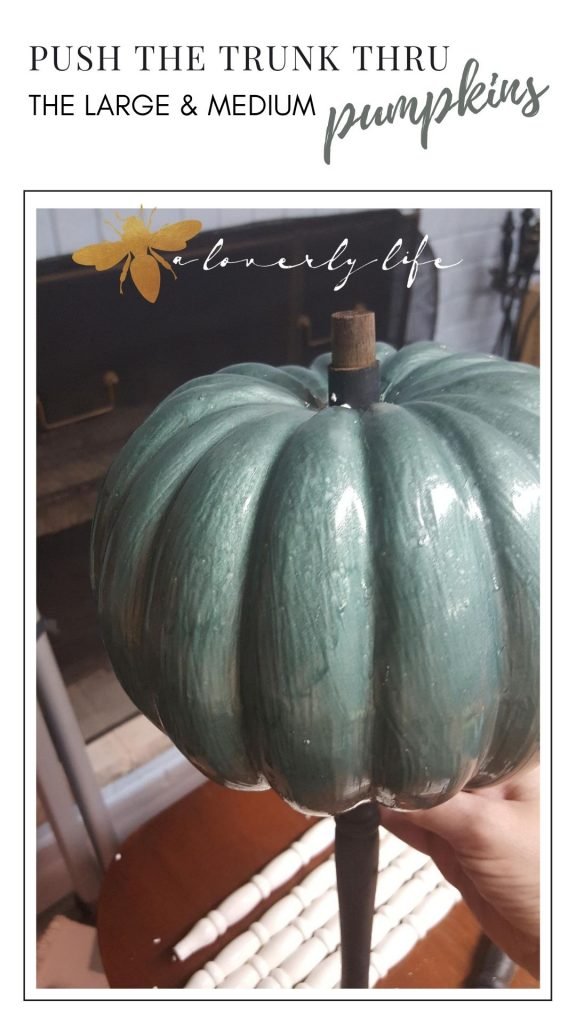
Once the holes are cut gently push the stem thru the large pumpkin.
You may need to wiggle a bit to get thru the styrofoam.
A little twist, a little more wiggle.
Then layer on the middle pumpkin. Twist, wiggle, repeat.
The final pumpkin goes on top. Add a bit of hot glue to the center before adding the top pumpkin and pop the smallest pumpkin on top.
Don`t push it all the way thru. You will need to add that pretty gold stem to the top.

Now that the core of the pumpkin topiary is assembled, here`s how to secure it to the base.
If you are using a liner, use plastic wrap or paper to cover the holes.
If you are not using a liner, you can skip this step.

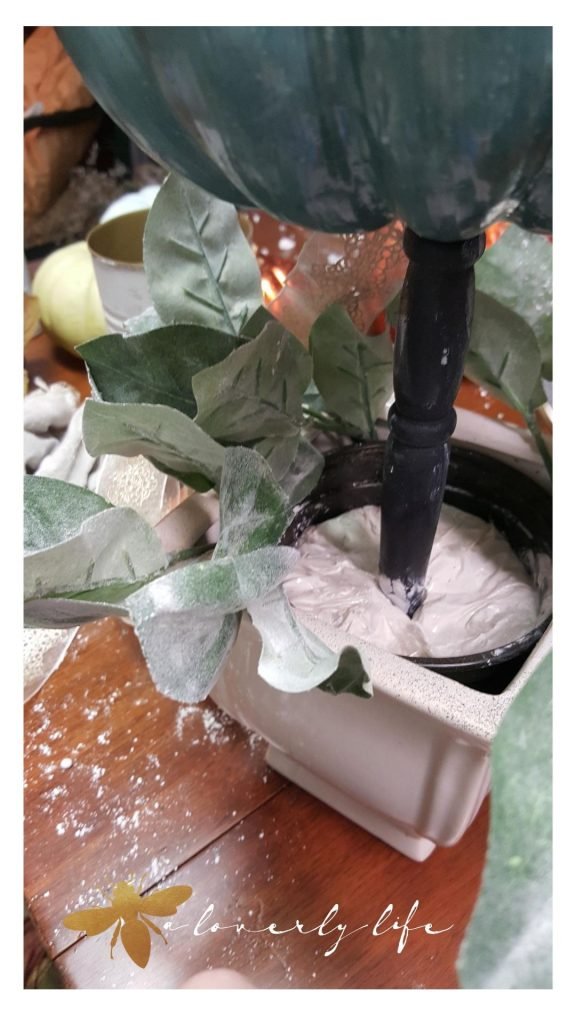
Place several rocks in the base and then insert your trunk into the center of the base. Fill in rocks around the base and move rocks around the trunk to center and stabilize it. Just don’t fill it all the way to the top (you want to leave about 2 inches or more from the top of the container depending on how big it is.)
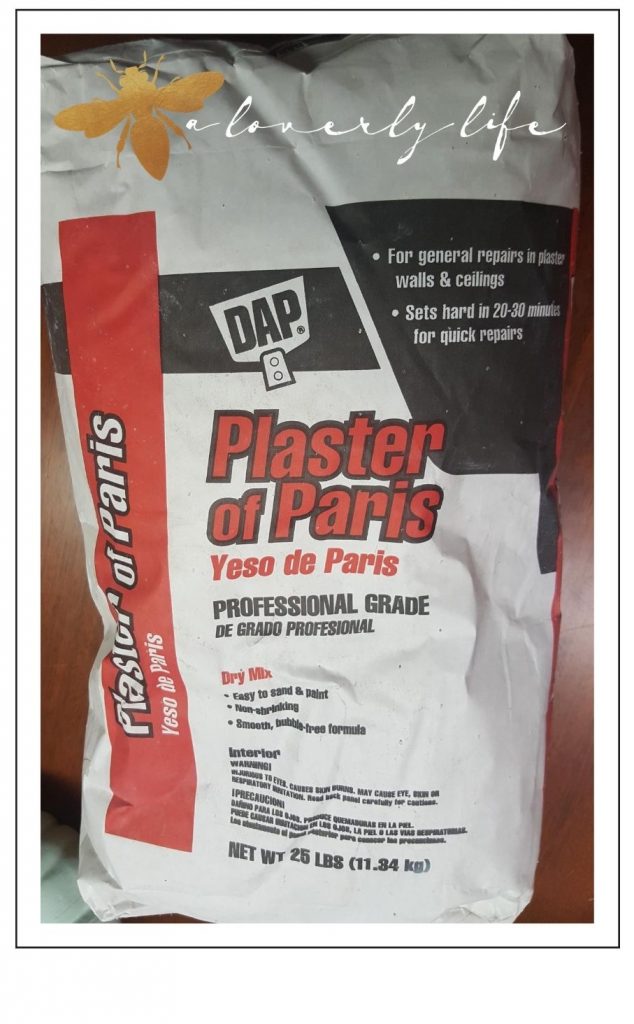
Next mix your plaster of Paris according to the package directions.
Start with a cup of the mix first, and pour it around the rocks to fill in and secure the base.
Fill the container, or liner, leaving about an inch of room at the top.
You need to save room for the accents and hide the plaster of Paris.


You can either fold over the plastic wrap or trim it.
Now, I know you are asking “Why add the pumpkins to the stem, before placing the stem in the base?”
Well, you may not have the holes perfectly centered, so the pumpkins could be askew. If it try to make the PUMPKINS look straight once is is placed in the base, no one will notice if the stem is a wee bit askew.
Perfection is over-rated.
If anyone comments on your slightly askew pumpkin topiary, kindly show them the door.
Try to make sure the topiary sits as straight as possible and then stabilize it in the base while the plaster of Paris dries.
cause its all about that base
`bout that base, no treble –
You can sing the song while working on the base, a little dance won’t hurt either.
Do your best, it does not need to be perfect. Just try get it straight and secure the stem so it does not shift as the plaster of Paris cures [in that base, base, base, base]
The majority of work is done, take a break.
Let your container sit overnight to make sure the plaster of Paris cures.
If you are like me, you will obsessively check all night to make sure it has not shifted and is still straight as it can be.
Better yet, go spend some time with the family, watch some TV, or enjoy a good nights rest.
Zhush time
Once the base cures, we are ready for the finishing touches. The zhush.
Get your hot glue gun ready and plug in in so it can heat up – or if you have on of the cool Arrow cordless glue guns, turn it on to warm up
The first bit of zhush.
Cover the base of the pumpkin topiary to protect it and carefully carry it outside.
Oh, and grab that gold spray paint again.
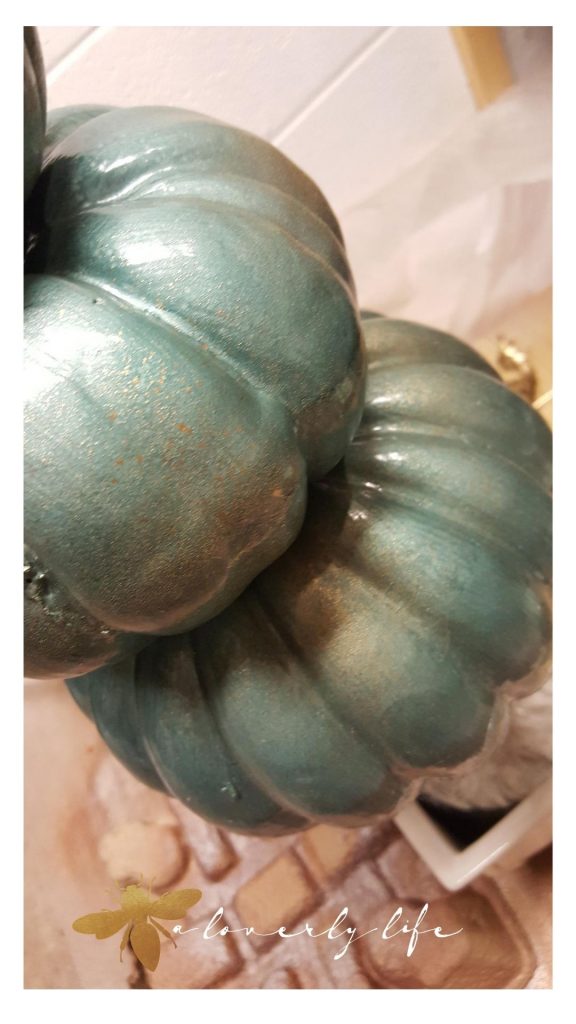
We are going to add just a BIT of gold paint. I want you to add just a KISS of the spray gold to the entire tower.
Spray short bursts to leave little specks of gold all over the pumpkins.
Light touch, short bursts. Look at that shimmer!
Zhush

Finishing details
It should only take just a few minutes to dry.
Once they are dry, bring your pumpkin topiary back in, because now we get to add all the bits and bobs to finish it off!
Use your hot glue gun to glue the moss around the base of the tree to hide the plaster.
Next, you can take faux foliage and pine cones to tuck around the base to add another layer.


I used soft green leaves, pine cones and flocked garland with white pearl berries for the verde green pumpkin topiary.

For the copper I used some faux flowers that reminded me of little Annabelle hydrangeas.
The finishing detail consisted of hot gluing a draped ribbon from pumpkin to pumpkin and tucking in a few extra flowers and leaves.
There were quite a few steps, but they all flow once you get moving.
The gold kissed pumpkin topiary is so worth the time it took to create it. Look at the gold shimmer and zhush!
I hope have fun getting ready for fall.
Let me know if you give it a try
and if you sing a little
and wiggle a little
or how long the song is stuck in your head
I’d love to hear which one do you like best, too!
a bientot – Juliet
PS – this is NOT a sponsored post. If you think it should be, let Rust-Oleum know how much I love their products 😉
Hopefully the next post featuring their products will be.