Easy DIY Fall Garland
Today I am sharing an easy DIY fall garland using fabric scraps to creative festive fabric tassels as the base of our project.
Fall is my favorite time of year but my color palate is typically muted, soft blues and greens.
I wanted to create something with colors that were more Halloween inspired when I made my fall fabric garland.
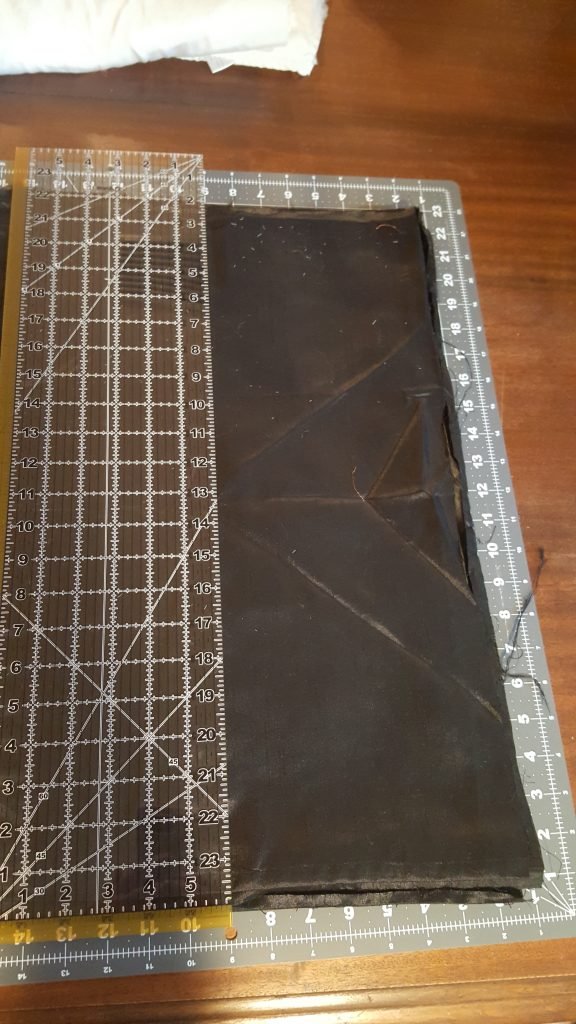
To start, pick 3 colors of scrap fabric.
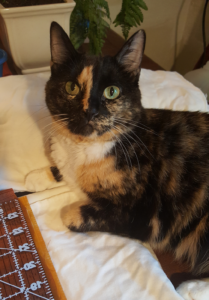
With the assistance of my office manager, Lulu, I picked black, white and a coppery orange fabric.
She prefers those colors, I wonder why?

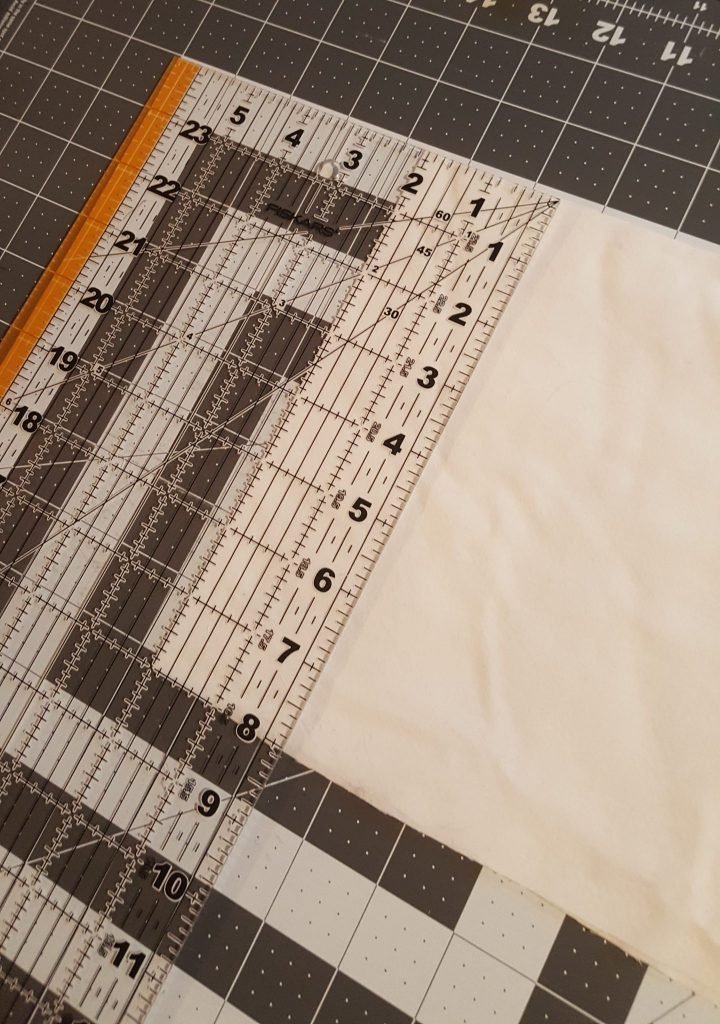
Each color fabric piece needs to be about 24 inches by 20 inches long..
Once you have your fabric picked, gather your remaining tools and supplies.
Here is what you need:
Cutting mat
Rotary blade or scissors
Ruler for measuring
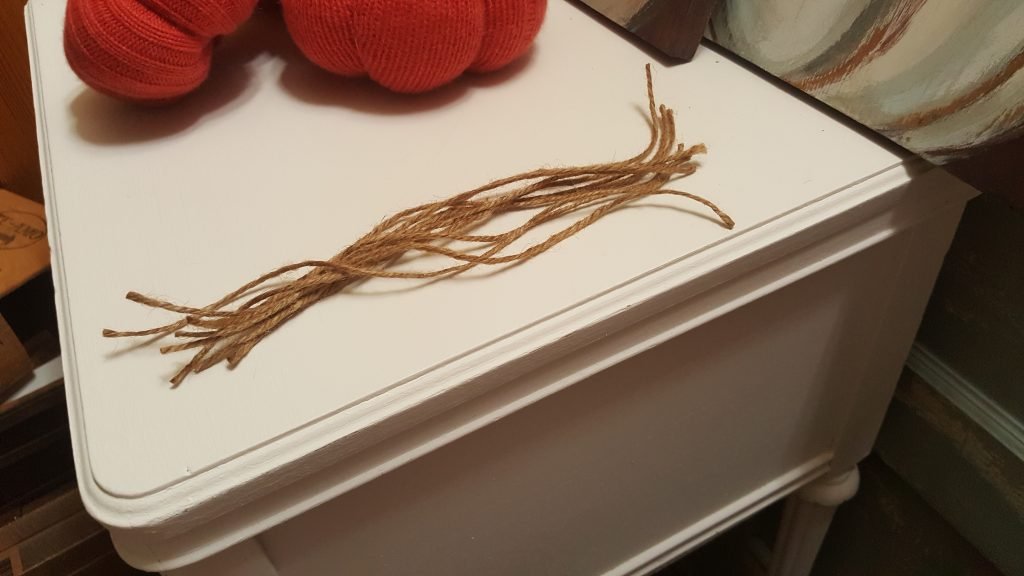
Tiny twine [as in smaller diameter]
3 yards of jute rope per garland (you can always adjust the length depending on where you want to hang it)
Ready to go?
The fall fabric garland is super easy to make.
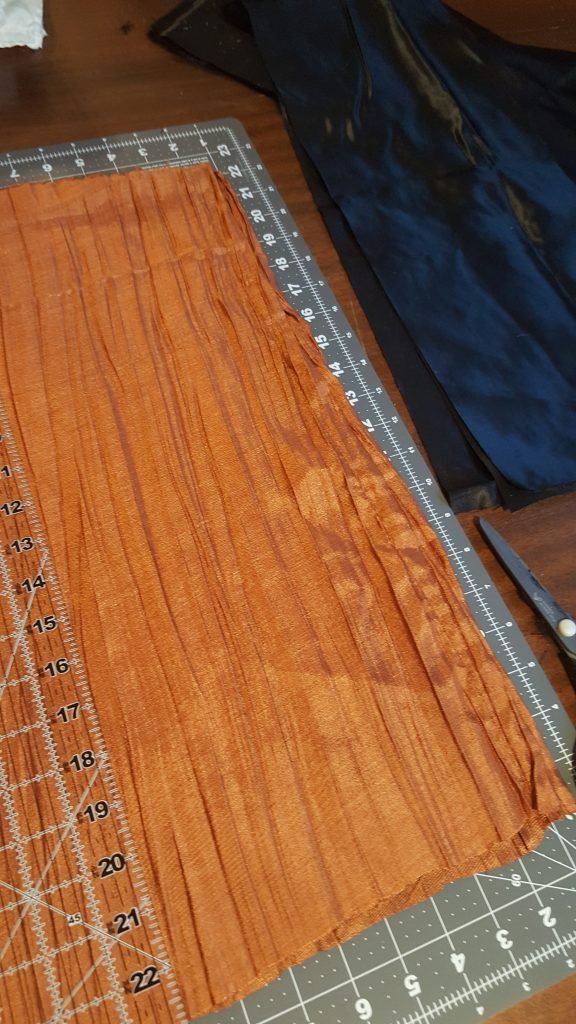
Cut your pieces
To start, cut each color into 3 pieces.
Each piece will be approximately 8 inches by 20 inches.
This is where the rotary blade makes cutting really easy.
I have a few of my favorites listed below:
*Affiliate disclosure
This post may contain affiliate links. When you click on links for recommended products and make a purchase, I may receive a small commission. There is no added cost to you.
I truly appreciate it when you click on the affiliate links, because it helps support my blog, A Loverly Life.
It enables me to create free content for you.
So from the bottom of my heart, thank you for shopping with my affiliate links!
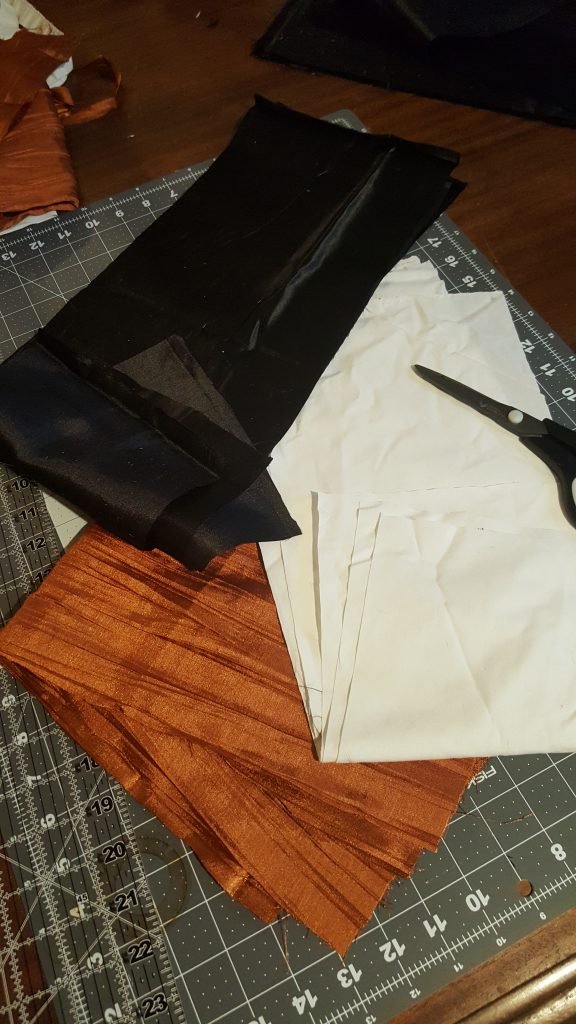
A good pair of fabric scissors makes quick work of it, too.
You should have 9 pieces, 3 of each color.
By the time we finish, there will be 9 tassels in total for your fall fabric tassel garland.
It will be long and drapey and add the perfect POP of color to your Halloween vignette.
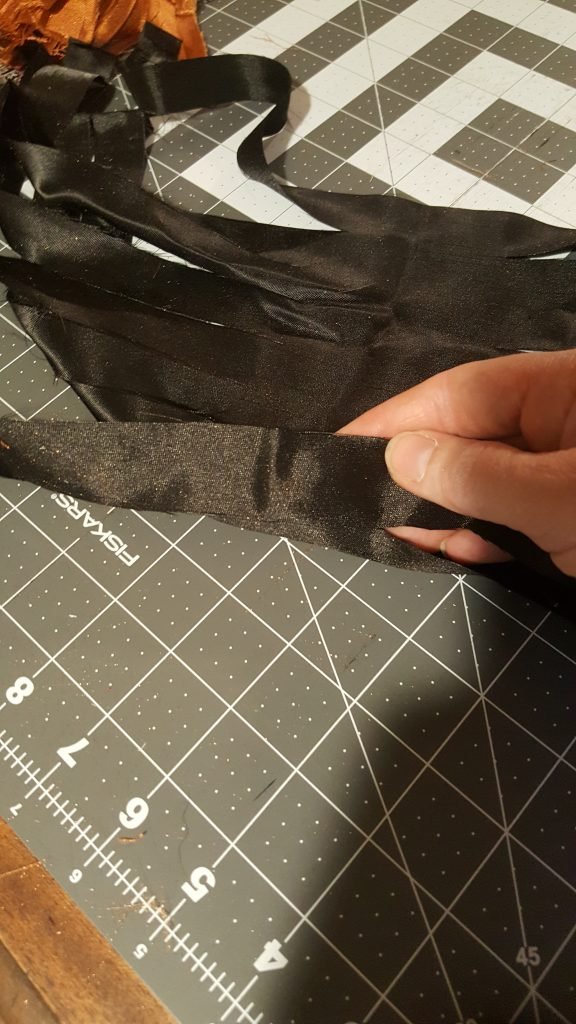
Pick one color to start with and fold each piece in half.
If you are using a rotary cutter you can fold all 3 pieces together.
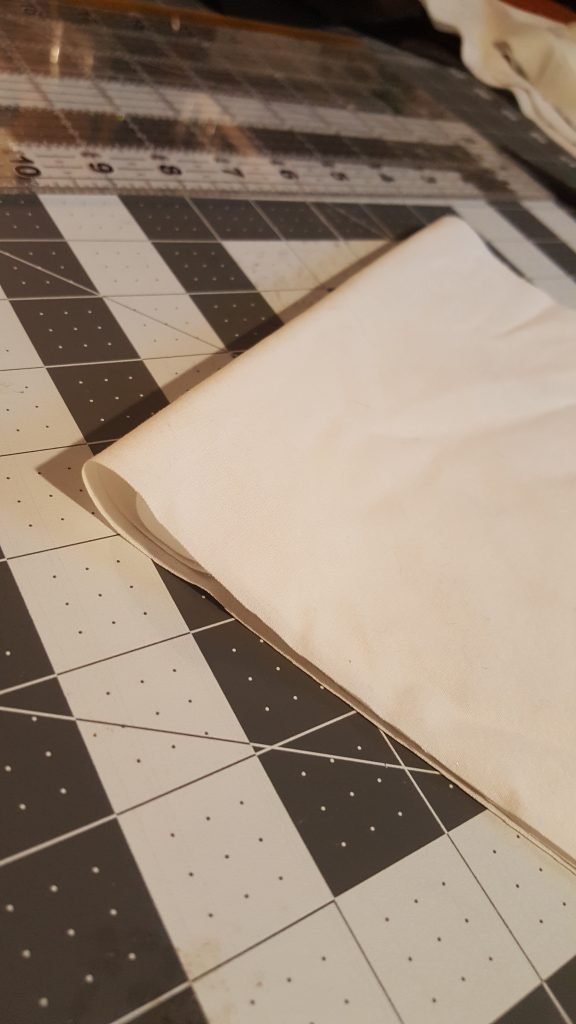
Line the up the fabric using the lines on the cutting mat for a guide.
Now, make sure the fold is pointed at the top of the cutting mat.
Next, grab your ruler and mark down 2 inches from the fold.
This is the area that will NOT be cut.


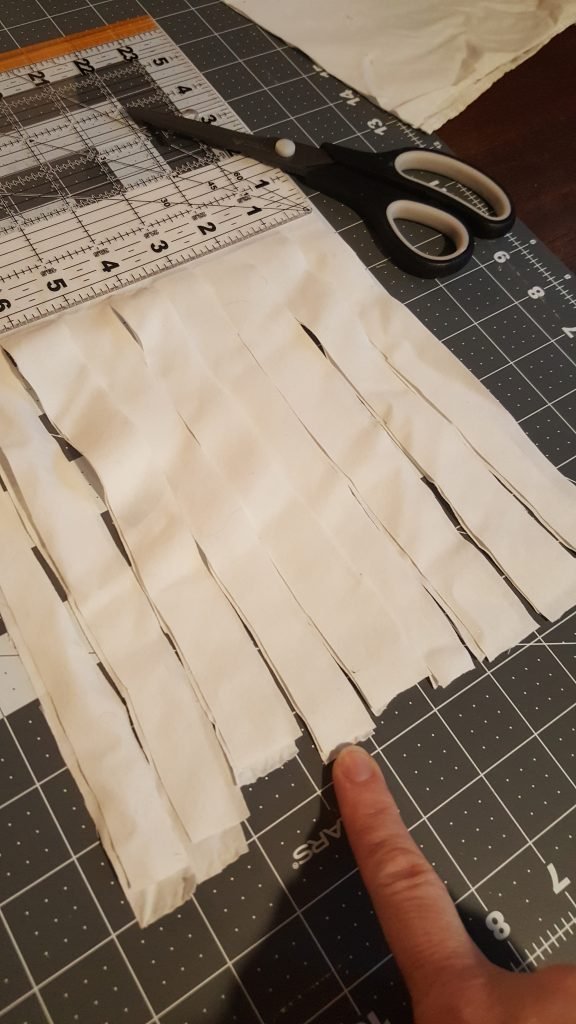
Then with your rotary cutter or your scissors, cut 1 vertical inch strips.
No worries it they aren’t EXACTLY 1 inches, it just adds character to your tassel.
See the border at the top? That is what holds it all together and will become the loop of your tassel.
Pretty neat, right?
Go ahead and cut your fabric pieces.
Don’t forget the 2 inch NO CUT ZONE at the fold.
Now that the fabric is all cut, we are ready to roll.
Actually roll.
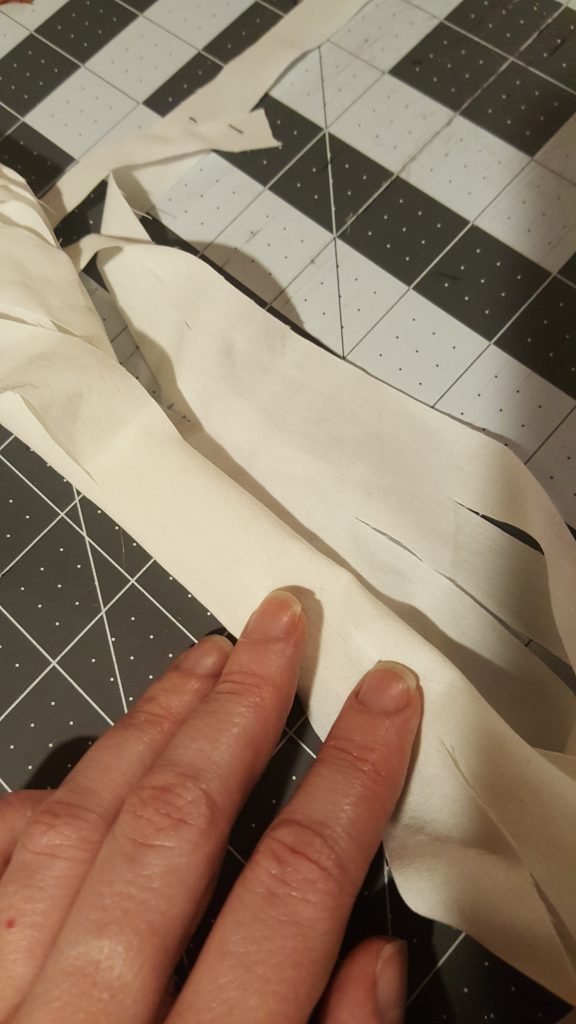
Open up one piece and lay it out flat on the cutting mat.
Ugly side up.
Then fold it in half and tie it tight with a scrap pieces of fabric.

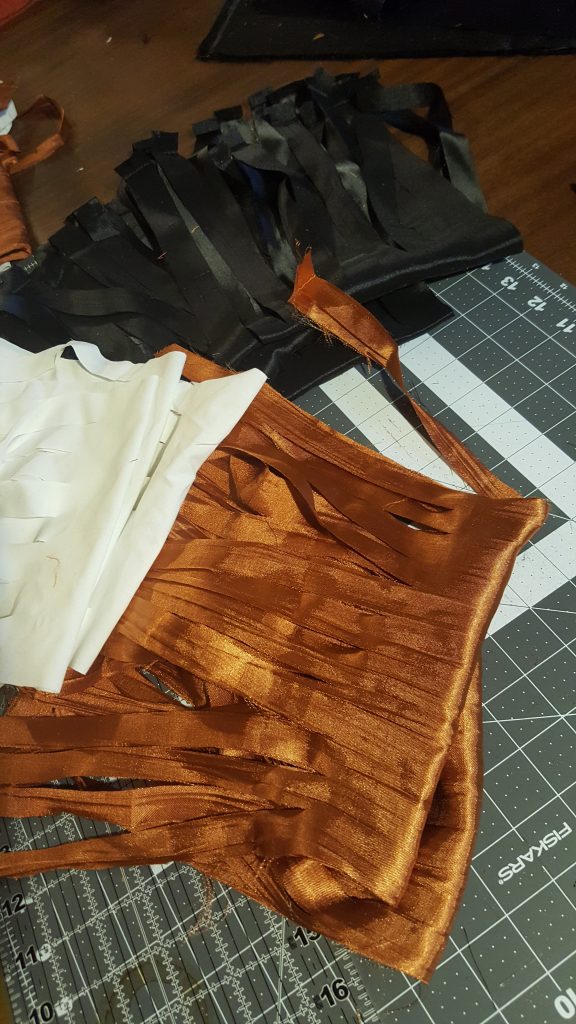
Finish up the orange ones and then on to the black ones.
Roll, fold in half, tie, repeat.

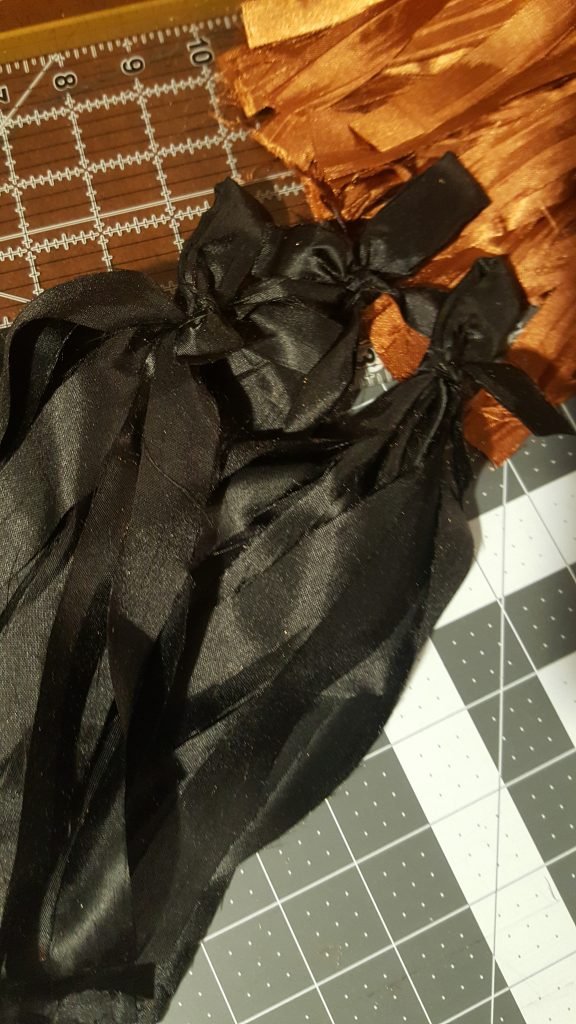
Just like that, you have 6 fabric tassels.
Only 3 more to go.
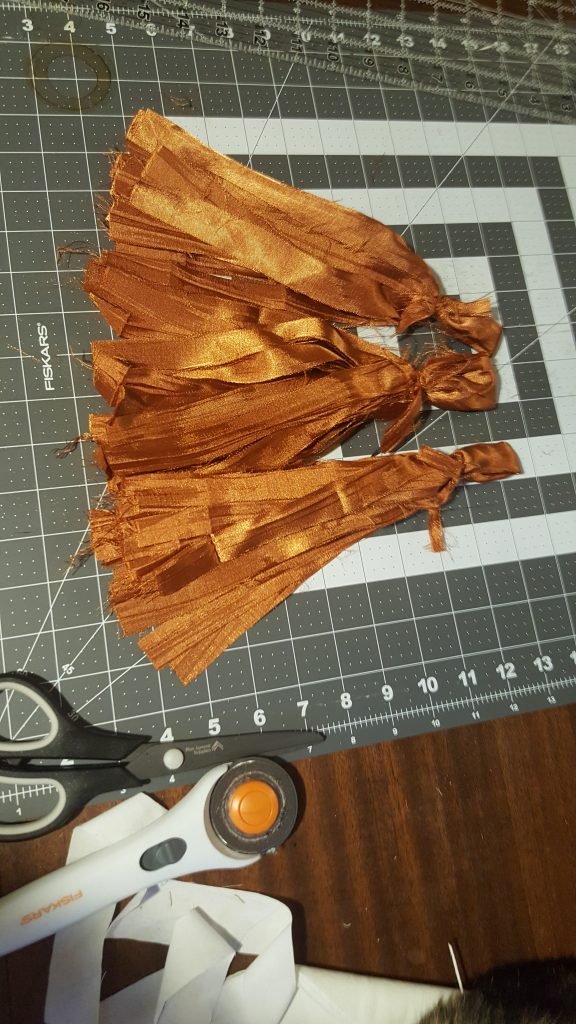
Roll, fold in half, tie off, repeat.
Look at that, you are a tassel making pro, now!
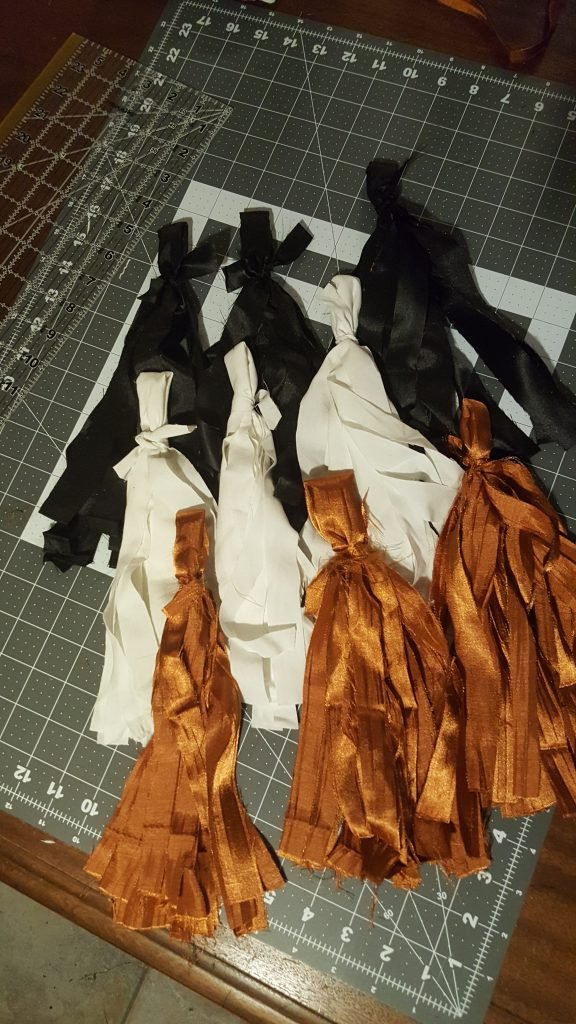
Just like that you have 9 tassels ready to go.
Here mine are in all their fall fabric fabulousness.
Ohhh, now we get to assemble it!
Time to assemble the Fall Frbic Tassel Garland
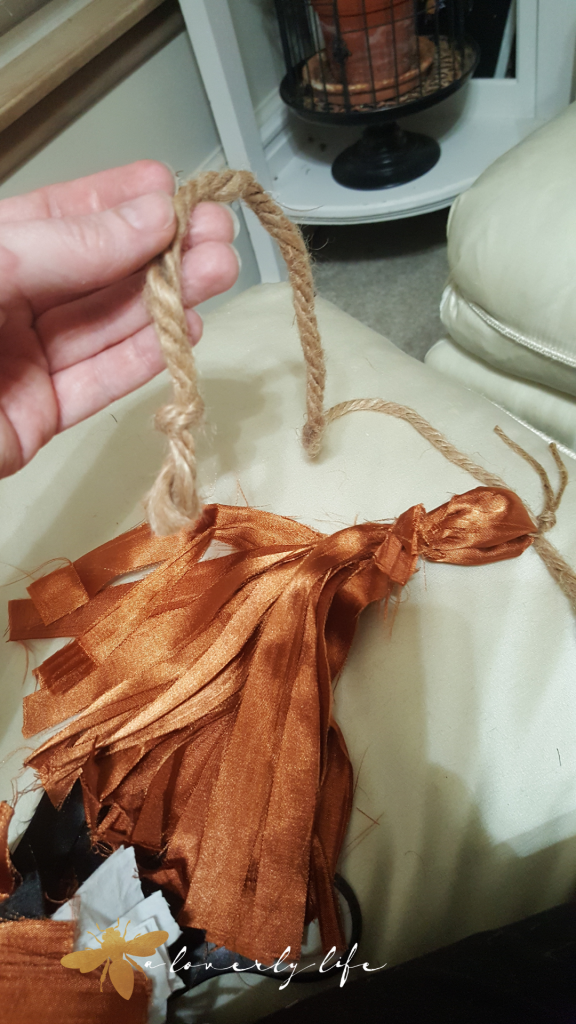
Grab your tiny twine and 3 yards of jute rope.
Cut the tiny twine into pieces about 4 inches long.
You will want 9 pieces – one for each tassel.
Feed the 4 inch piece of twine thru the loop of your fabric tassel and tie it at the top.

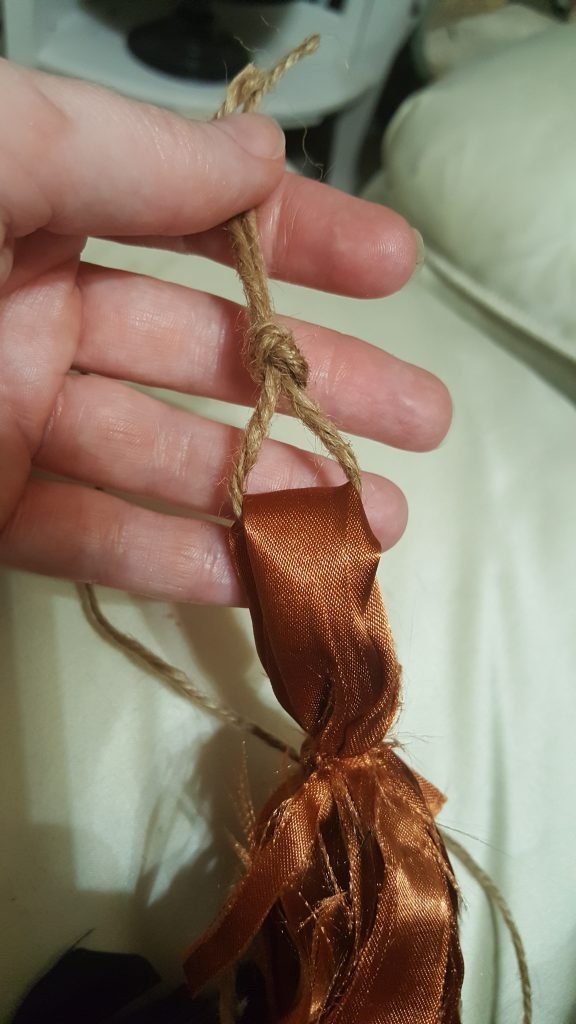
AND repeat 8 more times.
Once you have your 9 tassels with their loops made from tiny twine, you are ready to put it all together and assemble the fall fabric garland!
I like the extra loop from the tiny twine so that when you attach it to the larger jute rope, it has movement.
Oh my goodness, we are almost done!
Ready? This last bit goes pretty quick.
Grab the jute twine and tie a knot on both ends to prevent unraveling.
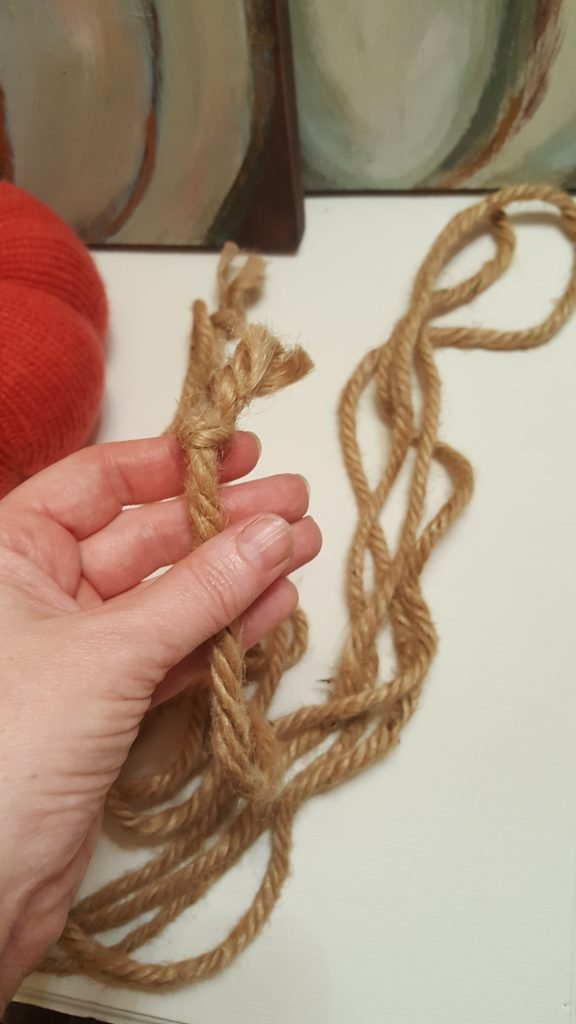
Feed the jute twin thru the first loop you made with the tiny twine about 6 inches from the first knot.
Then tie the jute twine in a knot around the tiny twine. Easy Peasy.

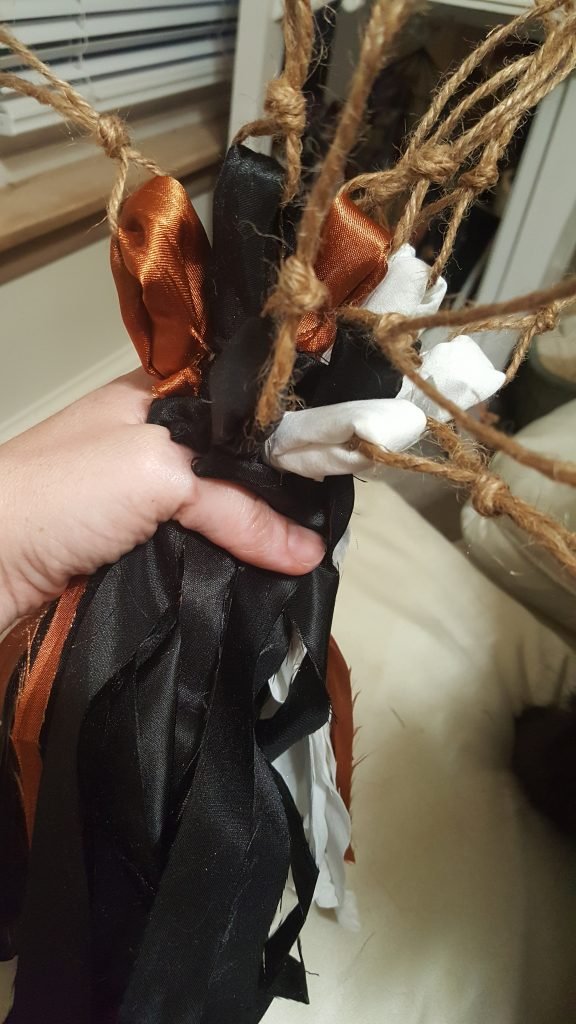
Alternate your colors and feed them thru on the jute twine every 4 to 6 inches. Then tie off a tassel.
I started with orange.
My pattern is orange, white, black.
After I added the orange, I feed the white one thru the jute twine about 4 to 6 inches away from the first knot.
Feed the jute twine, tie it off.
Move down 4 to 6 inches, trying to keep each tassel as evenly spaced as possible.
Then I added the black one the same way by feeding the jute twine, tying the knot and repeat.
Orange, white, black, orange, white black.
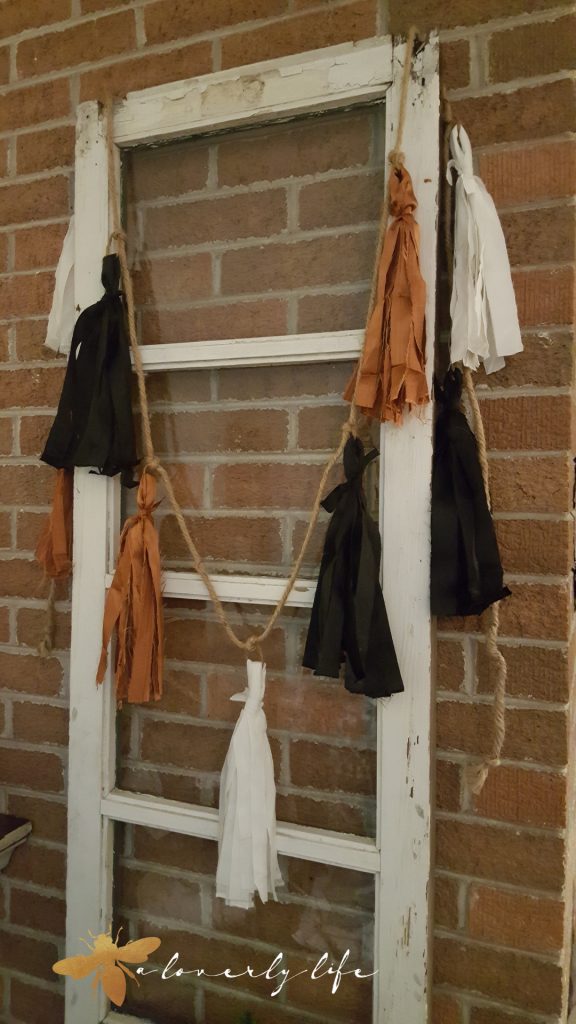
And just like that – we have a beautiful and easy DIY fall garland!
I loved the color combo so much that I made a second one, with Lulu’s help, of course.
This easy DIY fall garland project will add a pop of color to your home for fall.
What colors will you use when you make your easy DIY fall garland?
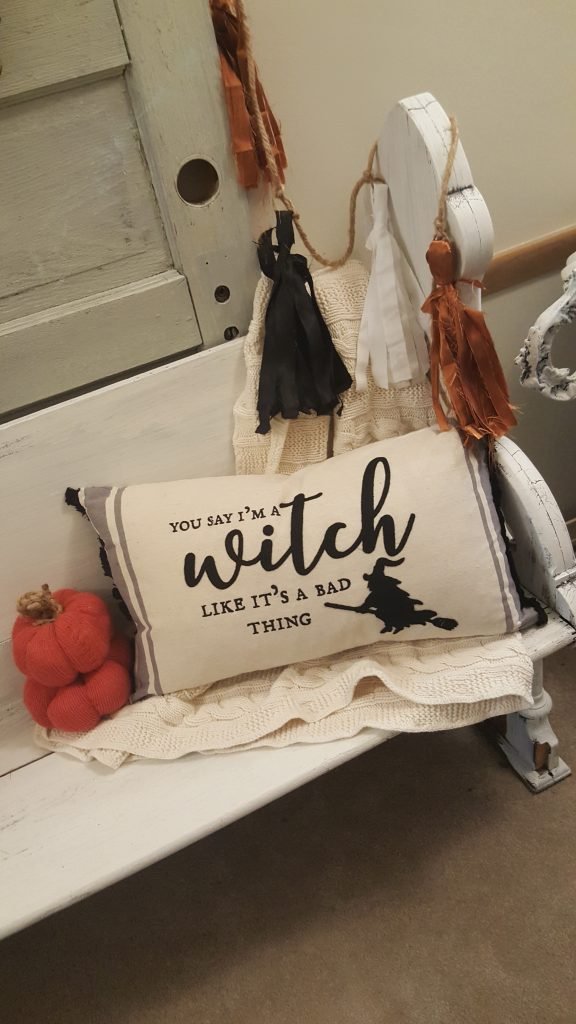
Did you spot the cute little fairy tale sweater pumpkins resting on the cozy blanket?
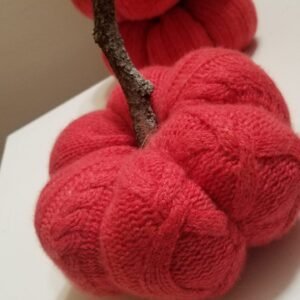
Head over here if you want to learn how to make a few for your pumpkin patch.

Don’t forget to check out how to soften bright fall foliage for your fall home decorating.
Lulu is ready for her next project.
I can’t wait to show you how I am sprinkling fall in to my home decor over the next couple weeks.
I hope you enjoy this fun fall DIY.
Juliet


I love it Juliet!! The possibilities are endless of ways to decorate with these tassels! I love them wrapped on the old window! Such a great idea! Thanks for hosting such a fantastic blog hop again!!
Thank you Stephanie! My helper love keeping an eye on things. I am trying to reupholster a chair and OMG her and her sister are keeping me on my toes! Thank you for hopping with me again.
Happy Fall! You have such a cute helper 🙂
Thank you Marie. Are you ready for the wee one to arrive?
Cute garland and pillow too!
Thanks Donna – My birthday is on Halloween, so I couldn’t resist that pillow! I found it at Marshalls 🙂
I love the look of these with fabric – so much more substantial than yarn.
What a great craft! I love it! Thanks for sharing!
Love the garland and thanks for hanging in there with me!! It must be hard moving and doing this at the same time.
Such a cute and fun DIY! Love it!