How to Repurpose a Vintage Chair into Christmas Decor
File this one under upholstery fail turned pretty cool holiday DIY.
So this upholstery fail story goes a bit like this (stop me if you have heard it before)
You find a pair of chairs at a price you CANNOT pass up.
I found this pair of vintage chairs when I was out thrifting for only $4.99 a piece!

What a steal, right?
My grand design was to strip the fabric, paint and recover them.
In fact, I upholstered the cushions first. That is why they are missing from the photo.
The chairs were going to be SO gorgeous.
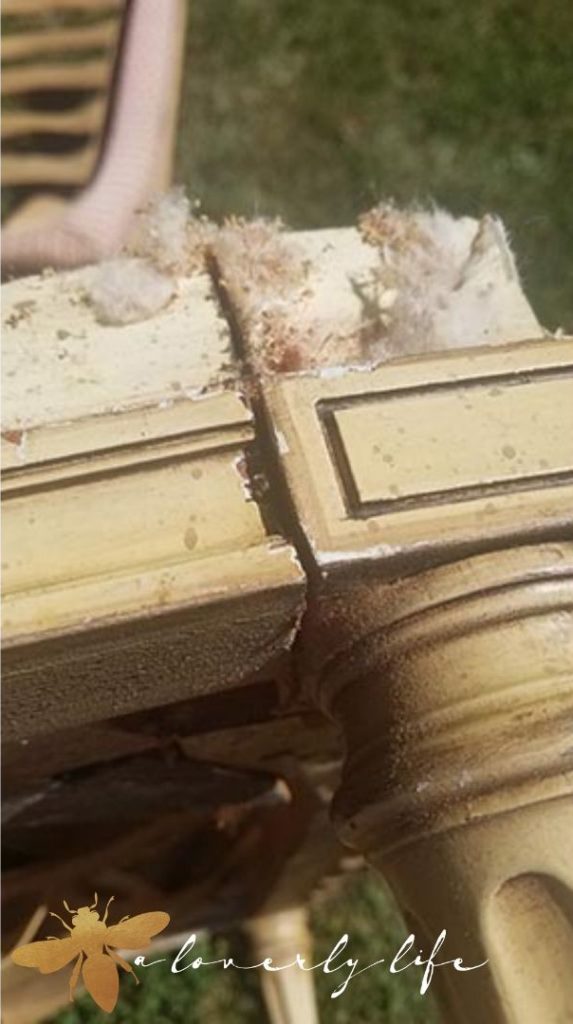
Well, that was until I started to remove the fabric.

See all those itty bitty rust nails?
Itty bitty rusty nails covering MORE layers of fabric.
Affixed with more itty bitty rust nails.
Oh my goodness, it would take HOURS to try and pull each on of those little tetanus shots waiting to happen. The itty bitty rust nails were layered and layered.
If I were to forgo the fabric removal and tried to staple over them, I would keep hitting nails and my staples wouldn’t hit wood.
Then I had an idea.
Those legs sure are cute.
Ohhh, this is going to be a fun DIY!

Chair legs are the center of our DIY today.
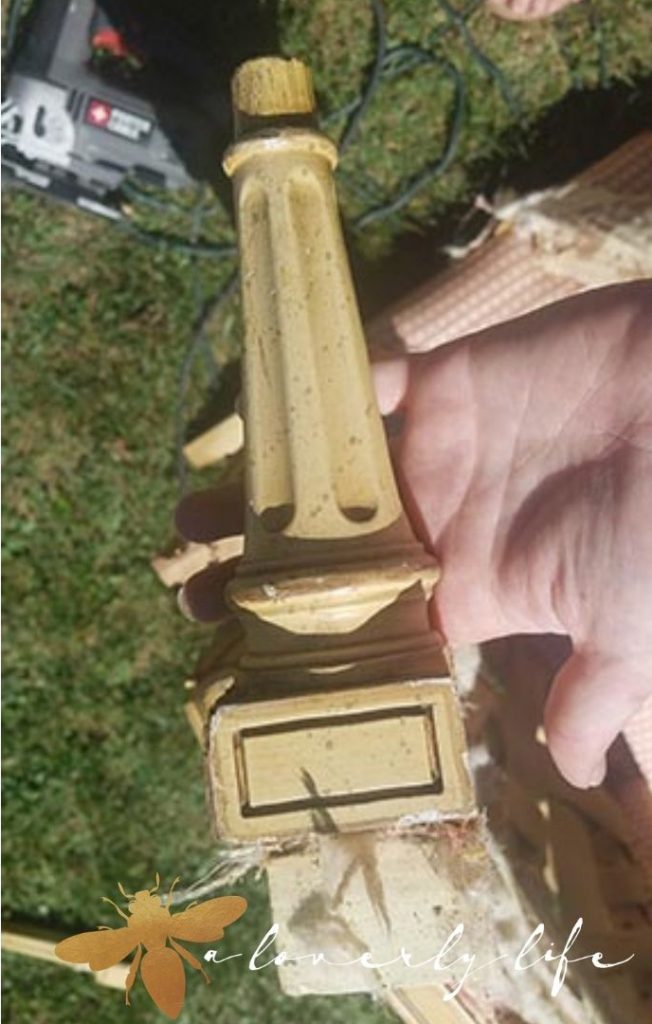
We are going to start our project by removing the fabric around the legs, so that we can remove them.
Once the wood is exposed, I used my trusty scroll saw to cut as close to the to as even as possible. We want to cut thru the wood dowels that secure the legs to the chair base.

Oh, I just love the charming details on these chair legs.

Most people would see a chair leg. What else do you see?
How about we change our perspective?
It’s shaped like a tree!
I am going to make a pile of chair legs in to a forest of trees.
To make your own trees, you are going to need a few more supplies in addition to some vintage chair legs.
- Paint for the trees, trunks and bases
- Paint brushes
- Sandpaper
- 3 x 3 square wood bases – these are my favorites
- Glue
- Drill
- Drill bits – for pilot holes and screws
- Screws
- Drawer pulls – I like the crystal or glass ones
Are you ready to see how it easy it is to transform vintage chair legs in to holiday trees?
I got a bit excited about the project and ended up using several types of vintage chair legs.
My collection of vintage chairs is always growing, so I picked out the chairs in the worst shape and removed the legs.
I figured these would make nice Christmas presents.
After removing the legs from your chairs, sand where the dowels were cut. You want them nice and smooth.

Then fill in any holes with wood putty and sand those smooth.
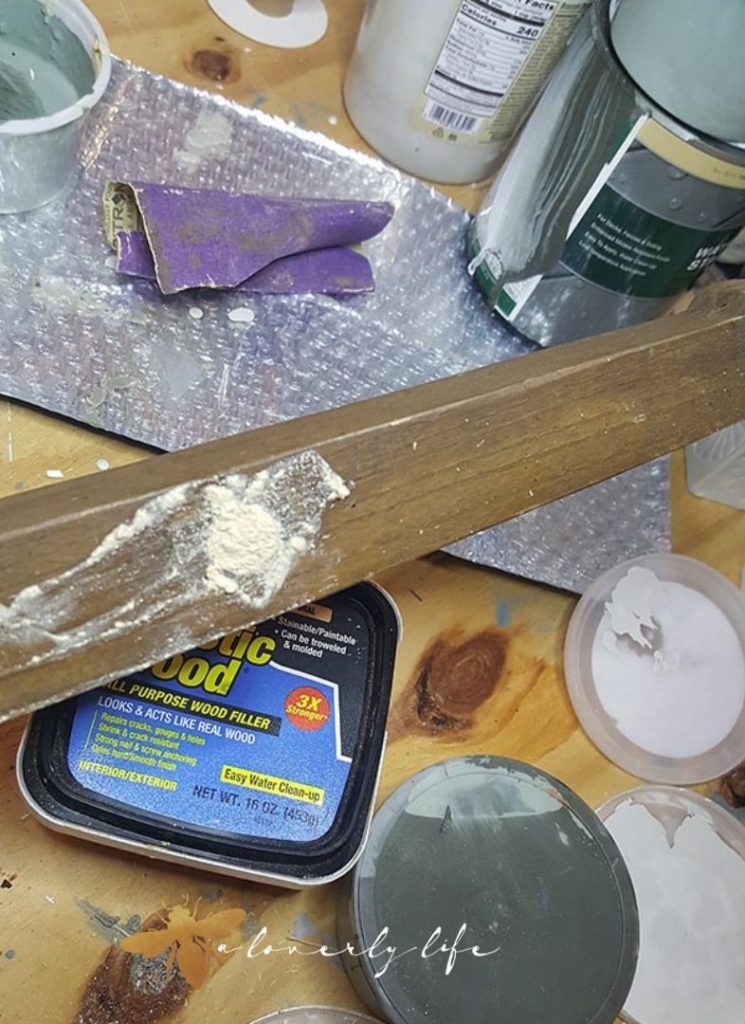

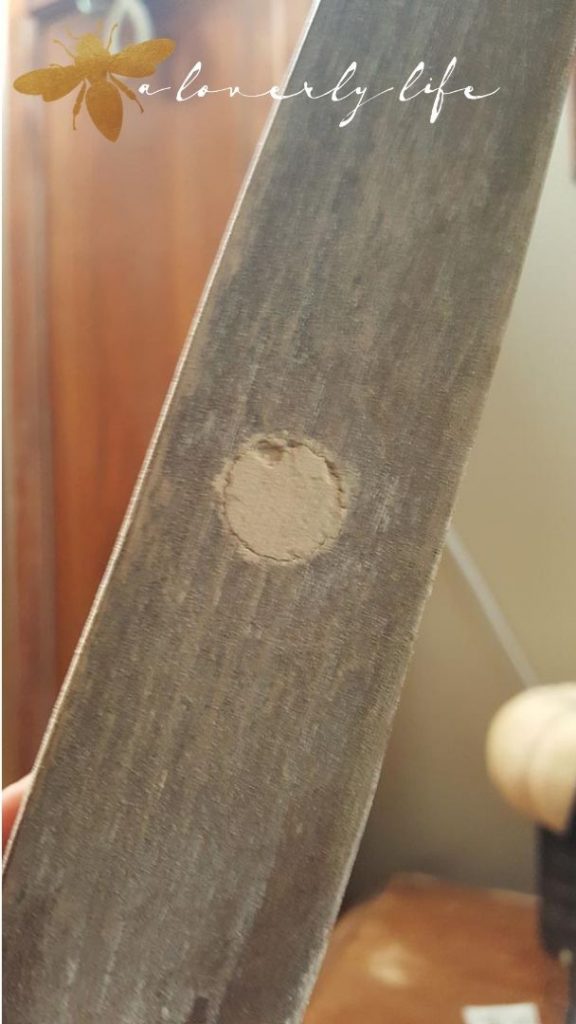
It doesn’t have to be perfect. Perfection is overrated.
I think the dents and dings show the history of the piece.
One quick step before we paint – you will need your drill and 2 drill bits.
A skinny one to drill a pilot hole in center base of the tree and one that is about the diameter size of your drawer pull tree topper.

The bottom pilot hole is so that when you screw on the base, the wood doesn’t split.
The top pilot hole is for the drawer pull tree topper, because our tree needs a sparkly topper.
Once the pilot holes are drilled, it is time to paint.
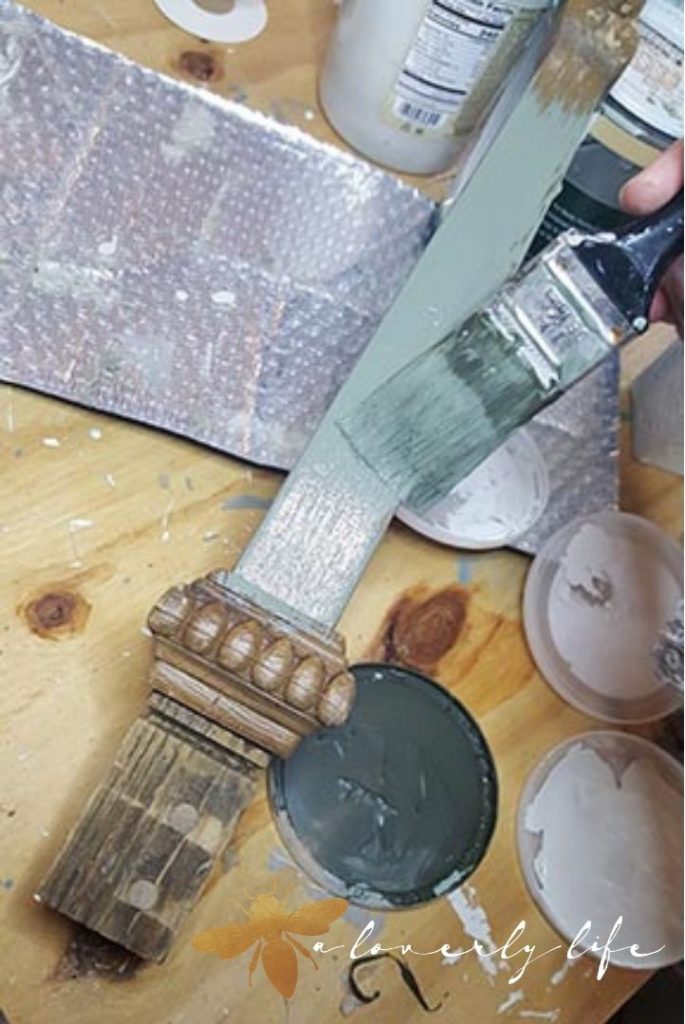
Paint the tops of your tree green.
I used various shades of green.
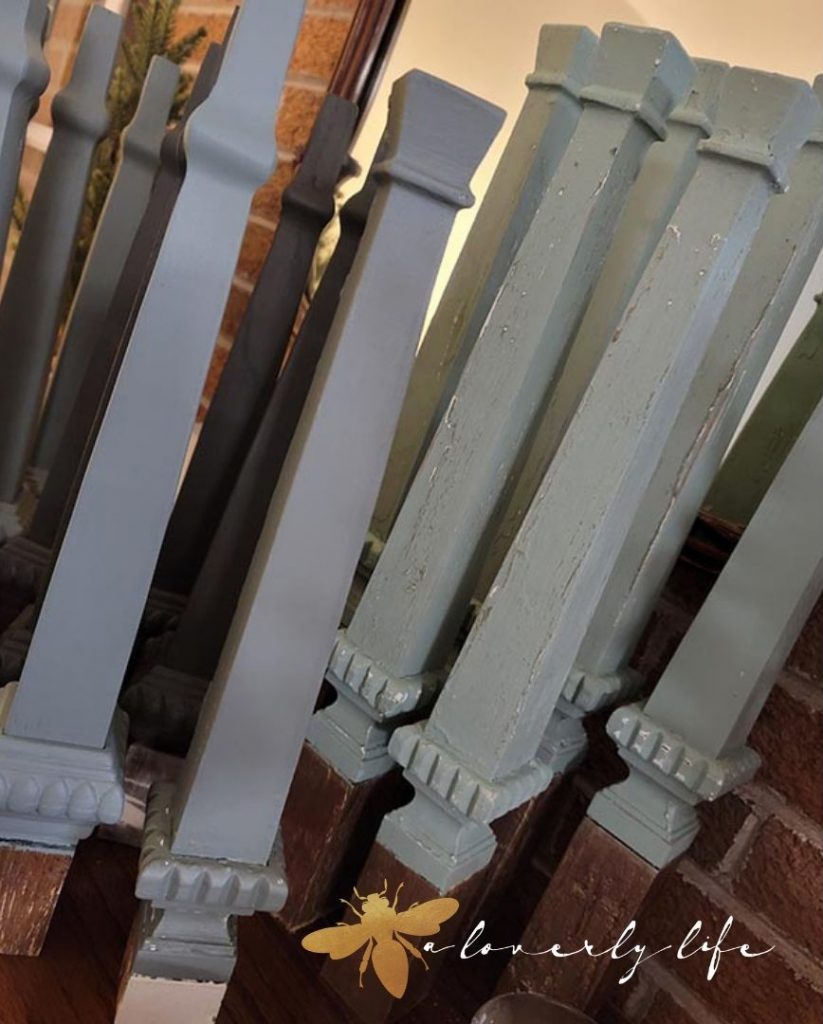
Once the tops dry, paint the trunks.

It’s a forest of vintage chair leg Christmas trees!

I painted some tree trunks white and others with a crackle gold.
While the trees are drying, it is time to paint the bases.
I like these square 3″ x 3″ plaques. You can find them at most craft stores and online at Amazon.
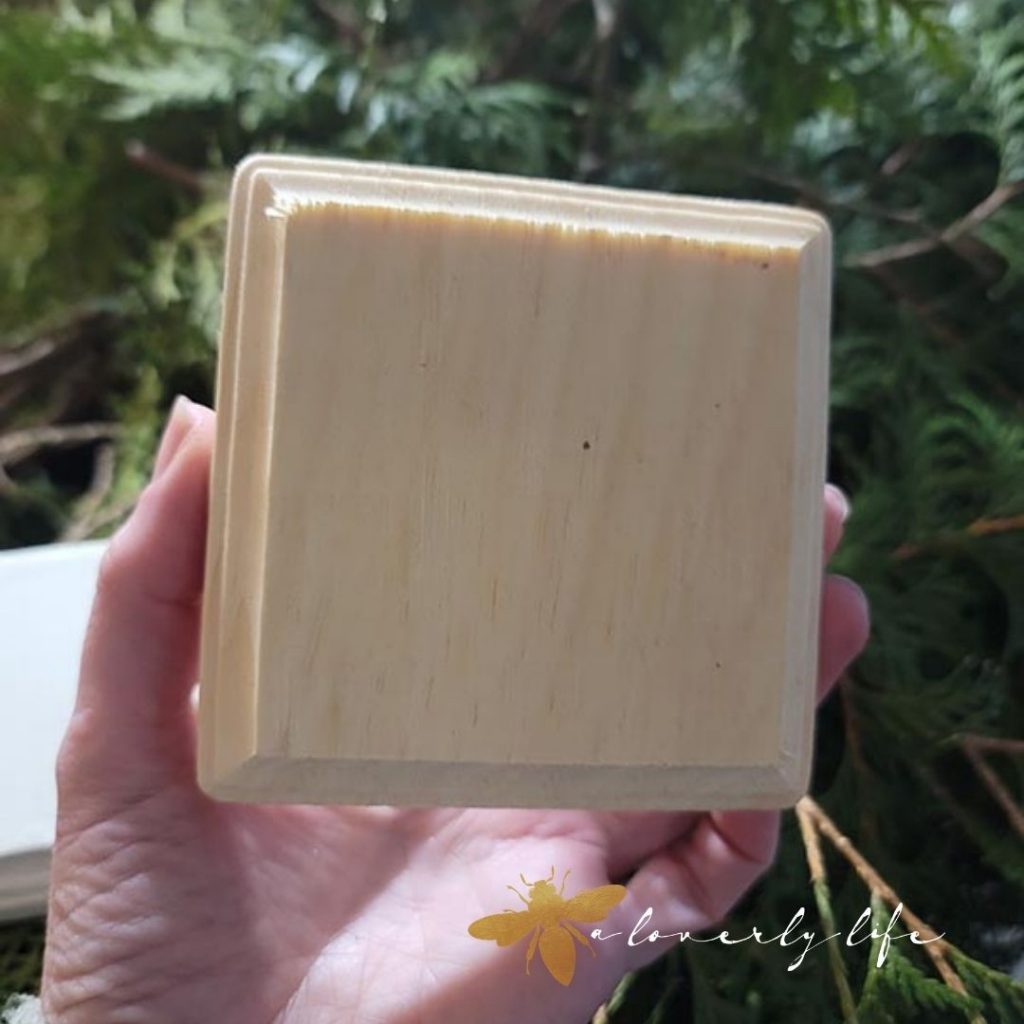
I painted some of the bases white because they reminded me of snow.
Others were painted gold and distressed.

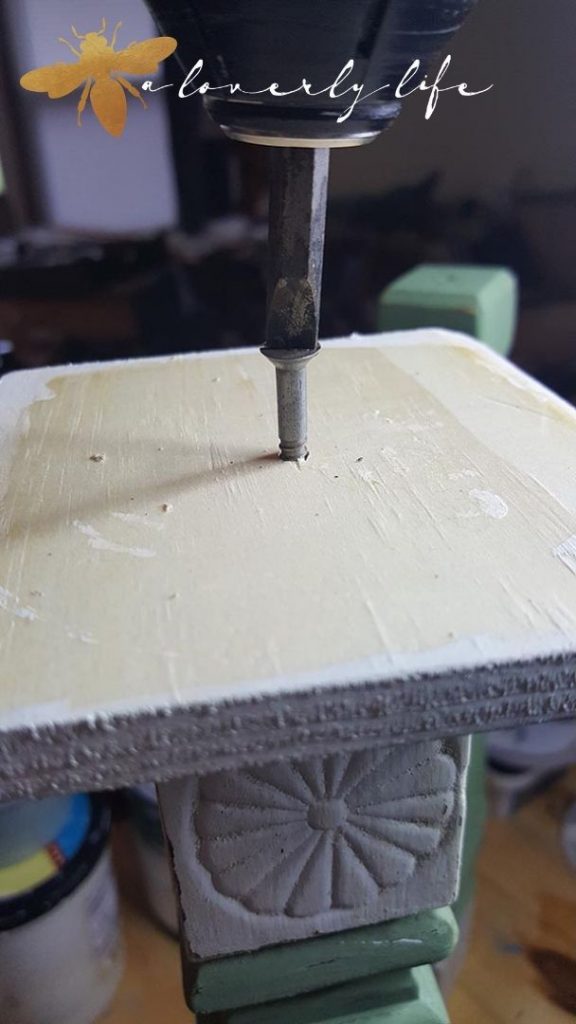
Once the base is dry, drill a pilot hole in the center.
Make sure the hole is smaller than the screw you are going to use, you want to give it enough room for the screw to grip.
Then attach your base to the bottom [widest part] of your freshly painted tree.
I distressed the tree, for a bit more character, with sandpaper.
Now that the trees are dried, bases are attached and distressed, they are ready for their final touch.
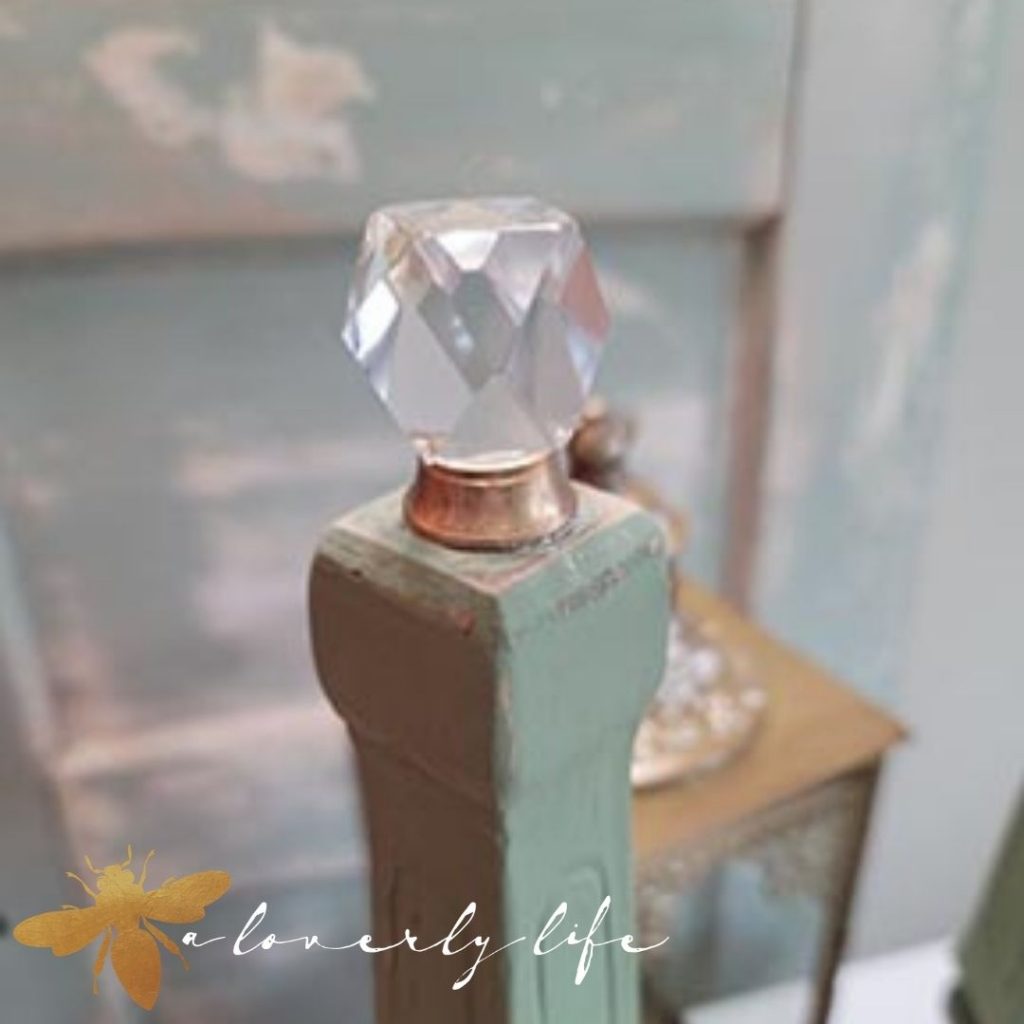
I always have a collection or drawer pulls for furniture flipping projects, so I went and grabbed some of my favorites crystal pulls.

Squirt a bit of glue in the hole that you drilled on the top of your tree and insert the handle of the drawer pull.
Press down gently so it is flush with the top.

These crystal drawer pulls are just the perfect tree toppers.
Once your toppers dry, you are done!
Wasn’t that easy.
Think of all the things you can create when you change your perspective!

Aren’t they beautiful?
I hope you found this project as loverly as I did.
Repurposing found objects is so fun and I love how it keeps me creating.
If you like this DIY, make sure to Pin it for later or invite your friends to check it out.

My blogger friends have joined me to put together some AMAZING holiday decor by repurposing items we had at home.
Click on the links to see what they came up with!