French Country Cottage Sideboard
Sometimes a furniture makeover doesn’t turn out like you planned. I planned on painting this French country cottage sideboard for my living room but as I removed layers of paint, the inner beauty shone thru and my plan completely changed.
I was on the hunt for a focal piece to go in my living room. I tried a couple of pieces, but none of them were quite what I was looking for.
An interior designer friend of mine was looking to offload a couple of project pieces (pieces that needed some work) and one of those pieces was this sad grey buffet.

When I look at furniture, I look at the shape and style of the piece.
The paint color doesn’t matter, because that can easily be changed…sometimes.
My goodness, there were SO many layers of paint.
It looked like a roller was used on one of the layers, so the finish was lumpy and bumpy.

and the grey semi-gloss finish was scratched and peeling in places.

This sideboard needed some love.
That shape though, look at the way the feet have the prettiest curls and the curvy drawers are so charming.
Quaint French country cottage style, it should be the perfect piece I was looking to place in the living room of my little Loverly Cottage.
This is certainly a project piece, but I think this one’s a keeper. It should look beautiful with a fresh coat of paint.
Before I can paint it, I need to strip off all those layers of paint.
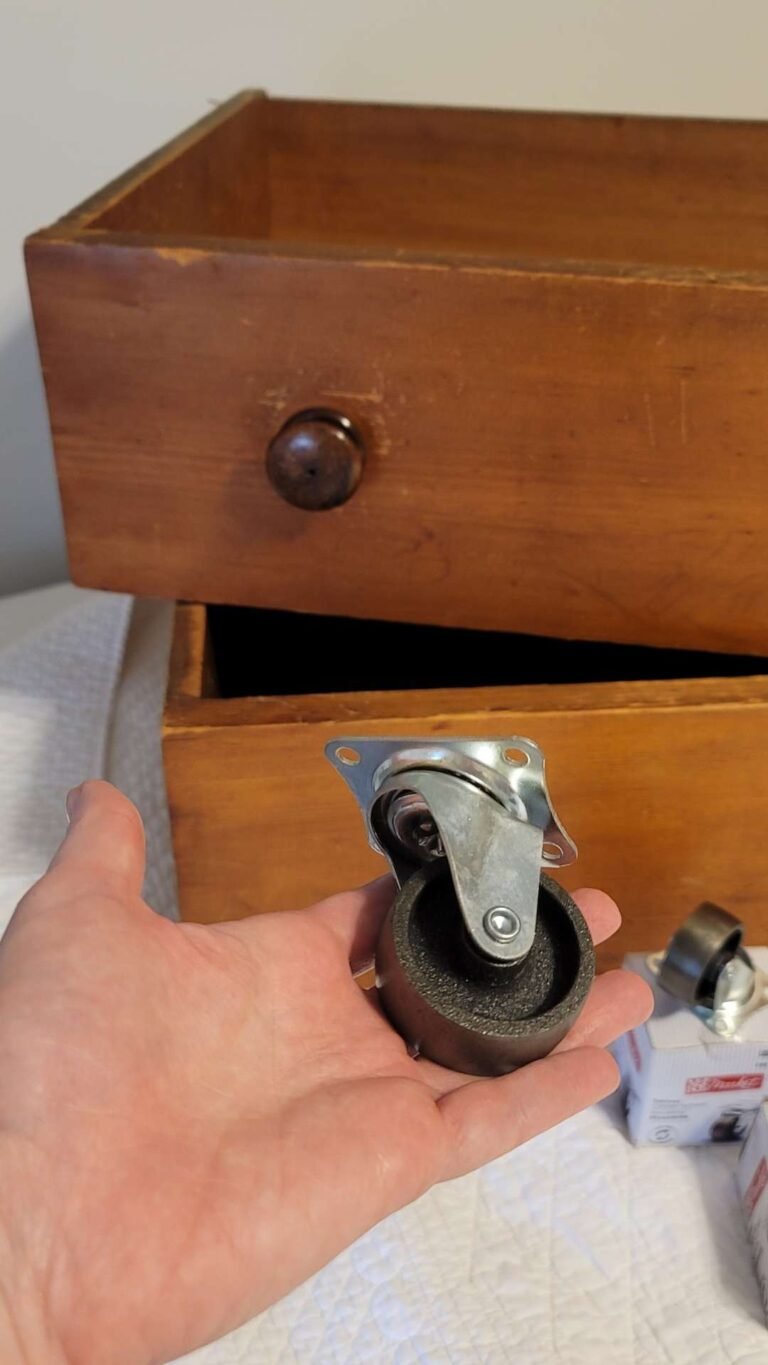
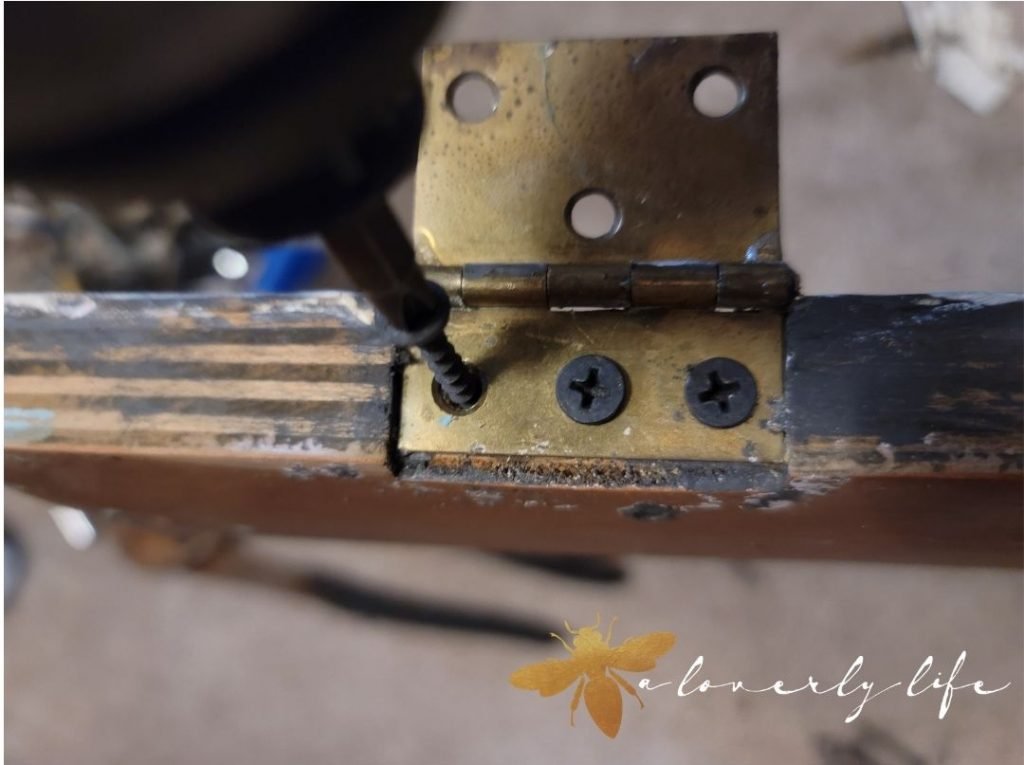
First things first, make sure you remove your hardware. Not only did I remove the drawer pulls, but I removed the doors to make it easier to remove the paint.
Just make sure you save the screws.
This is a special case, the screws securing the hinges in this sideboard are not original. They are mismatched screws, some dome head instead of a flat head.
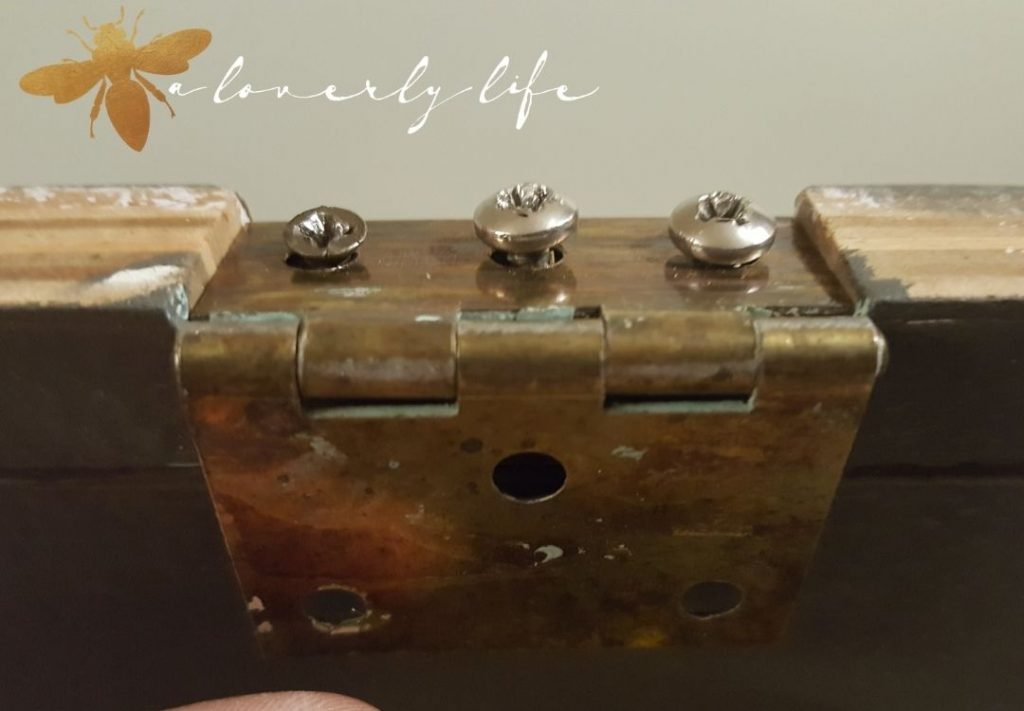
and the hinges on one of the side doors was a bit wonky, it was put on backward.
I will make sure to correct that when it comes time to put the pieces back together.
Now I need to remove all those paint layers.
Stripping paint
This piece has some real inner beauty. I look forward to peeling off the layers of old paint so that it can shine thru.
There are a quite a few ways to remove paint.
I used 3 different techniques for removing the paint on this buffet, all of which will require a bit of elbow grease.
- Heat gun
- Chemical Paint stripper
- Sandpaper
Heat gun
A heat gun is fabulous for removing layers of paint on large flat surfaces, but you need to be safe when using it.
Before you plug in your heat gun, you need to gather a few things.
- Heat gun
- Heat protective gloves
- Metal paint scrapper or 5 in 1 tool
- Flat head screwdriver
- Long extension cord
It is best to use a heat gun outside or in a well-ventilated work area (with nothing flammable around) on a COOL day.
Heat guns generate heat.
This may sound obvious, but it can get warm, and using a heat gun to strip paint on a hot day just makes things uncomfortable.
Another good reason to use the heat gun outside is because just a touch of smoke sets off those smoke detectors in the house.
You need to keep the heat gun moving, or else you could potentially burn the paint or scorch the wood causing a bit of smoke.
I may have set off the smoke detectors a time or two (or 4), so it is best to do this outside. This is one of those “do as I say, not as I do (did)” moments.
The project was moved outside, so I would stop setting off the smoke detectors.
You also want to make sure to have a pair of heat protect gloves.
Honestly, you may not realize how many ways you can use heat-protective gloves.
Summer barbecues, a fire pit, a hot fireplace, they even help when removing that turkey from the oven in the giant roasting pan.
It also helps to have a couple of different sized scrapers, but one of my favorites is the 5 in 1 tool.
A five in 1 tool has a scraper edge, a sharp point for digging into the crevices, and a small flat edge that helps get into corners and smaller areas.
A flat edge screwdriver also helps maneuver in detail trim.
Plug your heat gun in using the extension cord. This helps you move more freely around the piece of furniture that you are working on.
Make sure to wear the heat protecting glove on the hand that you are going to be scraping with. You don’t want to get burned.
The heat gun gets HOT.
Turn on your heat gun and aim it at the paint.
Try to keep the heat gun moving, it decreases the chances for scorching or burning.
Once the paint begins to soften or bubble, start scraping. Move the heat gun just in front of the scraper.

That heat gun will cut thru multiple layers of paint like buttah.
When the paint starts to build up, turn off the gun and set it down someplace safe (that tip will get hot!). Then using your gloved hand pull the steps of peeled paint off.
The paint can stay hot for a bit, so make sure to use that heat protecting glove.
Unfortunately, there are some spots that are difficult to get in to with the heat gun, like the curvy legs and beautiful scalloped edge.
That means it’s time for a different kind of stripping.
Chemical Paint Stripper
There are so many types of chemical paint stripper.
Some of them are highly flammable PLEASE DO NOT USE AT THE SAME TIME AS THE HEAT GUN.
Be safe with that heat gun, please.
Use the heat gun to remove large areas FIRST, then move on to the chemical paint stripper.
Climbing off my safety soapbox.
Back to chemical strippers. I like to stay as green as possible and I don’t like the chemical smell – I have awful sinuses and the stinky chemicals really get to me.
To use chemical strippers I like to make sure I have
- CitriStrip Gel paint stripper
- Gloves to protect your hands
- Different sized paint scrapers
- Stripping pads
- Safety goggles
- Saran Wrap
- Old box to catch the paint after scraping
My go to chemical paint stripper is CitriStrip.
Low VOC, no stinky chemical smells and it works great to remove multiple layers.
Please follow the instructions on the label.
Quick tip, once you brush on the gel stripper on the furniture, cover it with saran wrap. This keeps the stripper from drying out and lets it sit longer and really sink into those layers of paint.
I let mine sit a couple hours.
You should see the paint bubbling, then you know it is ready to scrape off.
Put on gloves to protect your hands from the chemicals. Then gently scrape the paint off into an old box.
I switched phones mid paint strip, so please forgive I don’t have any bubbly paint pics, but if I can recover them I will update this post.

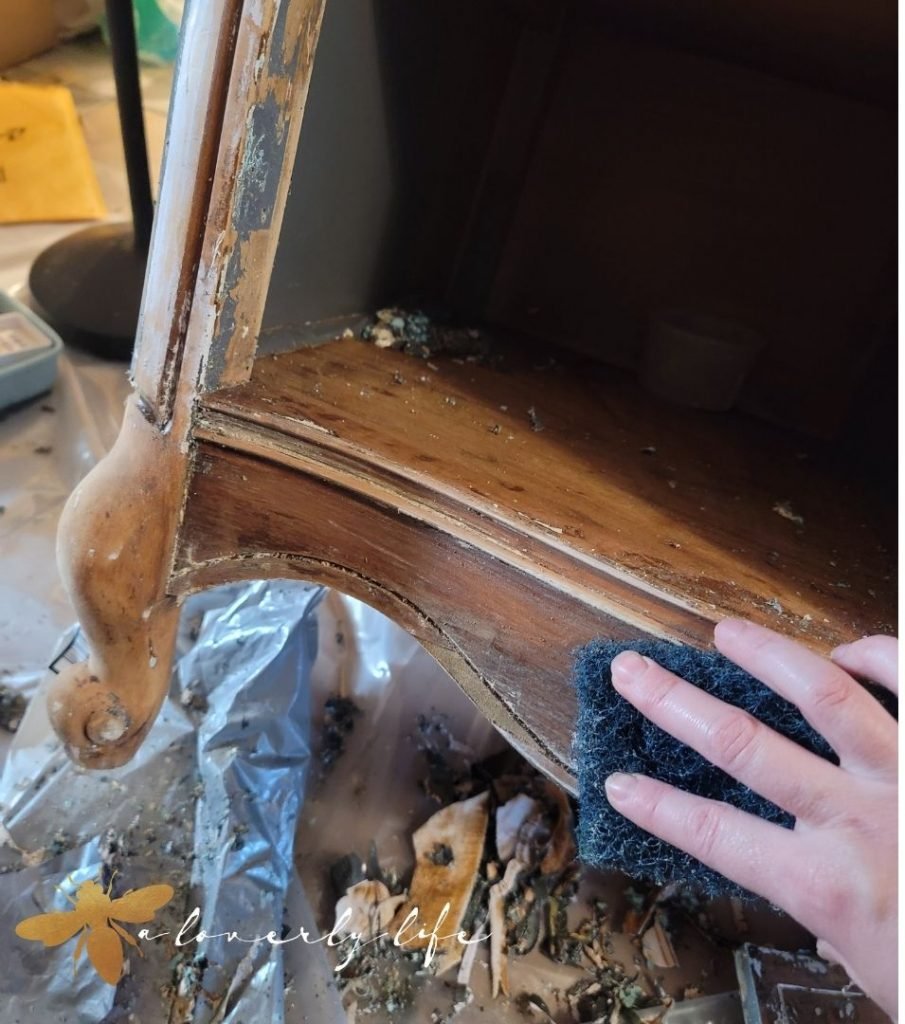
The stripping pads work great to get around the corners and in the little groves of the trim and pull out the layers of paint loosened by the CitriStrip.
After the stripper is removed, it is good to use the stripping pads along with some baking soda mixed with warm water to wash off any residue left behind.
Can we take a moment to admire those curvy feet? I just love them.
Which brings me to my final way to remove paint…
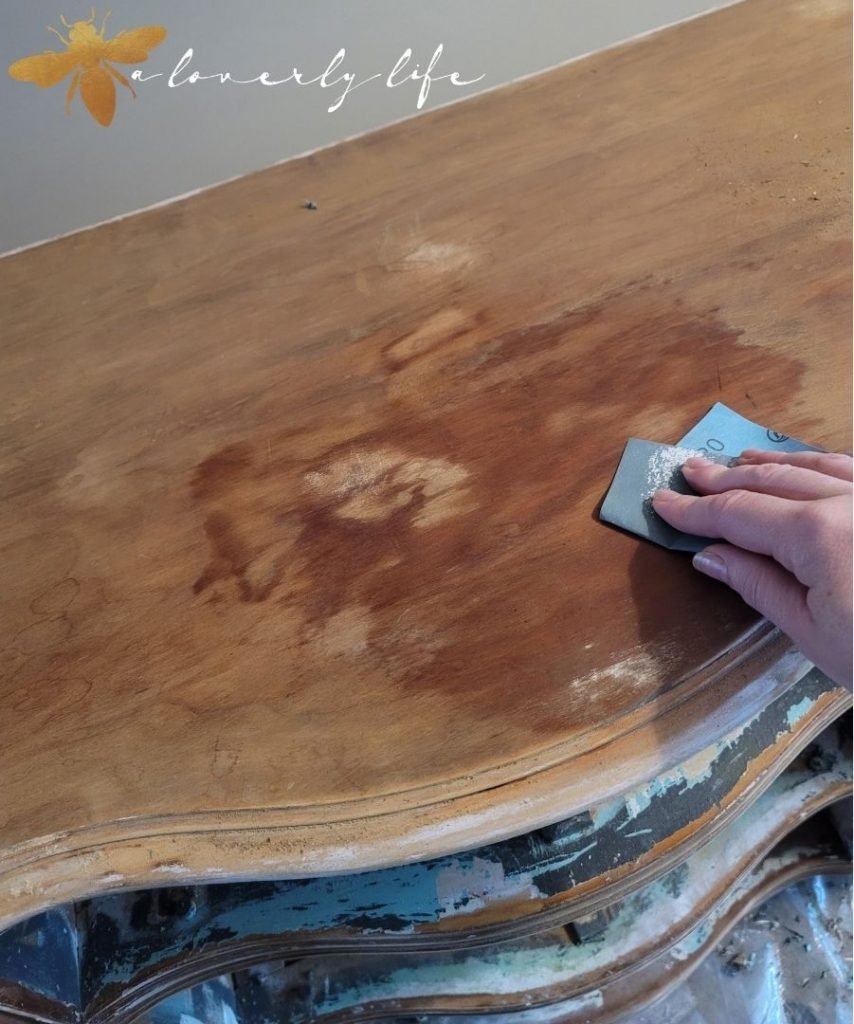
Sandpaper
Yep, the final step it using sandpaper.
Remember that you always need to sand with the grain
Click here to learn about my favorite sandpaper for furniture refinishing.
Depending on the type of wood, a 200 grit sandpaper should help remove the remaining bits of stain or paint and help smooth the surface.
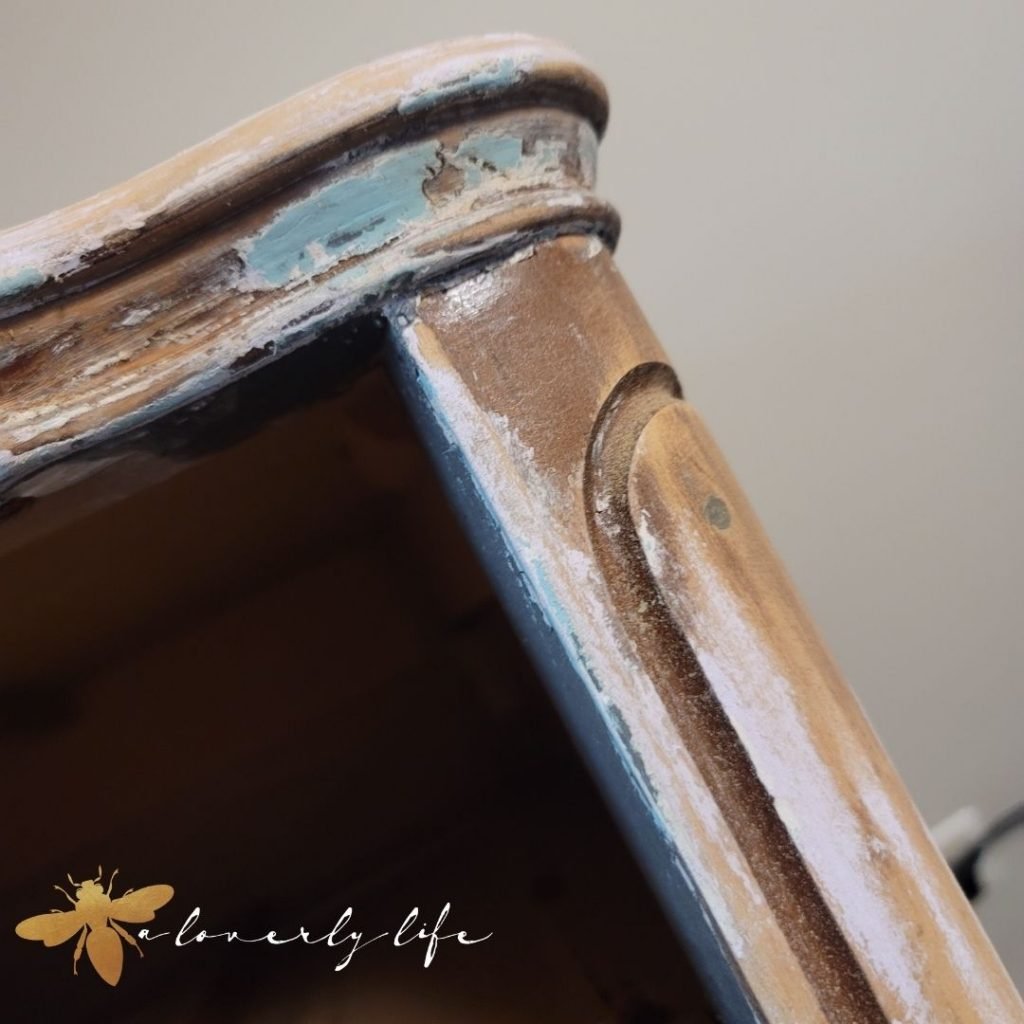
As I was removing the layers of paint, something happened.
I fell in love.
The details of this beautiful piece really came thru, the wood grain on the drawers and the top was simply stunning.
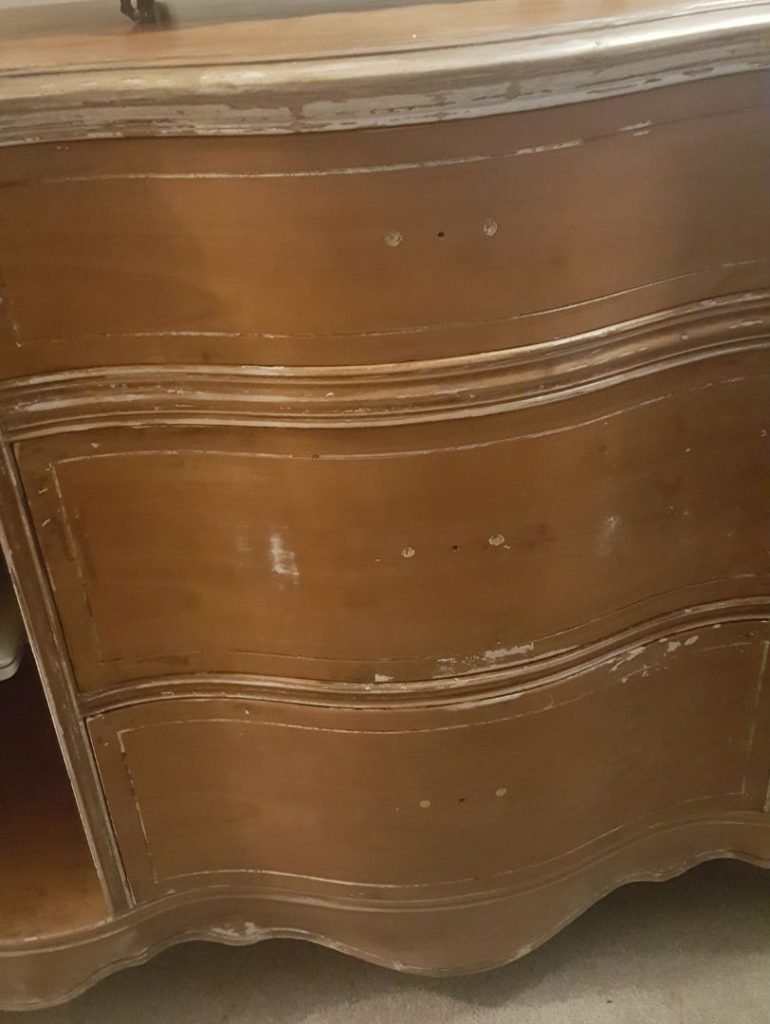
It looks like 2 different types of wood was used, but they are both so loverly.
I sanded down a bit of the last layer of stain but kept the paint in a few spots.
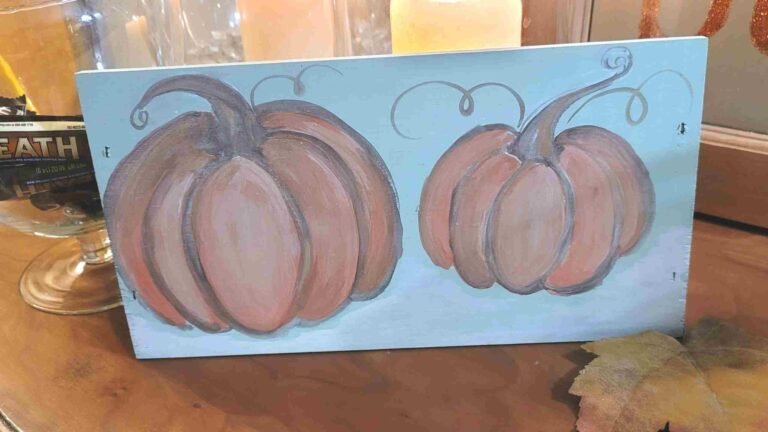
There were so many layers of paint, grey, teal green, a bit of pink, white, and the factory finish stain.

Whew! That was a LOT of paint to remove.
As each layer was stripped away, another story was revealed.
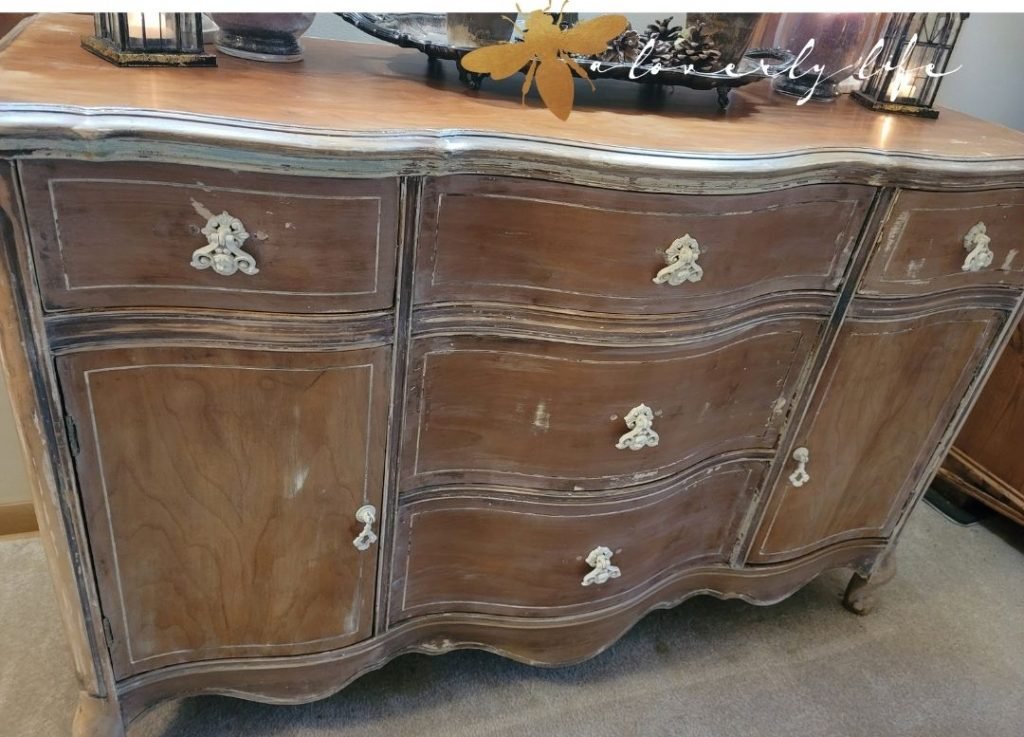
I decided to keep a bit of the story right where it was, little memories intertwined into the new story of my French country cottage sideboard
The natural wood was gorgeous.
It took me hours of stripping to reveal the true inner beauty of this French country cottage sideboard, I just couldn’t cover it back up with paint.

The natural wood is porous, so I did need to seal it.
I used a flat finish topcoat applied with, you will never guess…
This is one of my favorite tips, that works great for clear coats and staining furniture.
Are you ready?
The Mr. Clean sponge!
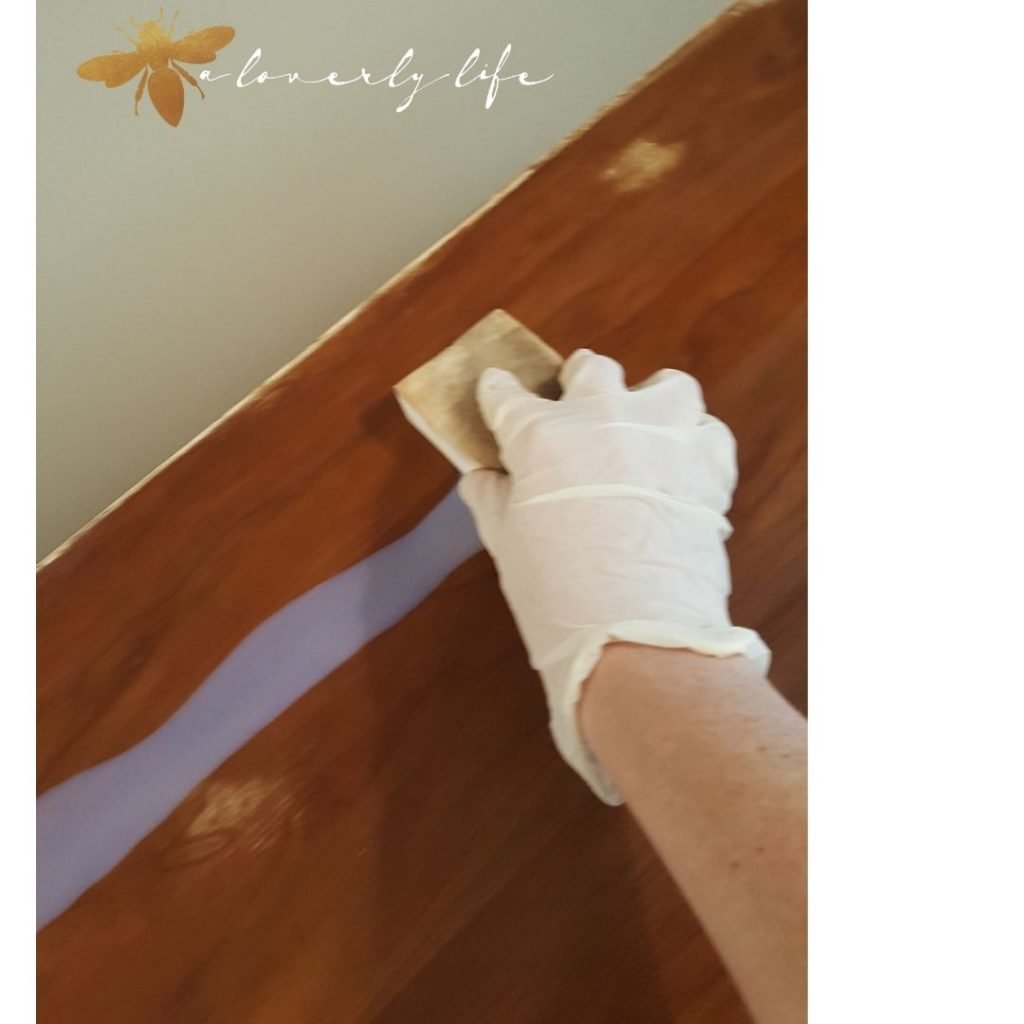
Not only are they great for cleaning, but they are amazing for furniture refinishing.
It leaves the finish so smooth, no brush marks!
You need to try it!
Foam brushes be gone!
The clear coat did darken the finish a bit. I used 3 coats of clear poly on the top to really protect it, 2 coats on the rest.
Once everything was cured, I reattached the doors. This time, I made sure they were all new flat head screws.
I love that it had a few spots of the old paint, but I wanted it to be softer.
So I added on more step to soften the look of the newly cured clear coat.
Liming wax or white wax will add just a bit of color to the wood. Using a soft cloth, buff the white wax into all the nooks and crannies of the piece of furniture.
Then buff smooth. You can see in the video that the top drawer is buffed with white wax, but the bottom drawer is not.
The difference is very soft and subtle.
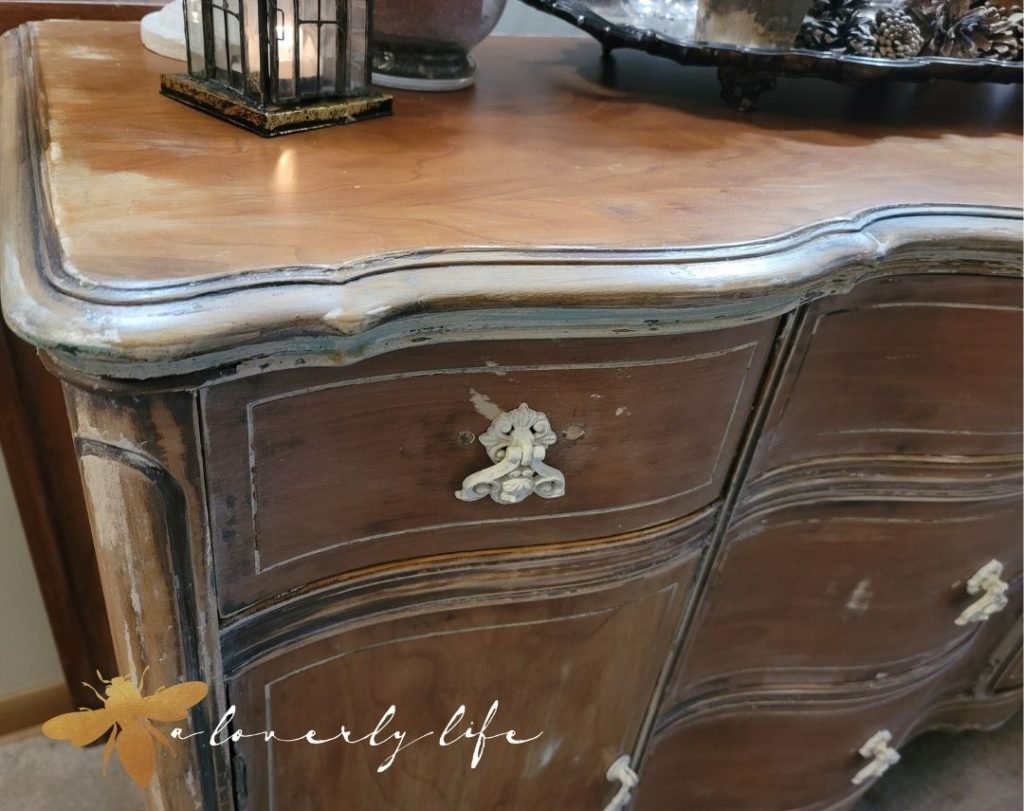
Now that the French country cottage sideboard has been stripped, and sanded, and clear coated and waxed…whew, it was a lot of work, but now I get to add the final touch, new hardware.
The original hardware was long gone.
You can see the pair of holes that were filled in on the drawers with a new center hole drilled.
I found these charming drawer pulls that reminded me of cherubs.

Unfortunately, they did not fit properly on the side doors.
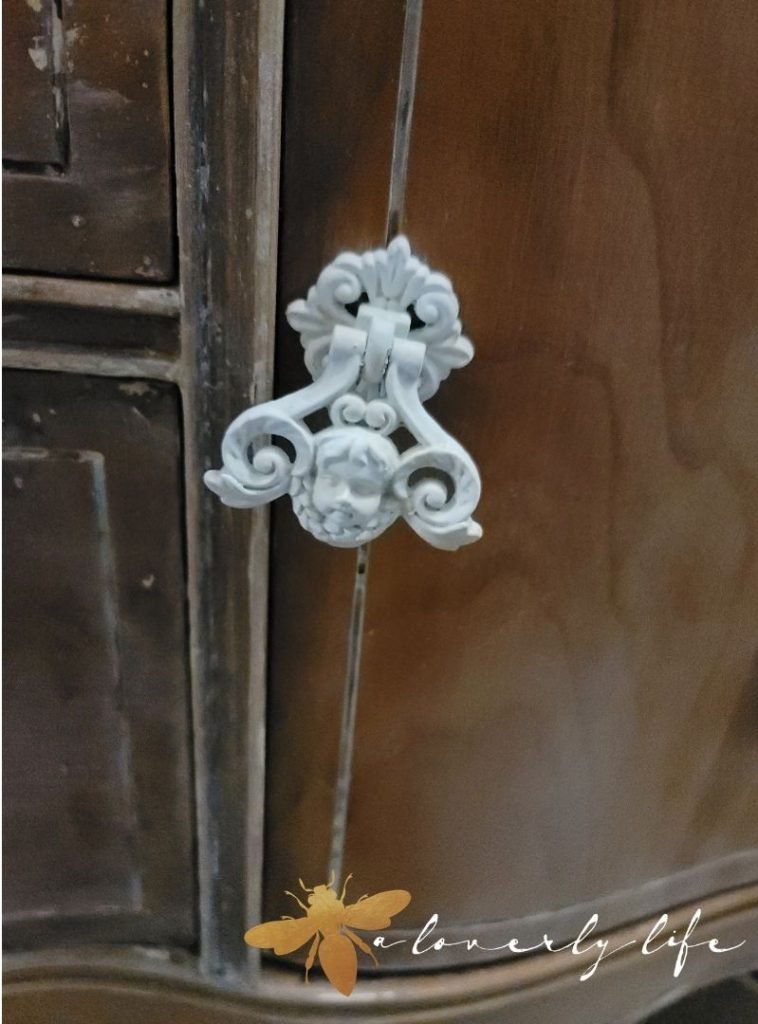
The door is curved and the back of the pull is too big.
So I dug thru the stash of pulls that I have and found these drop pulls. After a quick coat of matching paint, I screwed them onto the doors.

I think they are just perfect.
Remember what it looked like before all that work?
I expected to strip and then paint this beautiful French country cottage sideboard, but ended up finding the inner beauty beneath all that paint.
Some people may see the bits of paint as imperfect, but then finding the perfect in the imperfect is what makes it so loverly.
Perfect for my French country cottage-inspired home.
It may not be everyone’s style and you know what? That’s ok.
If you have a piece of furniture that needs a make over, remember that it is YOUR piece of furniture.
Unless it is an antique with the actual value and has maintained the original patina, then check with an antique dealer.
The other 90% of vintage and antique pieces, do what ever you want with it.
Paint it white, paint it bold, stencil it, strip it, make it yours!
After all, you are the one who is going to be looking at it.
Find the inspiration and the inner beauty in the most unexpected places to make your house not just A HOME, but YOUR HOME.
Beauty is in the eye of the beholder.
I have another smaller sideboard to prep.
This one I am going to paint.
With one of my FAVORITE paints, but that’s a post for another day.
A biento,
Juliet