Easy Thankful Tree DIY
We have so much to be thankful for this year, so I am sharing an easy Thankful Tree DIY with 6 blogger friends for a Friendsgiving blog hop.
I can’t believe that Halloween is next week!
Now some of you may forget that the next major holiday is NOT Christmas.
Let’s not forget Thankgiving
Or as I like to call the whine free, wine flowing version called Friendsgiving.

What ever you call it, I hope you are surrounded by good food, and toasting with loved ones while letting them know how thankful you are for them.
Wait, WHAT?
You’re just there for the turkey?
Hopefully I can inspire you a bit
To remind the people we love
how THANKFUL we are for them.
I have just the DIY to share with you
an easy Thankful Tree
Some call it a gratitude tree or grateful tree
but it’s such a loverly way to remind people of why we are so thankful for who they are
Oh, and the best part?
It’s sooo easy!
Here’s your list of supplies:
- cardstock to print tags on
- color Printer
- scissors [or cutting machine]
- hole punch
- string, ribbon or fabric strips
- faux tree or branches
First things first, you need a tree.
You can start with one of the holiday trees you already have or grab a few branches from the yard.
I used an antique white Christmas tree that I have had for years.

Next, you need to print out some tags on cardstock.
You can get the printable by registering when you see the pop up
Instructions will be conveniently delivered to your inbox.
See? Easy!
Now you just need to grab a pair of scissors to cut out the tags

Next, grab the hole punch to make a hole at the top of the tag
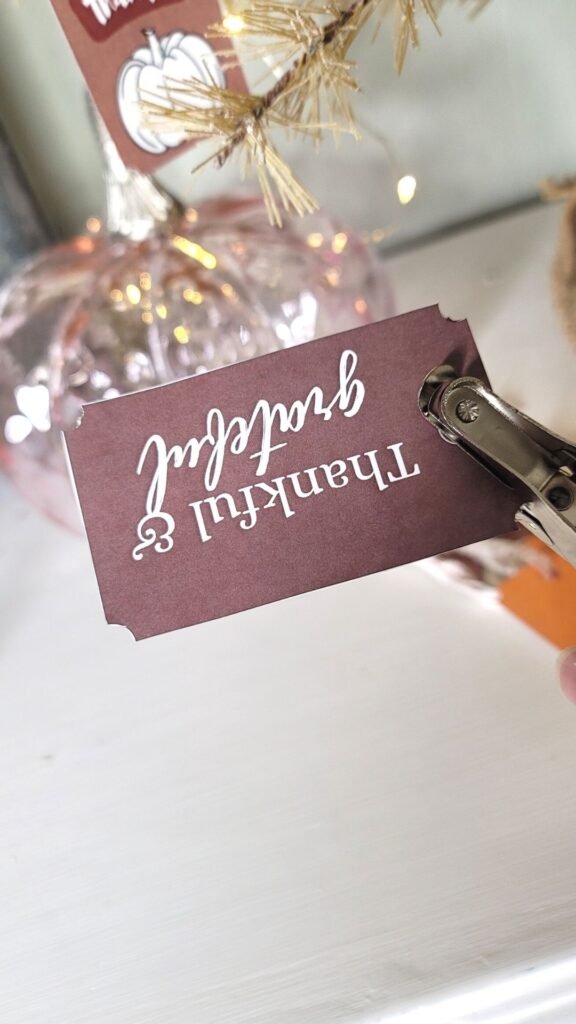

To hang the tags, you can use bakers twine, ribbon or
for the purpose of this Easy Thankful Tree DIY
I used ribbon from fabric
Yes! You can make your own ribbon
It’s so easy to make, and it was SUPER cheap.
Maybe I should change the name of this project to the Easy and Cheap Thankful Tree?
Here’s how I did it.
I found a curtain for $3.99 on a thrifting trip and I used it to make some table runners for my fall tablescape.
From the leftover scrap fabric, I made this super cute ribbon
Start by cutting just about 3/4 of an inch from the edge
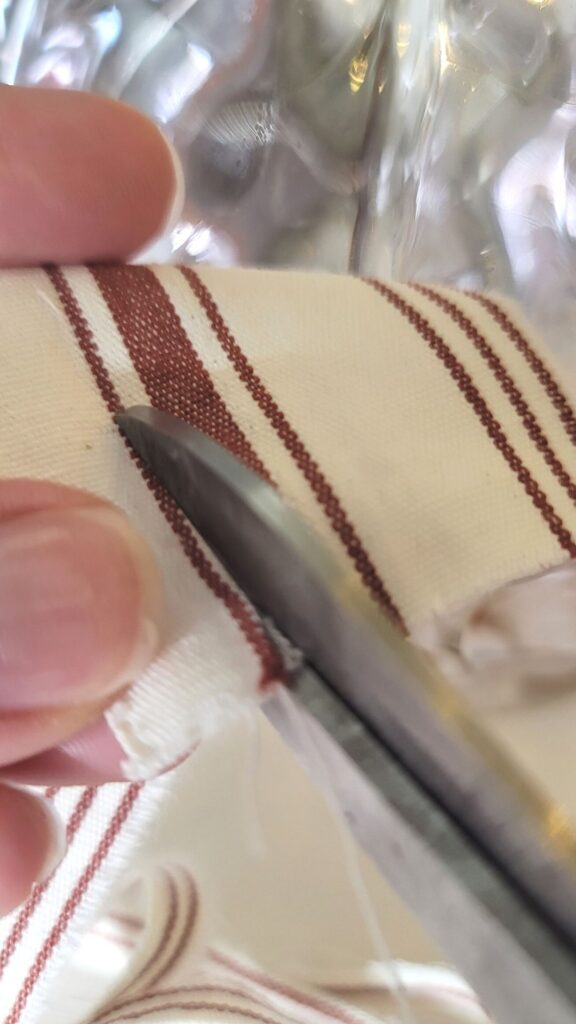
and then I tore the fabric into thin strips


Once you have a few strips of fabric,
Cut them between 4 and 5 inches


Then thread them thru the tags

and finally tie the fabric ribbon off to make loops so you can hang your tags on the Thankful Tree


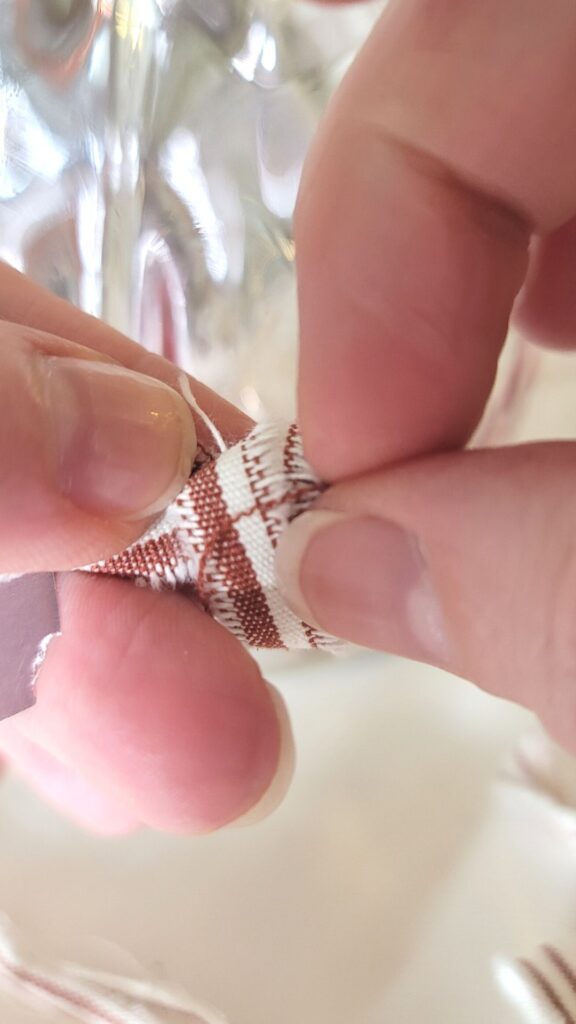
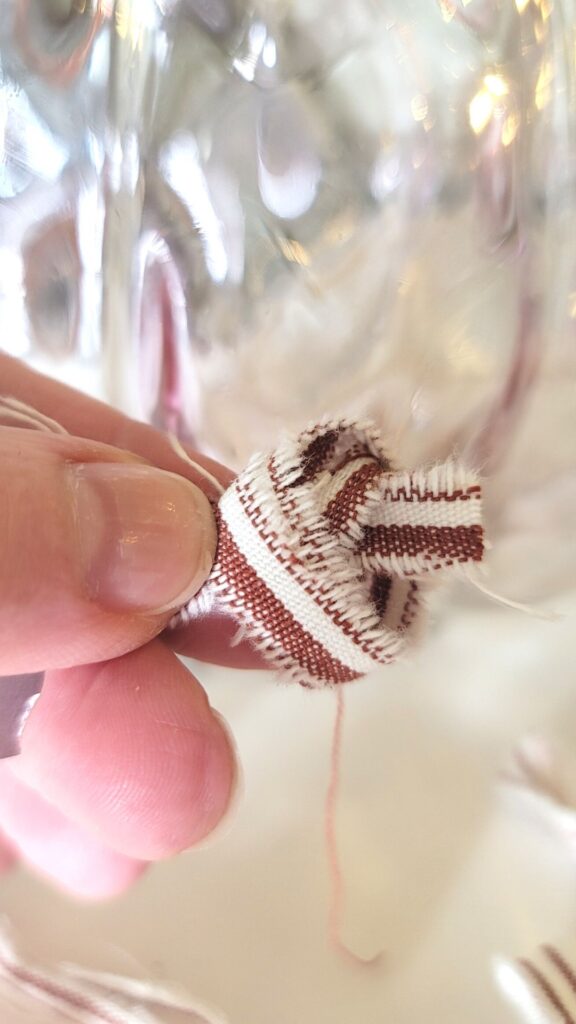

I loved the vintage look of the fabric, it adds texture to the tags.
Get your tags ready, so that when your loved ones visit around Thanksgiving

Ask them to share things they are thankful for by writing a note on the bag of the tag

and then hang them on the Thankful Tree
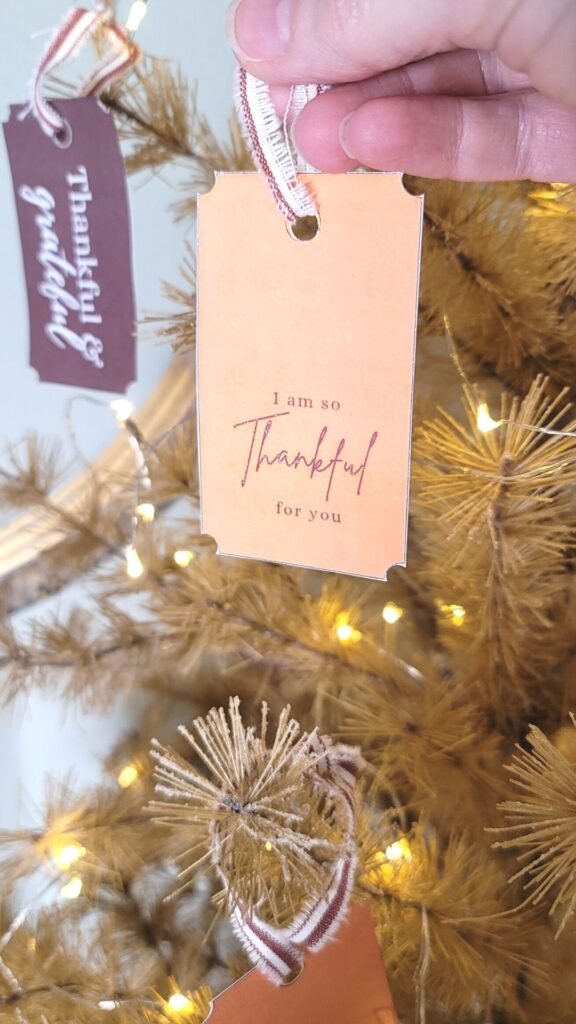
You can even send tags to loved ones who are out of town
and surprise them by filling out a couple gratitude tags to let them know why you are thankful for them
Now THAT’S loverly
Because Thanksgiving is a time to let people know how thankful we are for them
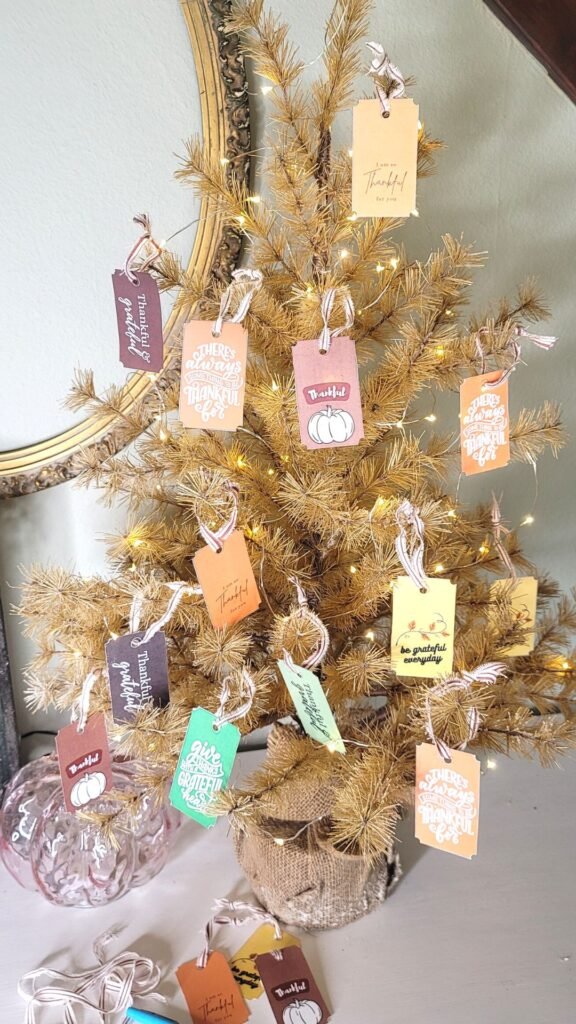
Here are six easy steps to make a Thankful Tree.
- Find a faux tree that is 24″ to 36″ tall and place in an area easily accessed by guests
- Print and cut out the tags from the free printable
(you can use scissors or a machine like a Cricut or Brother Scan n Cut) - Punch a hole at the top of the tags
- Loop string, ribbon or thin scraps of fabric about 3 inches long thru the hole and tie the ends leaving room to hang on a branch
- Ask your friends to write what they are thankful for on a few of the tags
- Hang your tags on the Thankful Tree
Since we are talking about things I am thankful for
I am so thankful to be joined on this Friendsgiving Blog Hop by some loverly ladies.
They are sharing some fabulous Friendsgiving ideas.
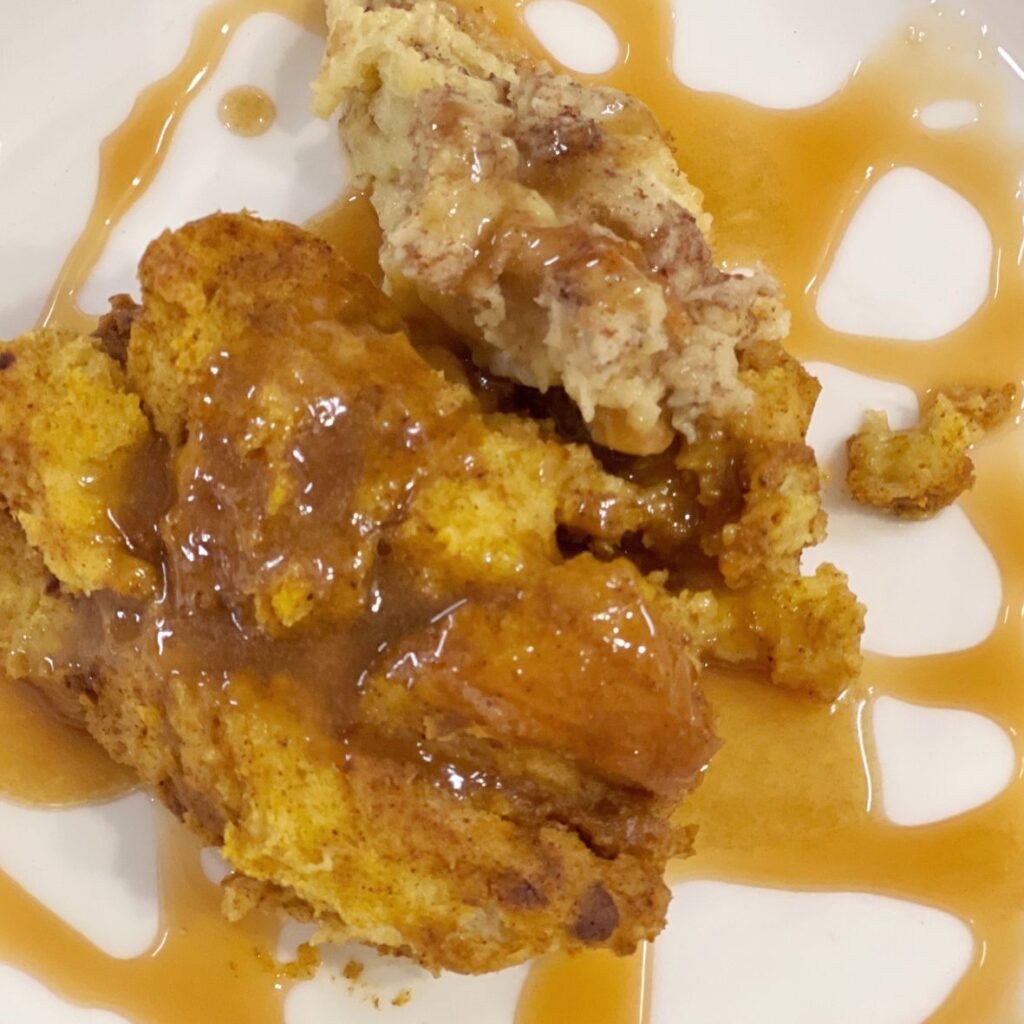
From beautiful tablescapes to fun DIY’s and a delish recipe.
Please take a few moments to click on each photo and visit their posts, too!



I am also so grateful and thankful for YOU!
Please share in the comments how you will be celebrating Thanksgiving this year.
I would be so grateful if you would Pin this post for later and share the post with your friends.
With love and gratitude,
Juliet


This is a great project, Juliet! I love it! Thanks for sharing all the details and for putting this hop together for us! Happy Fall!
Thank you Kimberly! Thank you for joining the hop. I can’t wait for next month.
Juliet ~ I LOVE your Thankful tree! The tags are beautiful. What a wonderful idea!
Thanks Nicole. It is such a great gratitude reminder.
This is such a great idea. We all need to remember how lucky and thankful we need to be. Especially when it comes to family and friends
Thank you Cindy. Little reminders help show the important people in our lives how thankful we are for them.
Juliet this is such a sweet idea! i love it and will have to do this with my boys! I hope you will come by my weekly link party every Wednesday-Sunday and link up for a chance to be featured! https://www.ourtinynest.com/2022/10/26/wednesday-link-party-319/
Have a great weekend!
Thank you so much Nicolle, I will head on over 🙂
Juliet, what a holiday appropriate project! I am going to do this with my grandson. I’m excited about adding a little tree BEFORE Christmas too! Thanks for hosting yet Another Loverly Blog Hop!
Such a darling idea Juliet. I will be featuring you at the Fabulous Friday link party this Friday.
Thank you Wendy, and thank you most kindly for featuring the recipe!
Juliet thank you so much for linking up in this week’s link party! I’m happy to be featuring your idea this week!
https://www.ourtinynest.com/2022/11/02/wednesday-link-party-320/
I’m not hosting Thanksgiving this year but I definitely will be bringing this idea with me to our dinner. It’s so sweet!
This is such a cute idea Juliet, I love anything that shows my friends and family how thankful I am for them! You’re such a sweet friend.
This is lovely, what a beautiful idea for Friendsgiving. Thanks for hosting our hop!