Christmas Wreath DIY
A Christmas wreath is such a loverly way to decorate for the Holidays. Today I am sharing how I created this beautiful Christmas Wreath DIY, hoping to inspire you to create one [or more] or your own.
Christmas wreaths make a great gift, too!
They are so many wreath tutorials, [more about THAT below, because some f my friends put together some amazing Holiday wreaths]
For this Christmas Wreath DIY, I am going to concentrate on my trick for a super easy, but BEAUTIFUL bow.

It comes in handy when you need to make a BUNCH of wreaths, or anytime you need to a bow [or a bunch of bows].
Especially during the holidays!
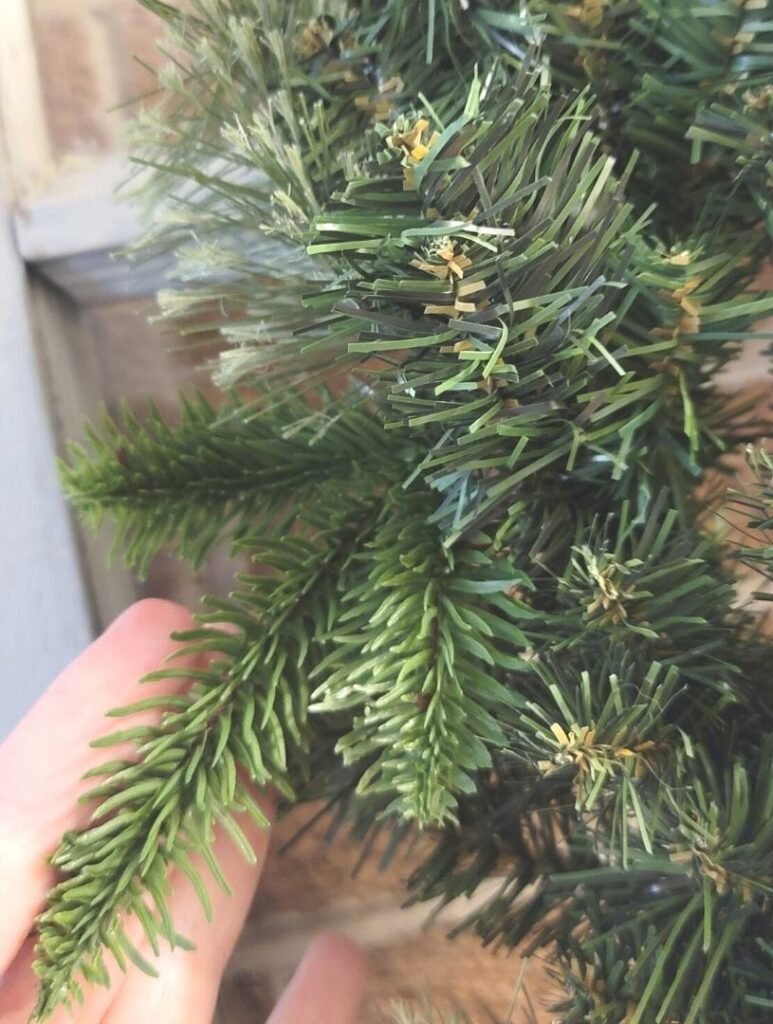
I started with this evergreen wreath that I found at Hobby Lobby.


I fell in love with it, because it is a mix of evergreen boughs.
It is full and lush and looks pretty realistic.


You can almost smell Christmas.

Once you have the base wreath picked out, gather festive pieces to adorn your wreath.
For this Christmas wreath DIY, I am using berry sprigs, glittered pine cones and a bit of eucalyptus.
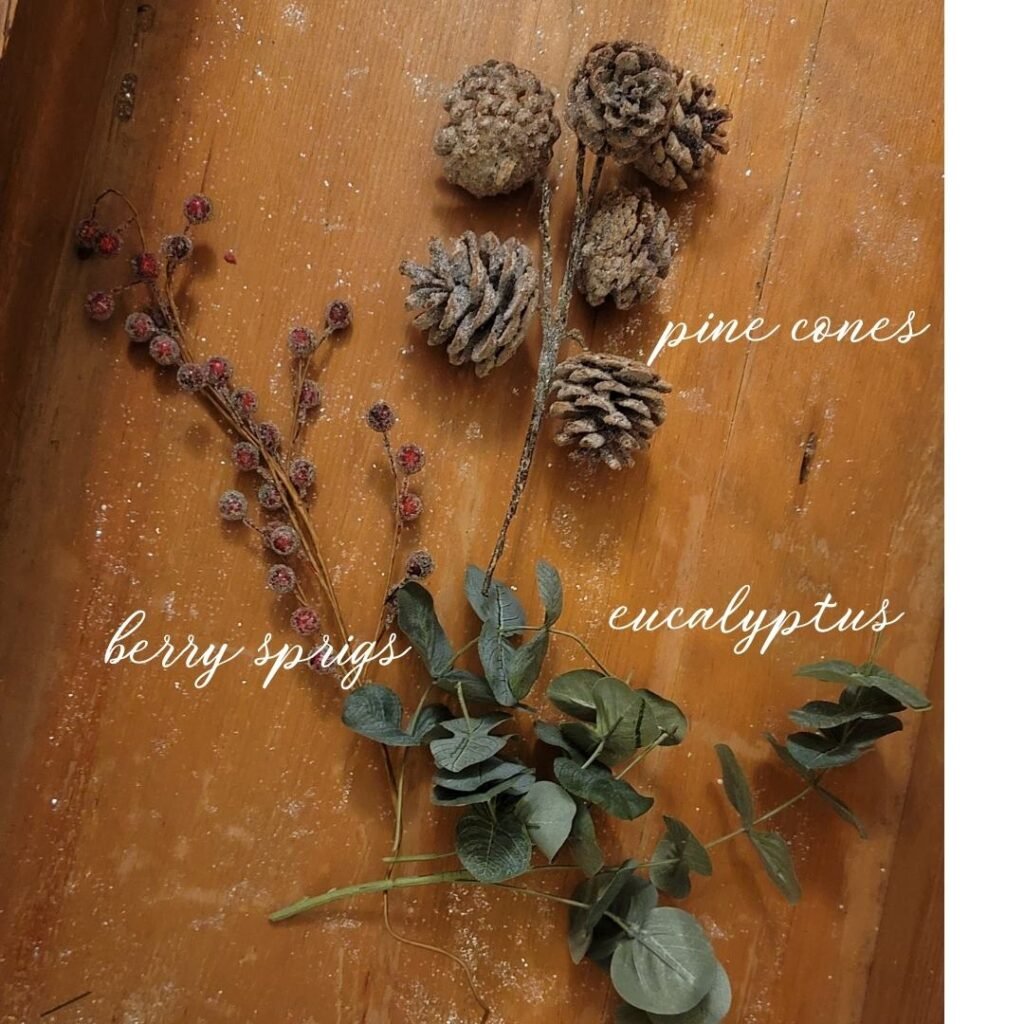
You can find so many pretty accents at local craft stores like Michaels, JoAnn Fabric or even shop online.
*Affiliate disclosure
This post may contain affiliate links. When you click on links for recommended products and make a purchase, I may receive a small commission. There is no added cost to you.
I truly appreciate it when you click on the affiliate links, because it helps support my blog, A Loverly Life.
It enables me to create free content for you.
So from the bottom of my heart, thank you for shopping with my affiliate links!
I also had some gorgeous red hydrangeas left over form another project.
Hydrangeas are one of my favorite flowers, so I was excited to incorporate some into my Christmas Wreath DIY.
They will add such a festive POP of red to complement the red berries.

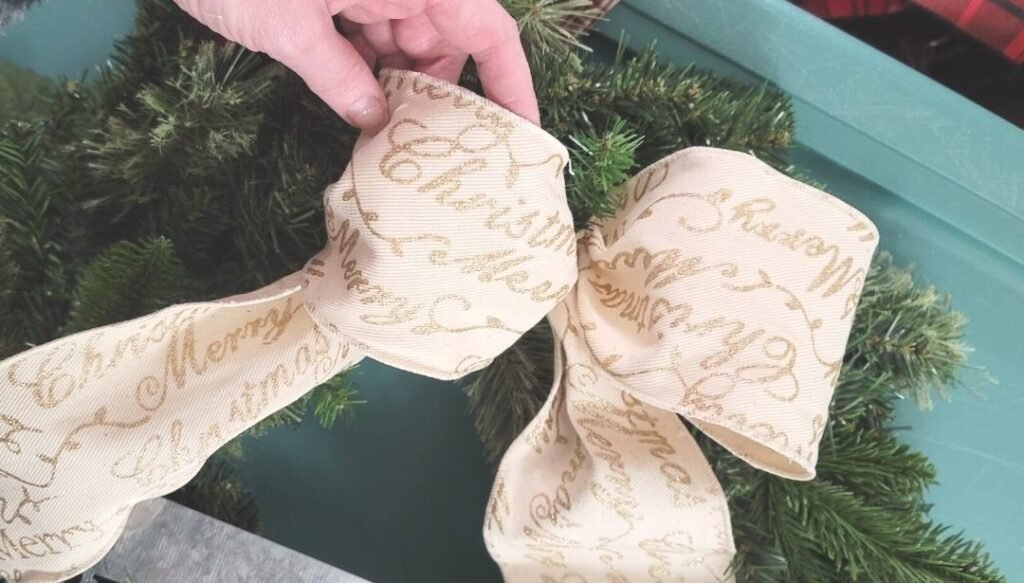
The final element, to tie everything together, is ribbon that will be used to make the bow.
Red velvet is my favorite, but with the red berries and the red hydrangeas, a red ribbon would have been too much red.
This wide neutral wired ribbon with Merry Christmas embossed in gold glitter will be the PERFECT accent.

I have a secret to share with you – a tip for a quick and easy bow DIY for wreaths or floral arrangements.
This will actually work anywhere you want to tuck in a bow that doesn’t need a center knot.
Some would call it a hack, but I don’t like that word.
We aren’t hacking anything, it’s just a different and SUPER easy way to make a bow.
All you need is bit of ribbon and some floral wire.
Start by cutting a length of ribbon.
Make sure to estimate the length of the tail you want for one side and then triple it.
For this wreath, I are going to drape the tails, so I wanted my tails to be 12 inches [it’s a big wreath] make your bow.
I cut 12 inches times 3 = 36 inches
Then cut a piece of floral wire about 8 inches long.


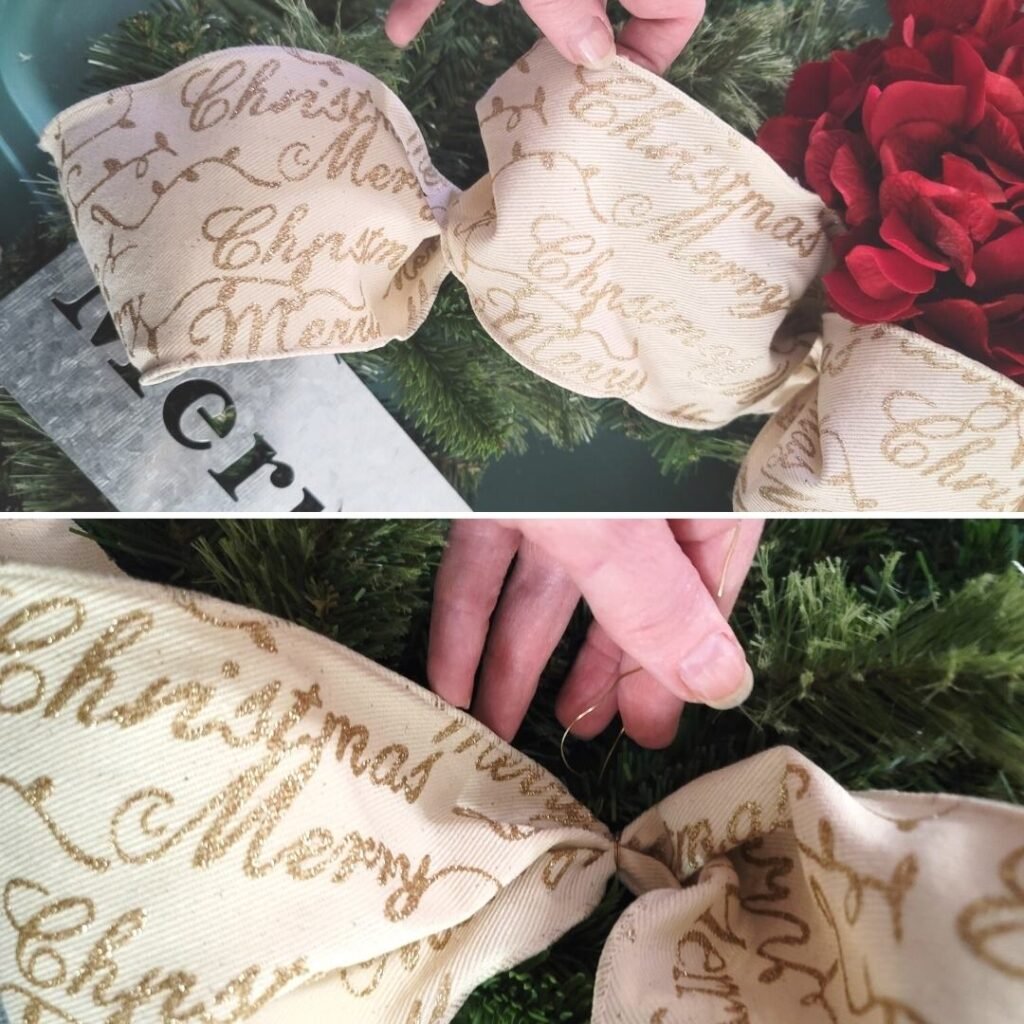
Fold the ribbon in half and gather 6″ down from center to make a loop.


You should have two 12 inch tails for the bow the the loop like above.
Cross the tails of the ribbon at the base of the loop like and find the center of the loop like this:
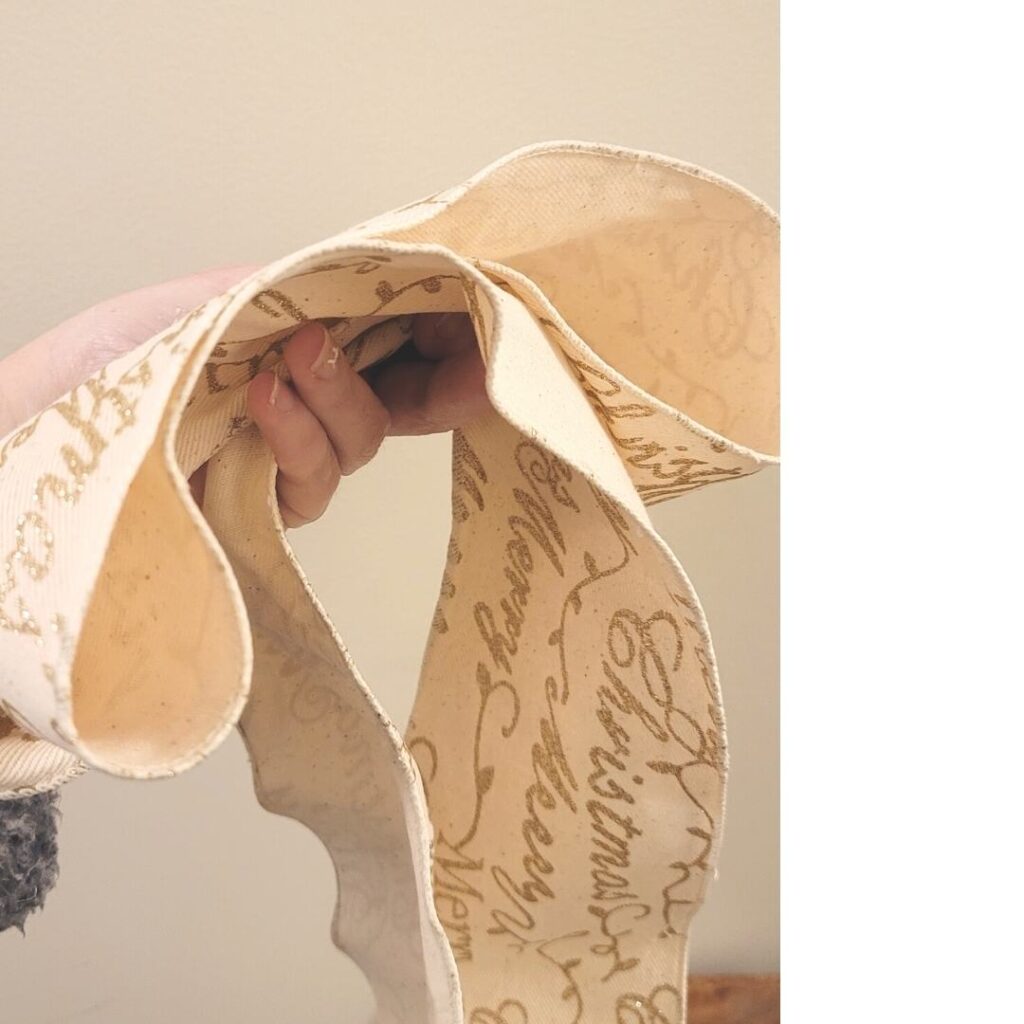
See how it is already looking like a bow?
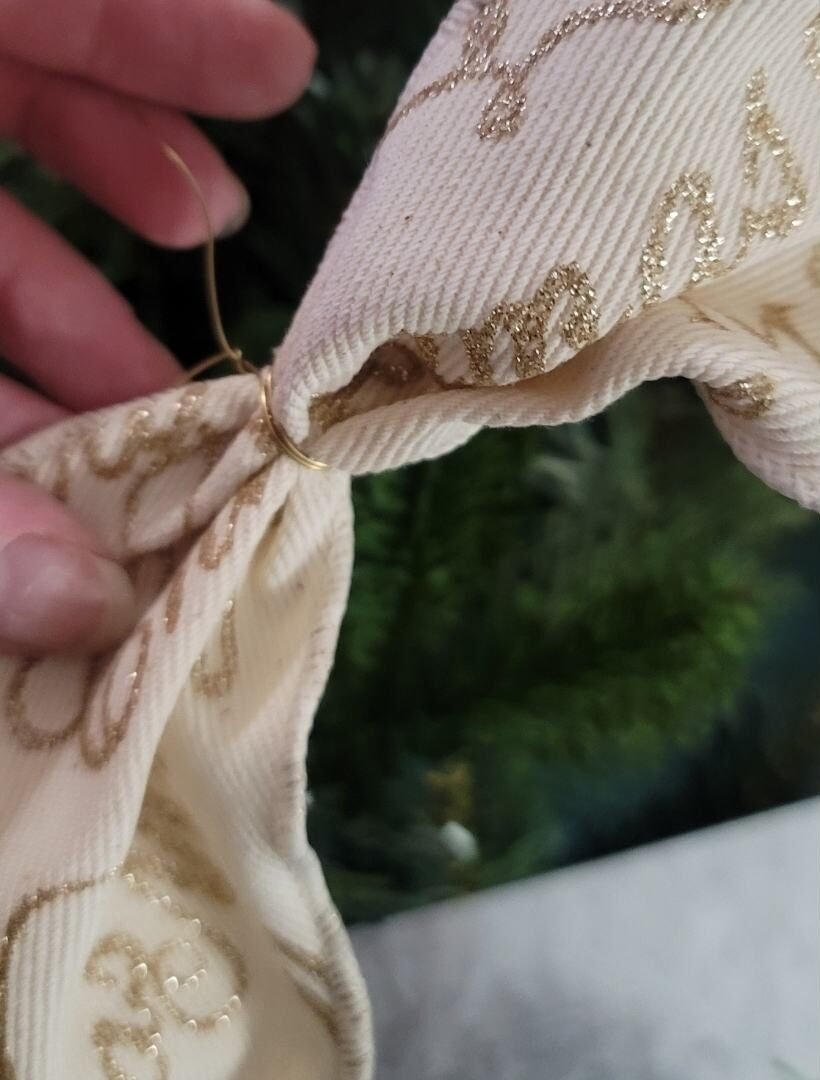
Now take the center and squish it, then grab your wire that you gently folded in half.


Wrap the floral wire around the center of the loop and feed the ends thru like this:

and pull the floral wire tight

pull the wire thru and wrap it around the center of the bow

Now you can fluff and perfect the bow – but leave the floral wire tails, because we are going to use them to attach the bow to the wreath.
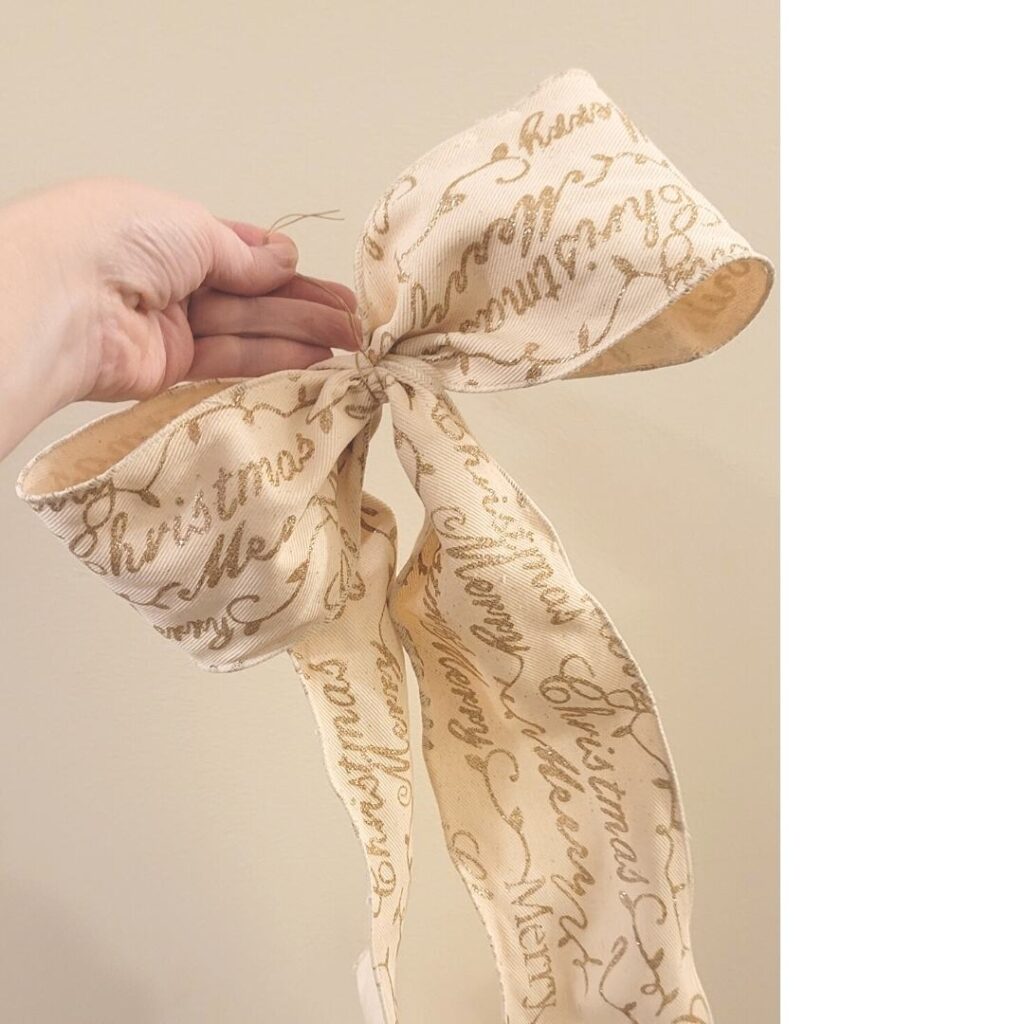
How easy was that?
Now find the center of your wreath and feed the floral wire thru to attach it to the wreath frame.


Once the bow is attached, you can fluff and primp it to make it look nice and full.
To create the cascade of the tails of the bow, gather about 3 – 4 inches lower and wrap with a bit of floral wire.


Attach the floral wire to the wreath to create the effect of the ribbon draping or cascading down the side of the wreath.
repeat the draping effect on the other side


Isn’t it pretty?
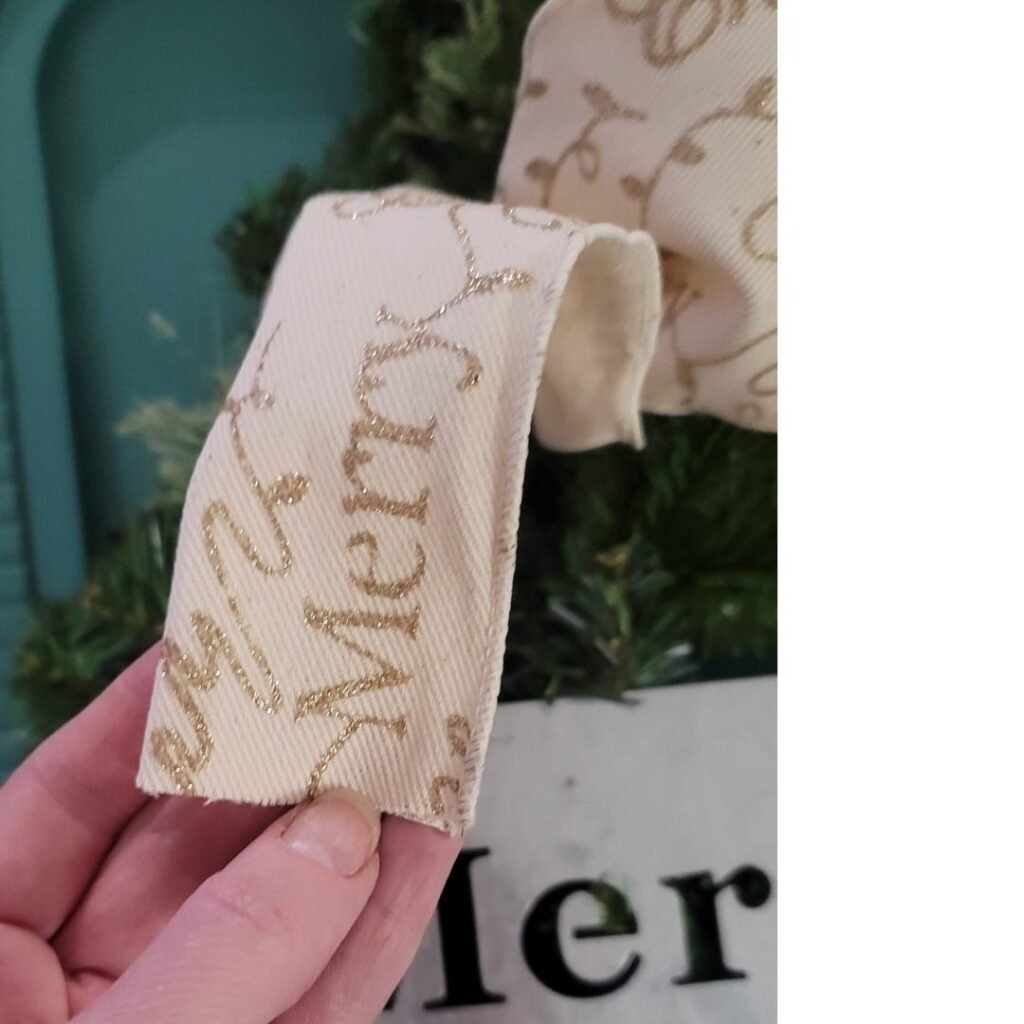
The finishing touch for the bow is to create the little points on the tails.


All you have to do is fold the tail in half.
and then cut at a 45 degree angle up towards the folded edge.
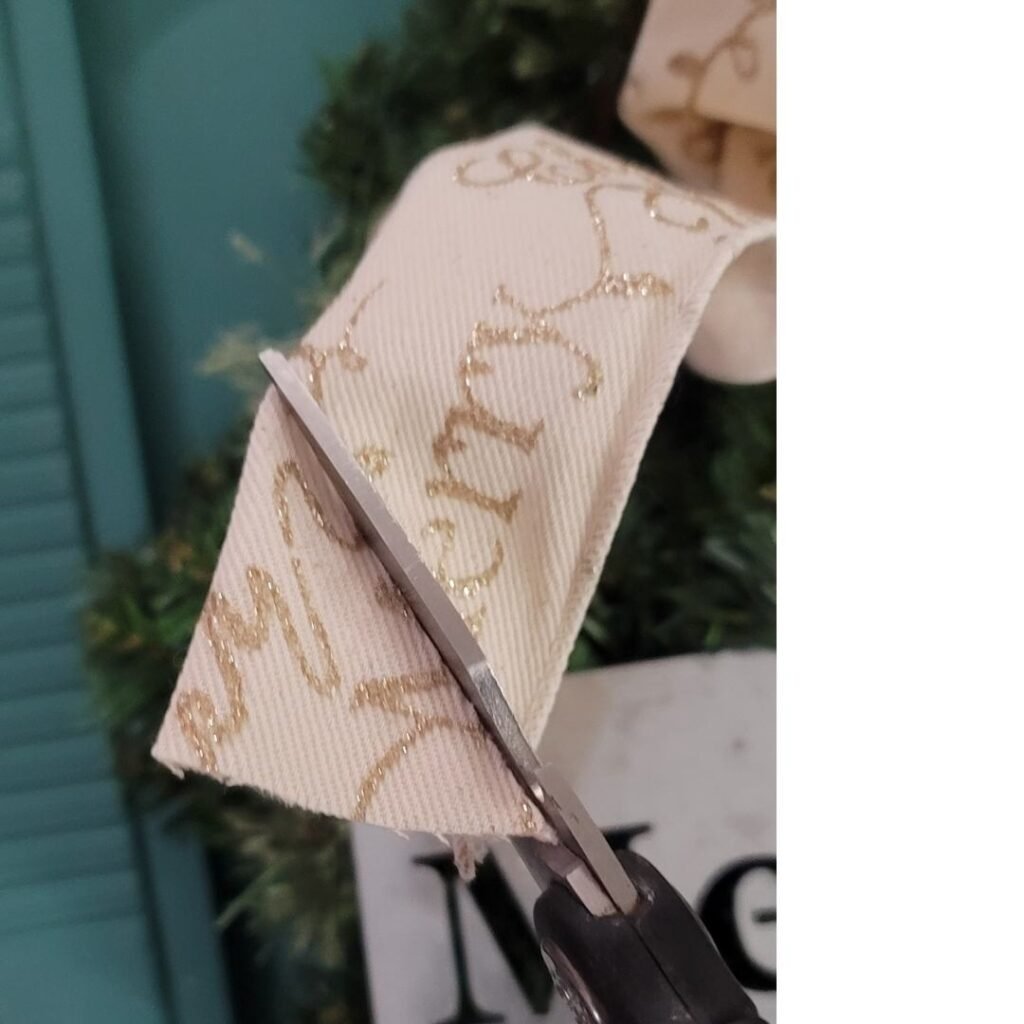
Can you spot the finished tails in the next picture?
I found this charming metal Merry Christmas sign last year in the clearance section and it was love at first sight.
But…I just wasn’t sure how I was going to use it, until I found the wreath.
Look at how perfect it looks against the evergreen.
It needed to be front and center for my Christmas Wreath DIY.


The sign was secured the center of the wreath by using garland ties.
They are pieces of greenery with flexible wire in the center for discreetly hanging garland or other greenery.
You could use floral wire, but these blend in so beautifully.

The back of the metal sign had hooks for hanging.

I simply fed the garland tie thru the hanger

and then twisted them on the wreath.


The garland ties blended right in!
One the 2 biggest parts of the wreath were taken care of, it is time to fill in all the extra pretty little pieces.
I placed the hydrangea near the top of the bow and used my hot glue gun to secure it to the wreath.
Then I tucked in a couple pine cones, a berry sprig and a couple pieces of eucalyptus behind the hydrangea, using my hot glue gun to secure them.

Then added a couple more berry sprigs, glittered pinecones and berries at the base of the bow – just peeking out.
And repeated the process on the left side of the bow.

I found 2 white pie boughs and attached them to the back with floral wire and hot glue to hold them.
Here’s the finished wreath.

If you like this DIY, check out the wreaths that some of my friends made
DIY Macrame Christmas Wreath Idea by HARBOUR BREEZE
Three Wreaths Christmas Wall Decor made by SOUTHERN HOME AND HOSPITALITY
Pastel Ornaments Christmas Wreath by OUR CRAFTY MOM
Simple Christmas Wreath with Vintage Ornaments by SONYA BURGESS
DIY tobacco basket Christmas wreath by MARIANNE SONGBIRD