
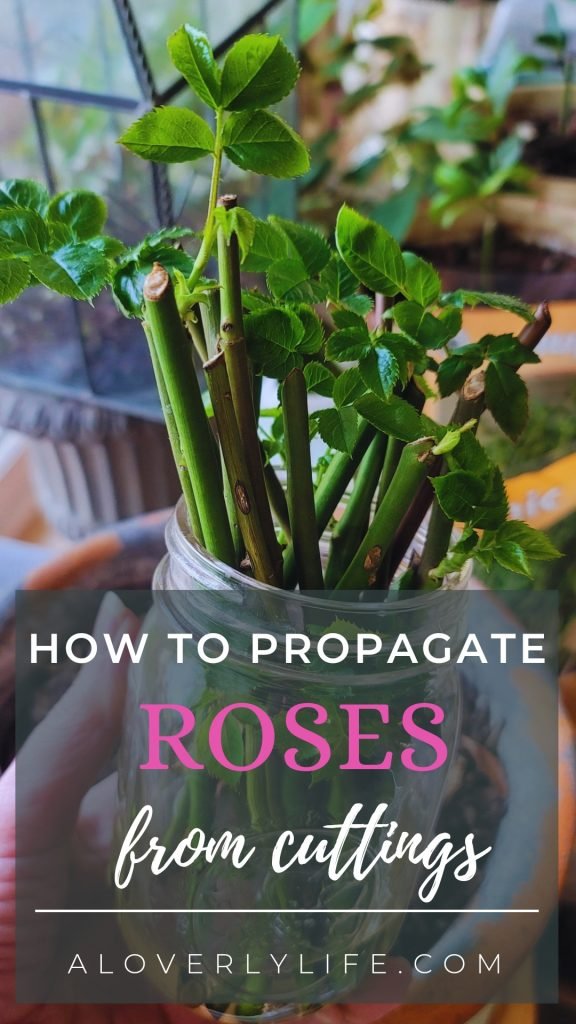
How to propagate roses from cuttings
Roses are one of my favorite flowers.
They are absolutely beautiful and smell heavenly.
In my humble opinion, one can never have too many roses.
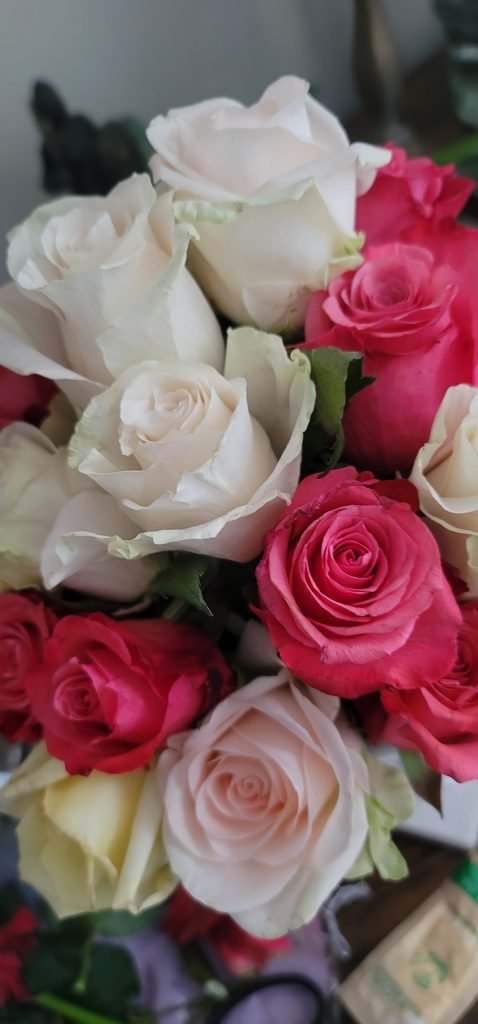
I found these beauties at the grocery store, of all places.
Blush pink, butter yellow and a loverly rose pink (of course) – la vie en rose.
Swooooooon.


Since I already fell so in love with these beauties, I just NEEDED to grow some of my own for my cottage garden.
My potted rose bushes did not survive the cold Chicagoland winter, so I definitely need more roses in my garden this year.
Now, you may be asking how is it possible for me to have these roses grow in my garden?
After all, they are CUT long stem roses.
Did you know that you can propagate roses from the long stem roses you purchase at the grocery store? (This works on garden cuttings, too)
Yes, loverlies, you can.
This is the most amazing gardening tip and I am so excited to share it with you.
Here’s what you need:
If you are taking cuttings from a floral arrangement, take the bottom 6 inches off the stem when you are trimming.
Taking the cutting right away will help ensure a better result.
- Sharp garden shears
- Rose cuttings from a rose bush or floral arrangement
- Rooting hormone
- Empty water jug
- Potting soil
- Planters

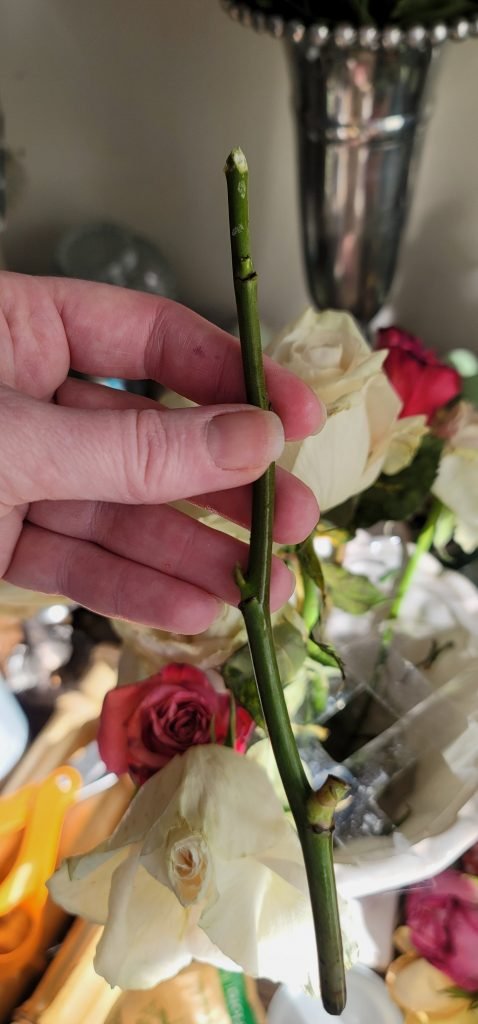
Remove all the leaves from the cutting and then place the cuttings into a jar filled with water.
Then get side tracked because you are working on 50 projects all at the same time.
By the time you go back and check on the stems after a week, or two, you can see the viable ones have started to grow new leaves!
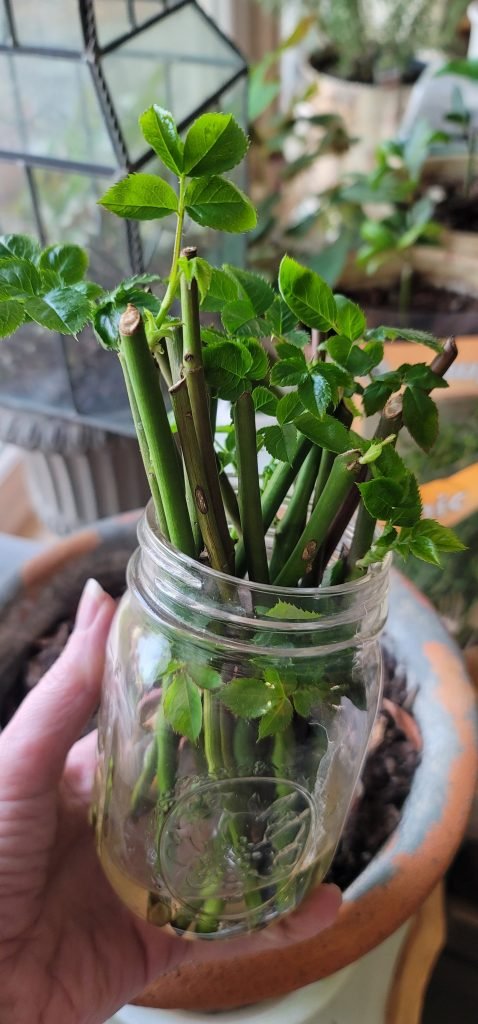
It may look like a jar full of stems now, but they will soon be beautiful rose bushes.
But not TOO soon, mother nature needs time to make magic.
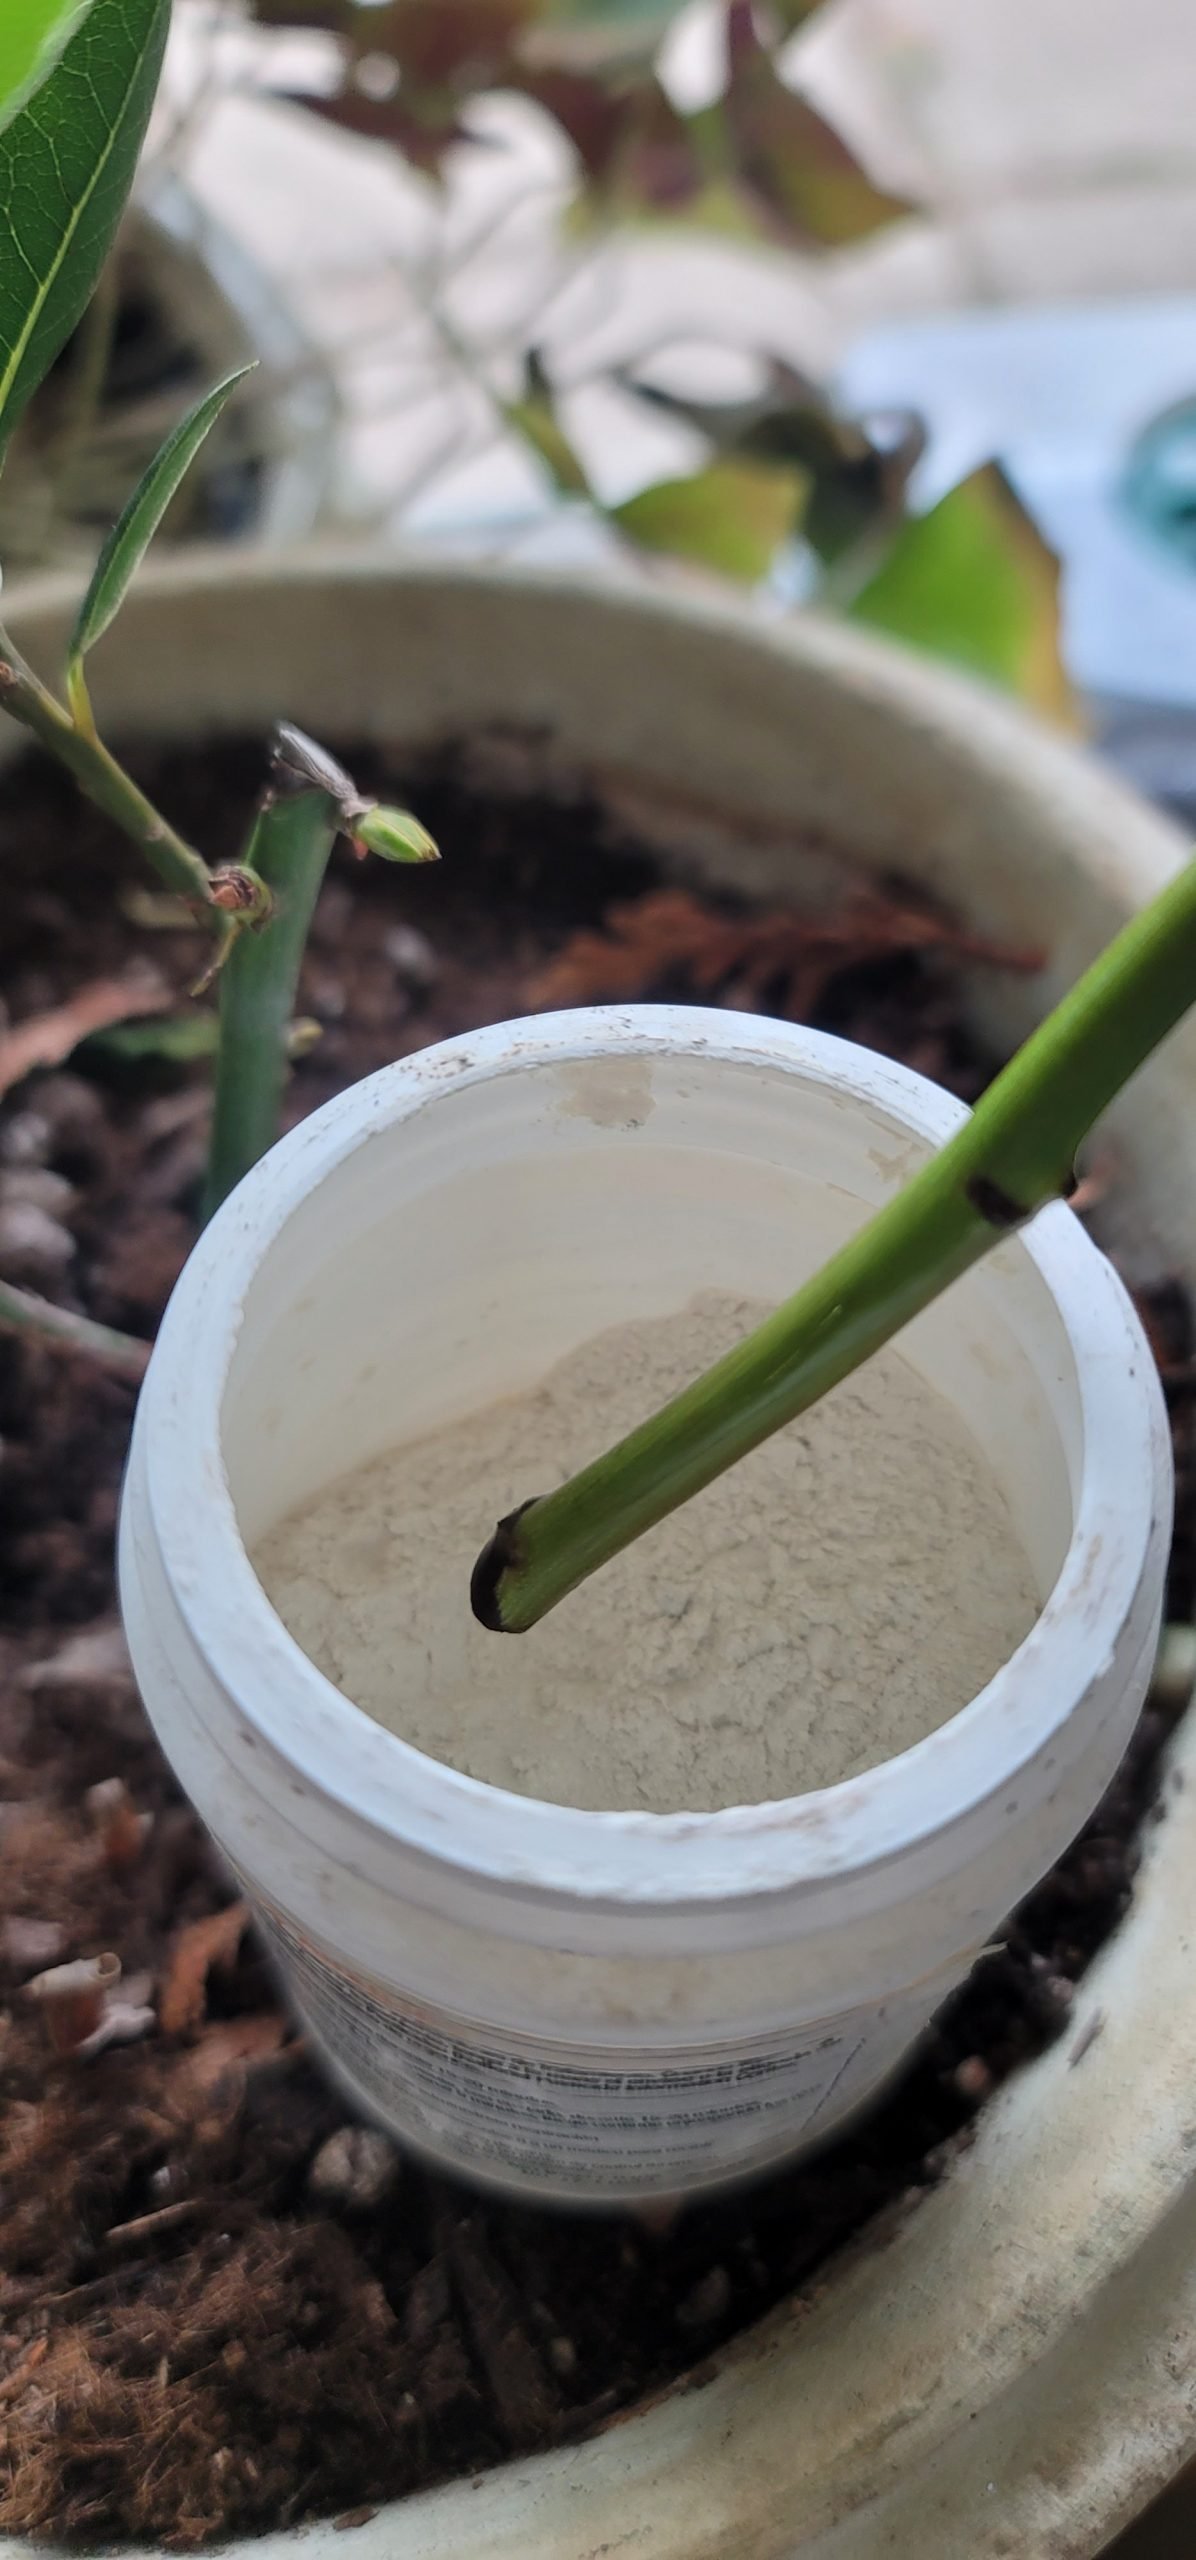
Once your leaves start popping out, it is time to plant them.
Fill you pots with potting soil and use your finger to make holes in the dirt to place the stems.
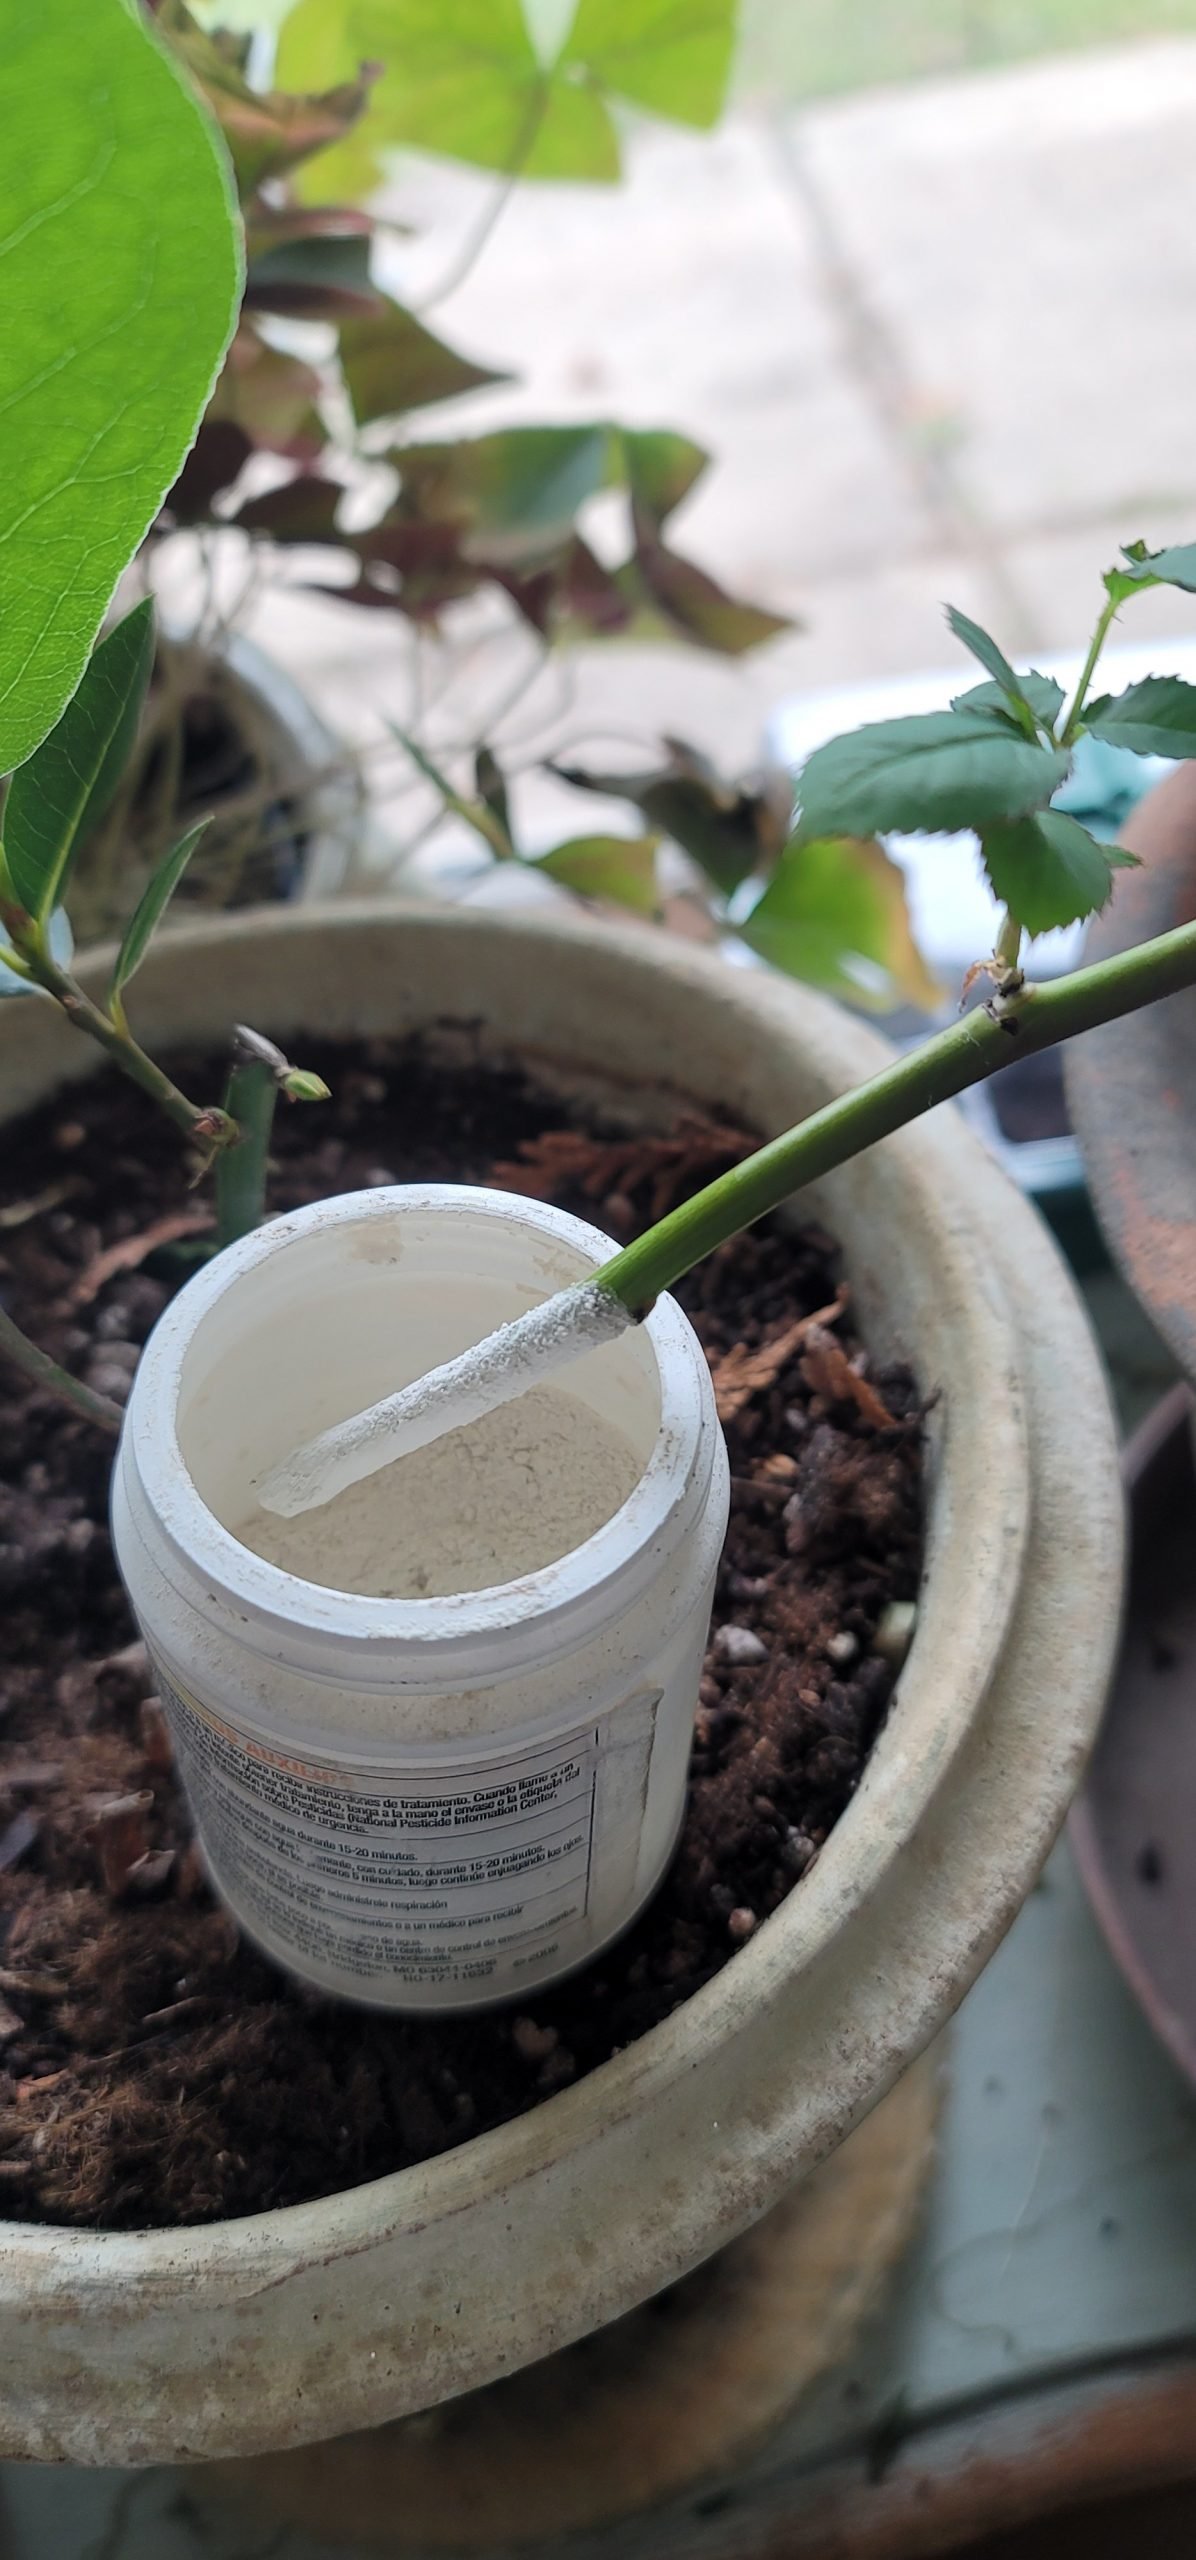
Then dip about an inch of the stem bottom into the rooting hormone.
Tap off the excess rooting hormone and stick it in the pot.

You can get rooting hormone from your local nursery, home improvement store or an Amazon.com and have it shipped to your front door.
*Affiliate disclosure
This post may contain affiliate links. When you click on links for recommended products and make a purchase, I may receive a small commission. There is no added cost to you.
I truly appreciate it when you click on the affiliate links, because it helps support my blog, A Loverly Life.
It enables me to create free content for you.
So from the bottom of my heart, thank you for shopping with my affiliate links!
Back to the rose cuttings…

After dipping them in the rooting hormone, I added 3 rose cuttings per planter.
If you have smaller pots, you can always use those.
Now that you have your stems dipped in rooting hormone and planted, we need to create a green house environment.
First, water your roses.
The water will help them pull nutrients from the soil and encourage roots to grow.
Then CAREFULLY cut the bottom off a clear water jug with a sharp pair of scissors and place it on top of your stems.
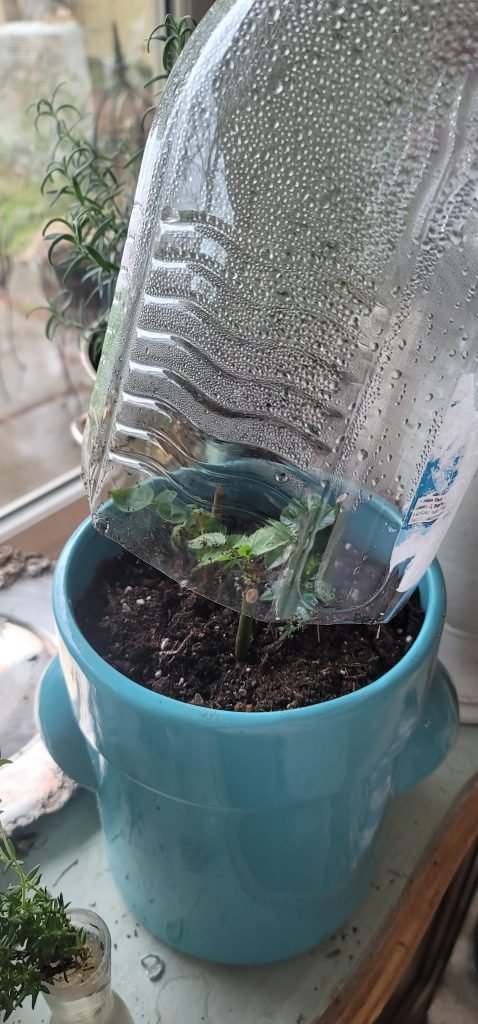
You don’t want the leaves touch the sides.
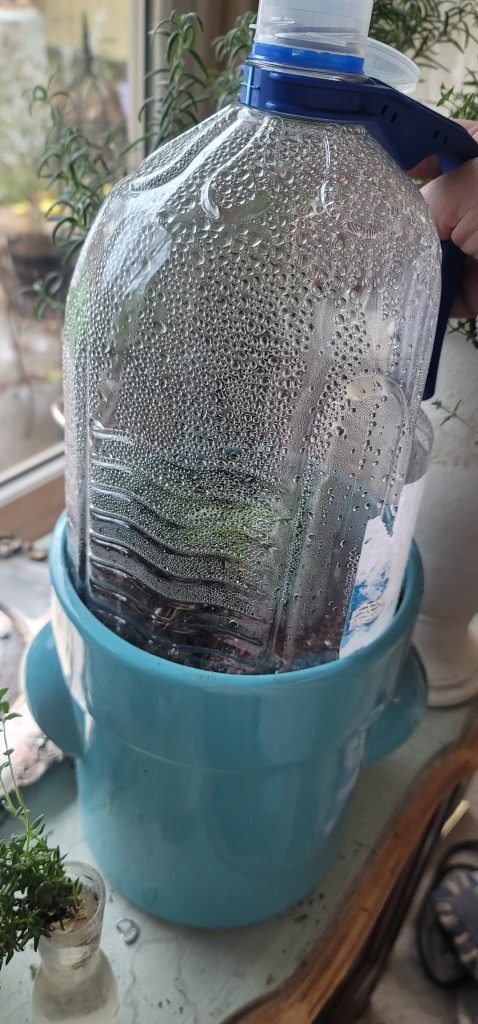
Using the water jug to create a mini-green house helps keep the moisture in while the stems work on growing roots.
Just place your mini green houses with your rose cuttings in a sunny location.
Keep an eye on the moisture levels.
Too much water will drown them.
Too little water and they will dry out.
Check on them weekly and you will soon see new growth.
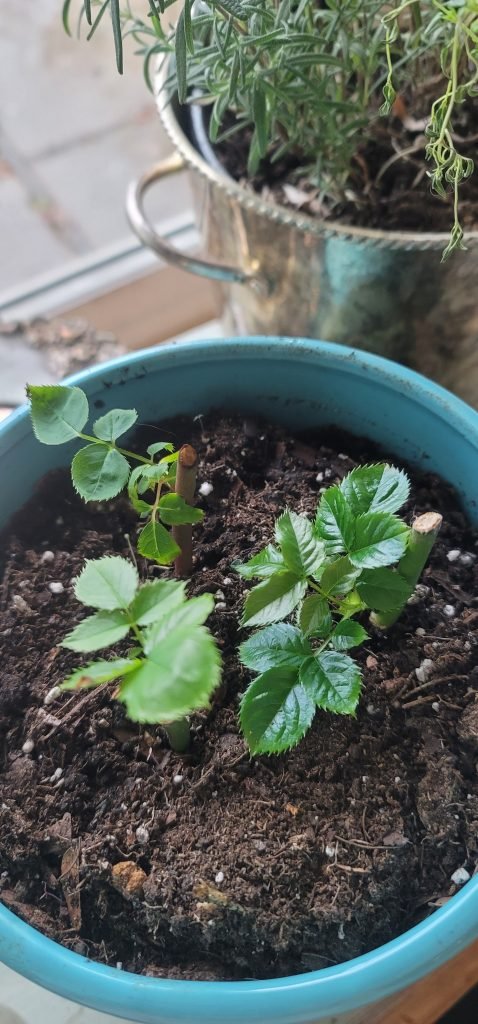
Some of the leaves may drop, but as long as the stem is green and new growth is showing on the rose cuttings, that is a good sign.
See the little leaves sprouting?
Like baby Groot.

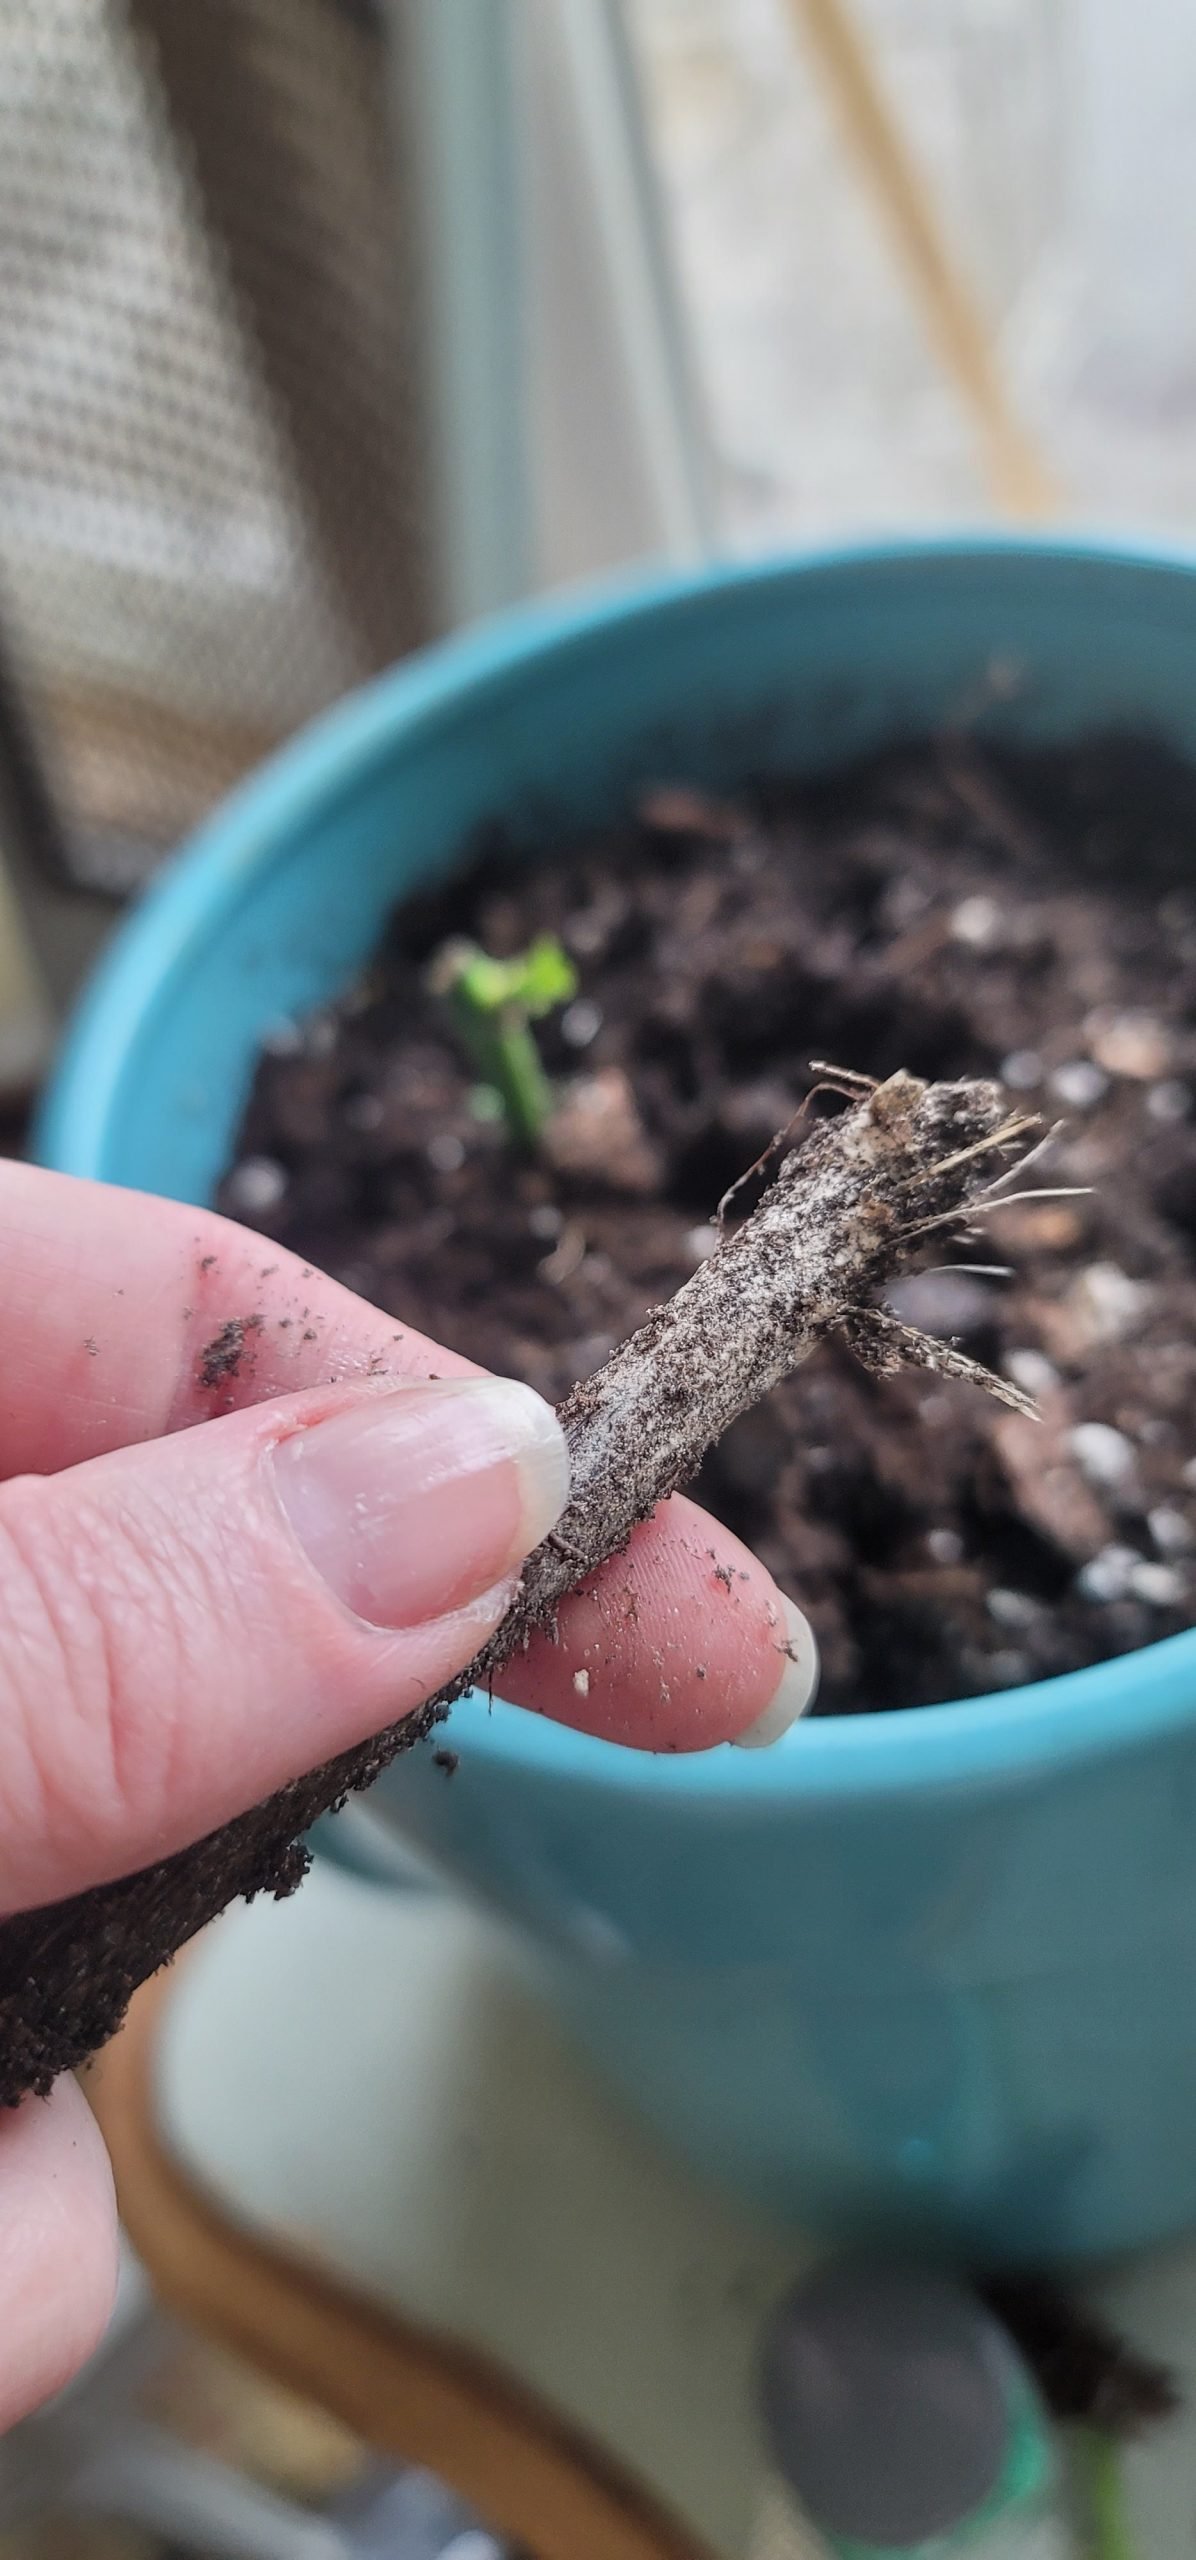
Do you see the brown one?
It happens, they won’t all make it.
Please, don’t be too disappointed if all your stems don’t end up taking root.
Mother Nature has her own plans.
They are going to need a couple months to get those roots growing.
I started mine mid-February.
When April rolled around, I started getting them acclimated to being outside by placing them in an area that gets morning sun.
You don’t want the hot afternoon sun to burn the leaves.
As the weather warmed up, the leaves really started to pop.
After a week or so you can remove the greenhouse top and let them acclimate a bit more.
Lots of new growth on 2 of the stems in this pot mean they are thriving.
The brown one, not so much.

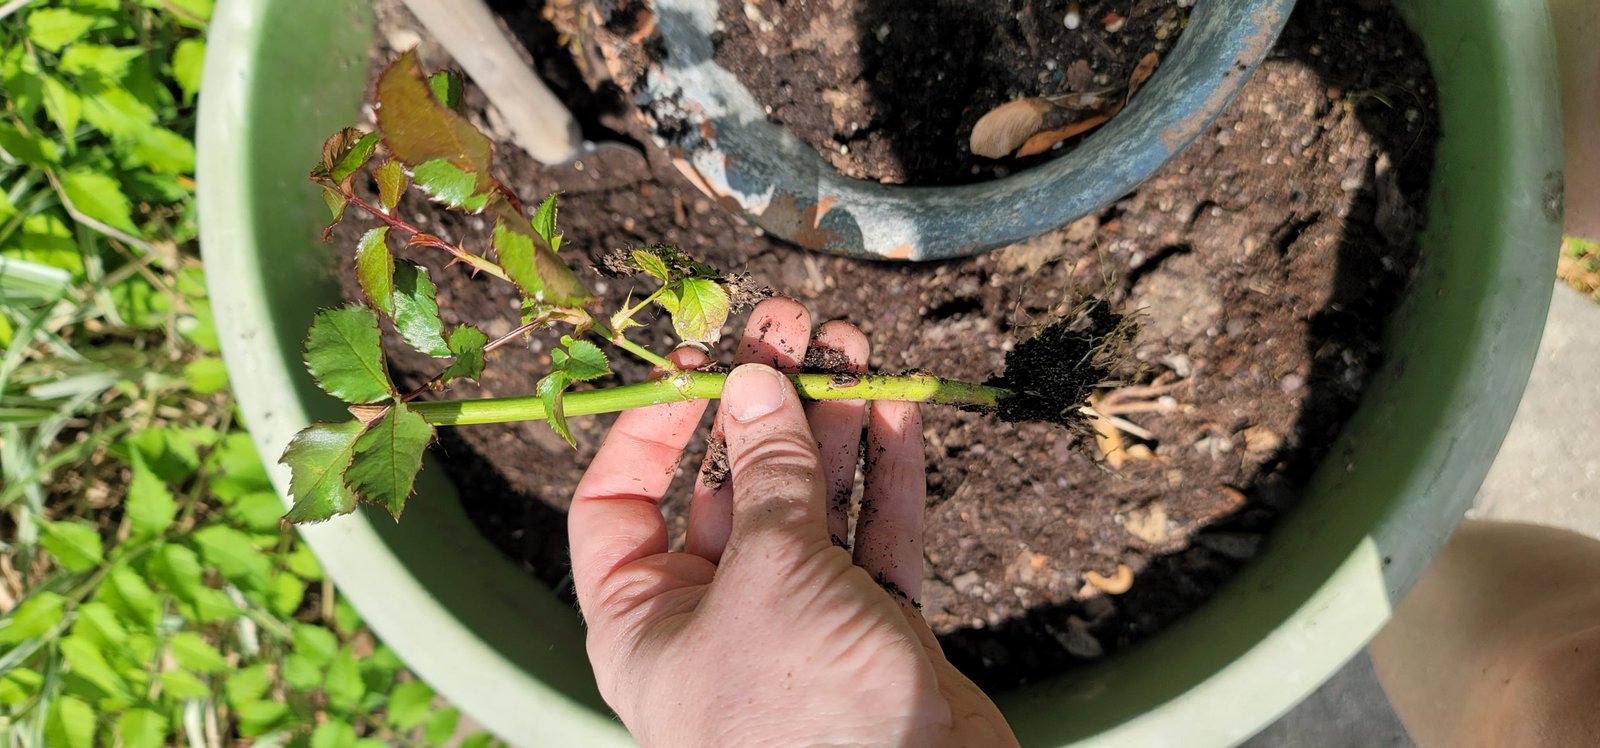
After a couple more weeks, I checked to see if they were ready to be transplanted to bigger pots by tugging on the stem.
If they resist a bit, the roots are staring to take hold.

Look at those beautiful roots and the new leaf growth.

I transplanted 2 new plants to a large planter to give the roots plenty of room to grow.
A mix of mushroom compost and potting soil makes a good base.

They look so small in the giant planters, but they will start growing pretty fast as the weather warms up.
Since I just transplanted the rose cuttings, I am not sure if I will get roses this year.
I am sure hoping that I do get a few blooms.
Now, I didn’t label the stems, so it is going to be a surprise when they start blooming.
I can’t wait to see which colors I ended up with!
I will update you mid summer and thru out the rest of the year and let you know how it goes.
Do you have any tips for propagating roses from cuttings? Like the popping the stem into a potato?
Don’t forget to pin the post for later.

If you love gardening, check out some of my other gardening tips


I find roses to be so intimidating. This is helpful! Thank you.
Roses are like people, some can be a bit prickly but will bloom beautifully when given the right environment 🙂
Most roses like full sun and hot weather. Once they get established, they can provide years of beautiful flowers.
Great tutorial … can’t wait to see the update on how it goes!
Awesome how to! I had a coworker who was really good at this. I wouldn’t even try as my thumb is no way even close to being green 🙂 Thanks so much for linking up with me at A Themed Linkup 60 for Summer Crafts and Décor. Pinned!
This is awesome. Thank you so much for sharing on Fabulous Friday Link Party. We sure appreciate you. Hugs and blessings to you.
Thank you so mush for hosting – and for letting me be a part of it.
I appreciate you ladies, so much.
Sending long distance hugs and infinite gratitude to you.
I’m looking for an update (pictures)?? I tried this an mine failed. So, I’m going to try again.
The weather is still dropping below freezing at night too often in Chicagoland, so I can’t uncover my roses, YET. But once old man winter has moved on, I will certainly post an update! I did peek, and there are buds so they made it thru the winter.