How to paint pumpkins on wood
Happy Pumpkin season. I am so excited to share with you today a SUPER easy way to show you how to paint pumpkins on wood.
October and pumpkins are made for each other, especially for someone who’s birthday is in October!
My favorite pumpkins are the lumpy bumpy imperfect ones and fairy tale pumpkins.
But the fairy tale pumpkins are the inspiration for these pumpkins that will be painted on a bit of reclaimed wood.
I start with a piece of wood that I painted in a soft green – one of my favorite color will make a beautiful background for the pumpkins.

Then I selected 4 colors of paint. You can use acrylic or chalk paint, as long as it is water soluble.
The colors I chose are 2 shades of orange, a soft grey and a soft white paint.
Before I get ahead of myself, let’s gather our supplies.
Here’s what you need:
- paint, at least one darker color, like orange and a soft color, like white or grey
- chalk
- various size paint brushes – make sure to have a fine tip one for the final detail
- water, for cleaning your brushes and thinning the paint
- watercolor paint palate – optional
Once you have gathered your supplies, grab the chalk to draw your pumpkin.
Start by drawing an oval for the center of the pumpkin.


On the left side of the oval draw a C – start about 1/3 from the center of the pumpkin.
Then create the opposite of a C on the other side of the oval, like this

We are going to repeat the C and Reverse C one more time.

It is starting to take the shape of a pumpkin, isn’t it?

The last step is to draw a stem.

Once you have your pumpkin drawn out in chalk, we are ready to paint it.
Use the darkest orange and start gentle curves starting to fill in the outside edges of the pumpkin.

Be careful not to paint over the chalk lines.
We will paint over the chalk lines a bit later, when we are adding final touches.


While the orange paint is still wet, blend in a bit of soft grey paint.


I like my pumpkins a bit more muted, so I added some soft white.
When painting the pumpkin on wood, use sweeping curves to mimic the curves of the pumpkin.
Blend the colors as you go.
You can dip your brush in water to help blend.
I tried to not paint over the chalk, because it serves as a guide when we add the countour and paint the stem.

I have a metallic water color palate that I love to use to contour the pumpkin, but you can just use a darker color like brown, green or dark grey.

Use a fine point brush and trace the chalk outline to contour and fill in the stem.

Watercolor paint is so easy to blend.
I added a bit of a lighter bronzy brown to the stem for depth.

Finally, I took a bit of soft white paint and added it to the bottom to add depth.
Aren’t they a darling pair of pumpkins? I love the texture that the wood gives to them.

Set the pumpkins painted on wood to dry.
Once they dry, take a piece of fine grit sand paper and buff the pumpkins.

Action shot!

Didn’t the pumpkins painted on wood turn out cute?
Are you ready to start yours?
I hope you enjoyed the tutorial and that it inspires you to paint some of your own.
Speaking of pumpkins

Easy 15 minute baked brie recipe

Easy Thankful Tree DIY
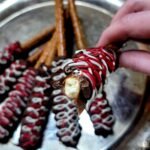
How to Make Caramel Chocolate Covered Pretzel Logs

Fleur de sel honey caramel recipe

How to paint pumpkins on wood

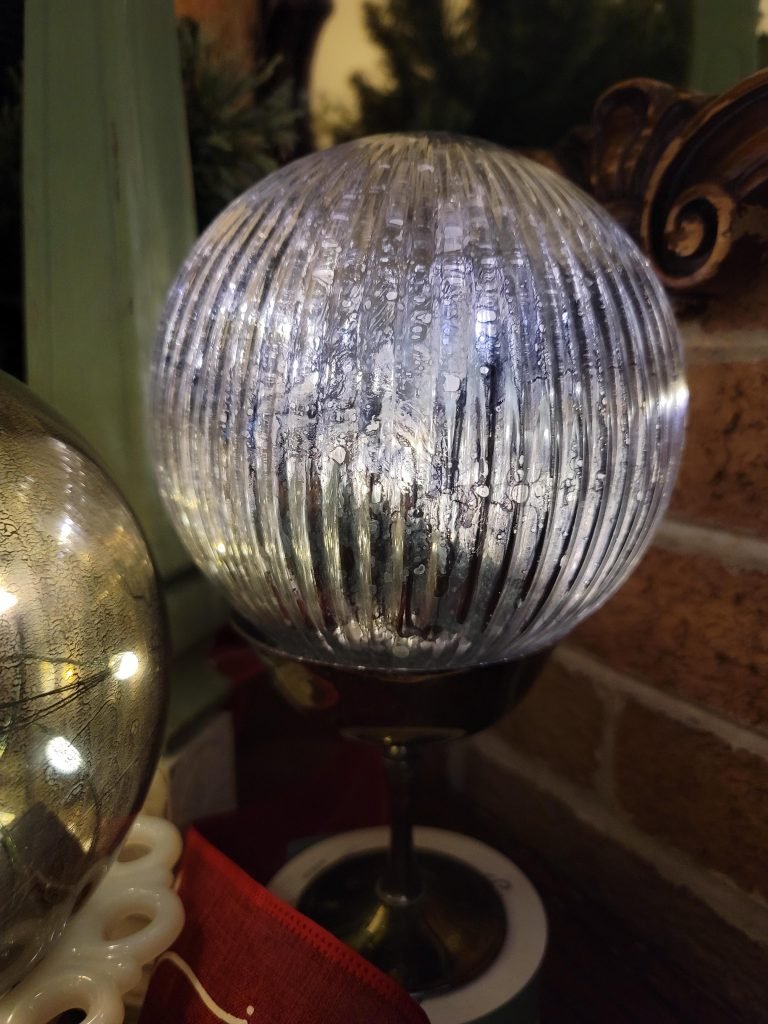
Halloween Snow Globe

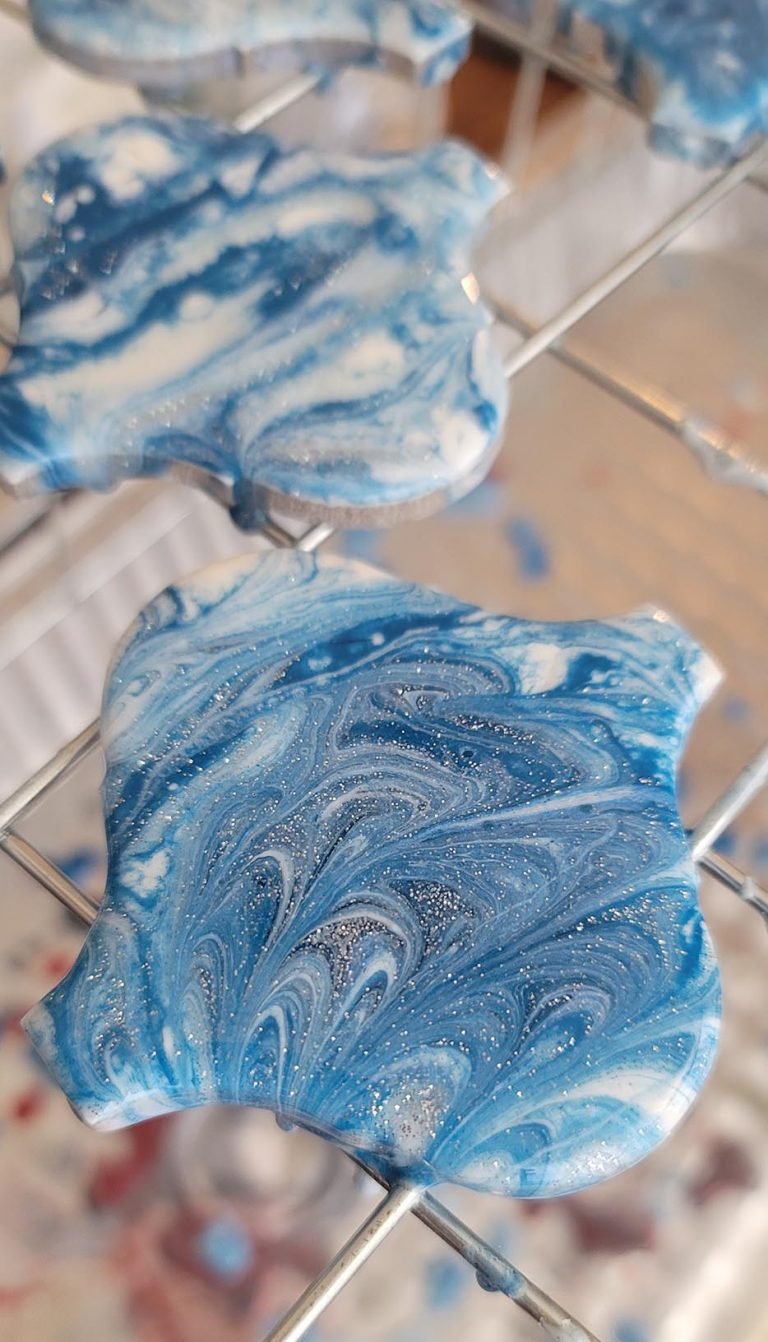
Easy DIY Fall Garland

DIY Fall Decor – Decoupage Pumpkin
Some friends are also sharing pumpkin craft ideas today!
Be sure to visit each for some amazing pumpkin craft inspiration.
Marianne from Songbird Blog is showing her
Pumpkin Wall Art
Meegan from What Meegan Makes is sharing how to
Decorate Pumpkins with Vintage Doilies
Leen from Sand Dollar Lane is showing
How to Decorate Wooden Pumpkins
Kippi from Kippi at Home has a tutorial on
Buffalo Check Pumpkins.
Michelle from Our Crafty Mom is showing us her
Day of the Dead Pumpkin.


Wow, you make it seem easy! My drawing an painting skills are so limited I’d never try something like this on my own. But now that you have shown me, I might just try my hand at pumpkin painting.
I love how your pumpkin art turned out!
Wow, Juliet! This is such a great tutorial for painting a pumpkin on wood. I like how you blend the colors and layers. (I would not ever know how to do it) Thanks so much for teaching us how to paint a pumpkin.
Your tin tile trees are so pretty, Juliet! So happy to be featuring your post at Tuesday Turn About tomorrow!
Thank you so much for featuring them – and sending lots of hugs to you and kisses for your new grandbaby!
This is such a great tutorial. I love how you started off sketching the pumpkins using chalk. You clearly are talented at drawing and painting!
Thank you most kindly, Anna.
Chalk is the key to painting pumpkins [and other things], because you can easily wipe it away if you need to change things and blend it in with the paint!
You are a wonderful painter Juliet! Thanks for sharing such a great tutorial on how to paint pumpkins. Came out beautiful!
Thank you so much Meagan.
What a wonderful fall project, Juliet! This is such a great tutorial. I am excited to feature your post at this week’s Tuesday Turn About link party. Thank you so much for sharing!
Thank you so much, Lynne. <3