Halloween Snow Globe
Today we are celebrating the magic of Halloween with a Halloween inspired snow globe tutorial.
Snow globe, glitter globe, I am just not sure what to call it.
A little magic, a LOT adorable and super easy to make.
To start, head to the cupboard and pull out all those jars you’ve been saving.
You need a clear jar with a water tight lid.

Then head to local craft stores like Michaels to look for some figurines to be the focal point of the Halloween snow globe.
You can find Halloween figurines on Amazon, too.
These would be pretty fun for snow (glitter) globes.
*Affiliate disclosure
This post may contain affiliate links. When you click on links for recommended products and make a purchase, I may receive a small commission. There is no added cost to you.
I truly appreciate it when you click on the affiliate links, because it helps support my blog, A Loverly Life.
It enables me to create free content for you.
So from the bottom of my heart, thank you for shopping with my affiliate links!
While I was at Michaels, I found this spooky witch mixing a potion in her cauldron and a stack of jack-o-lanterns topped with a guardian crow.
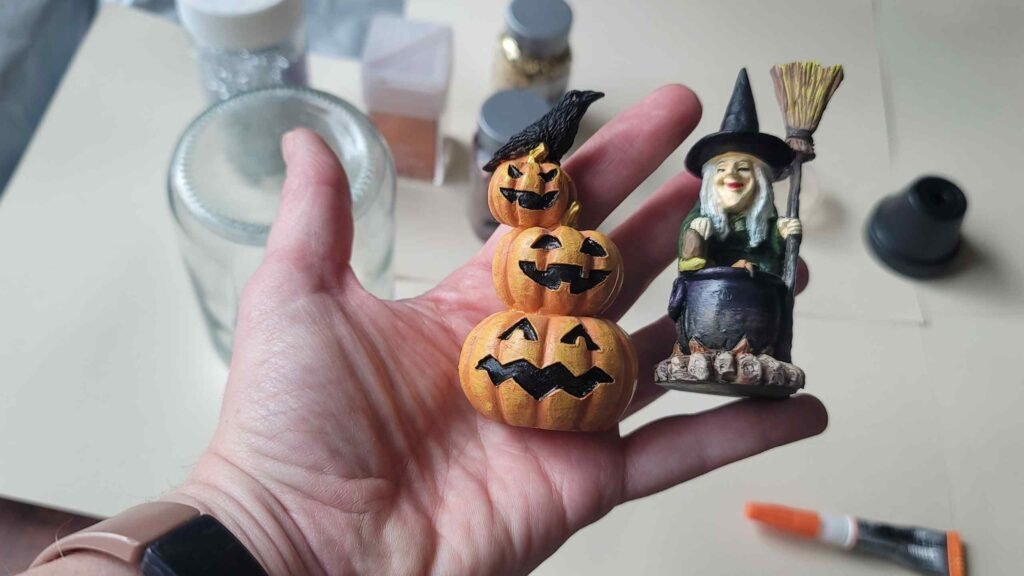
When looking for figurines to use, keep in mind that they will be submerged in water, so they need to be waterproof.
Nothing wood or fabric should be used.
While you are at the craft store, head down to the glitter aisle.
Glitter holds the magic, don’t you think?
I found gold leaves, a holographic bronze color large glitter, silver and fine copper colored.
Mixing textures and types of glitter creates another dimension of SPARKLE that is just magical.

You will also need 2 types of glue.
No 1 glue is Super glue it needs to be able to stand up to being submerged in water.
I love Supertite – they are very eco conscious and meet even EU standards for low adhesives or zero VOC adhesives.
The second type of glue [my secret to a longer drift time] is clear glue.
Not white glue that dries clear, clear glue like this:


IMPORTANT: YOU DO NOT WHITE GLUE THAT DRIES CLEAR LIKE THIS:

The clear glue is available at local craft stores, Target and Amazon, of course.
You will also need distilled water. Distilled water keeps bacteria at bay and helps prevents mold from growing in your snow globe.
Ewwwww, mold!

The last thing you need are a couple bits and bobs, like caps from medicine bottles or little pots that are water proof to lift the focal piece up a bit.
Are you ready to make your Halloween snow globe?
Before you glue anything, you want to see how the figurine will fit in the jar.
Gently place it on the jar lid and place your clear jar on the top.

Can you see how low the witch sits?
The jar band that makes the lid screw on is hiding her a bit.
This is where the bits and bobs come in.
For the witch, I used a little flower pot [painted in outdoor paint] and for the pumpkins I had a small clear cosmetic container.

Apply a bit of glue to the bottom of the pot.
I flipped the pot over, so we are a bit topsy turvy.
The top is the bottom and the bottom is the top [sorry if that made your head hurt]
Make sure to apply glue to the entire perimeter so that a seal forms.
Then center it on the lid.
Next add glue to the top of the upside down pot and center the witch on top.


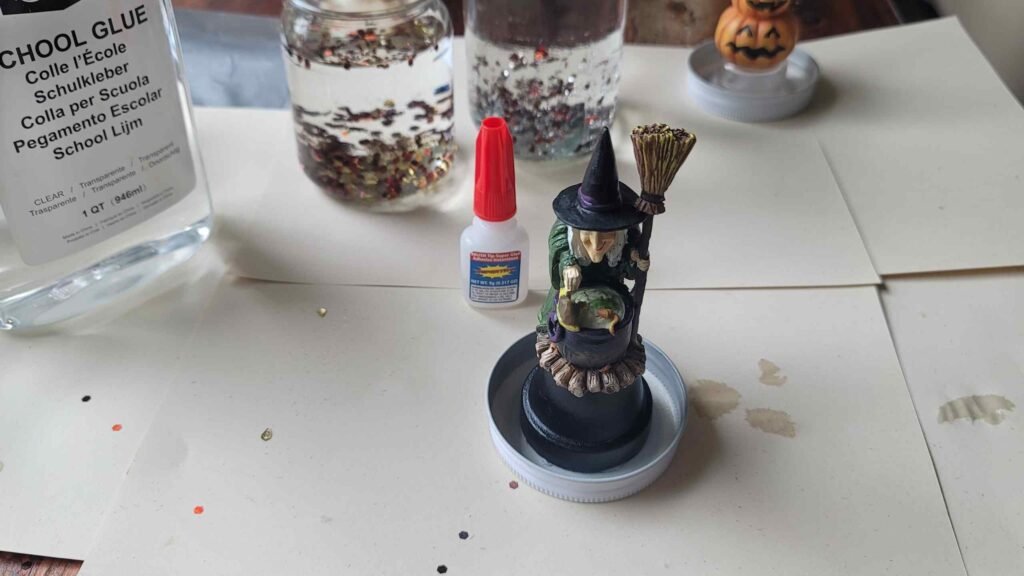
Set it aside to cure.
Totally easy, right?
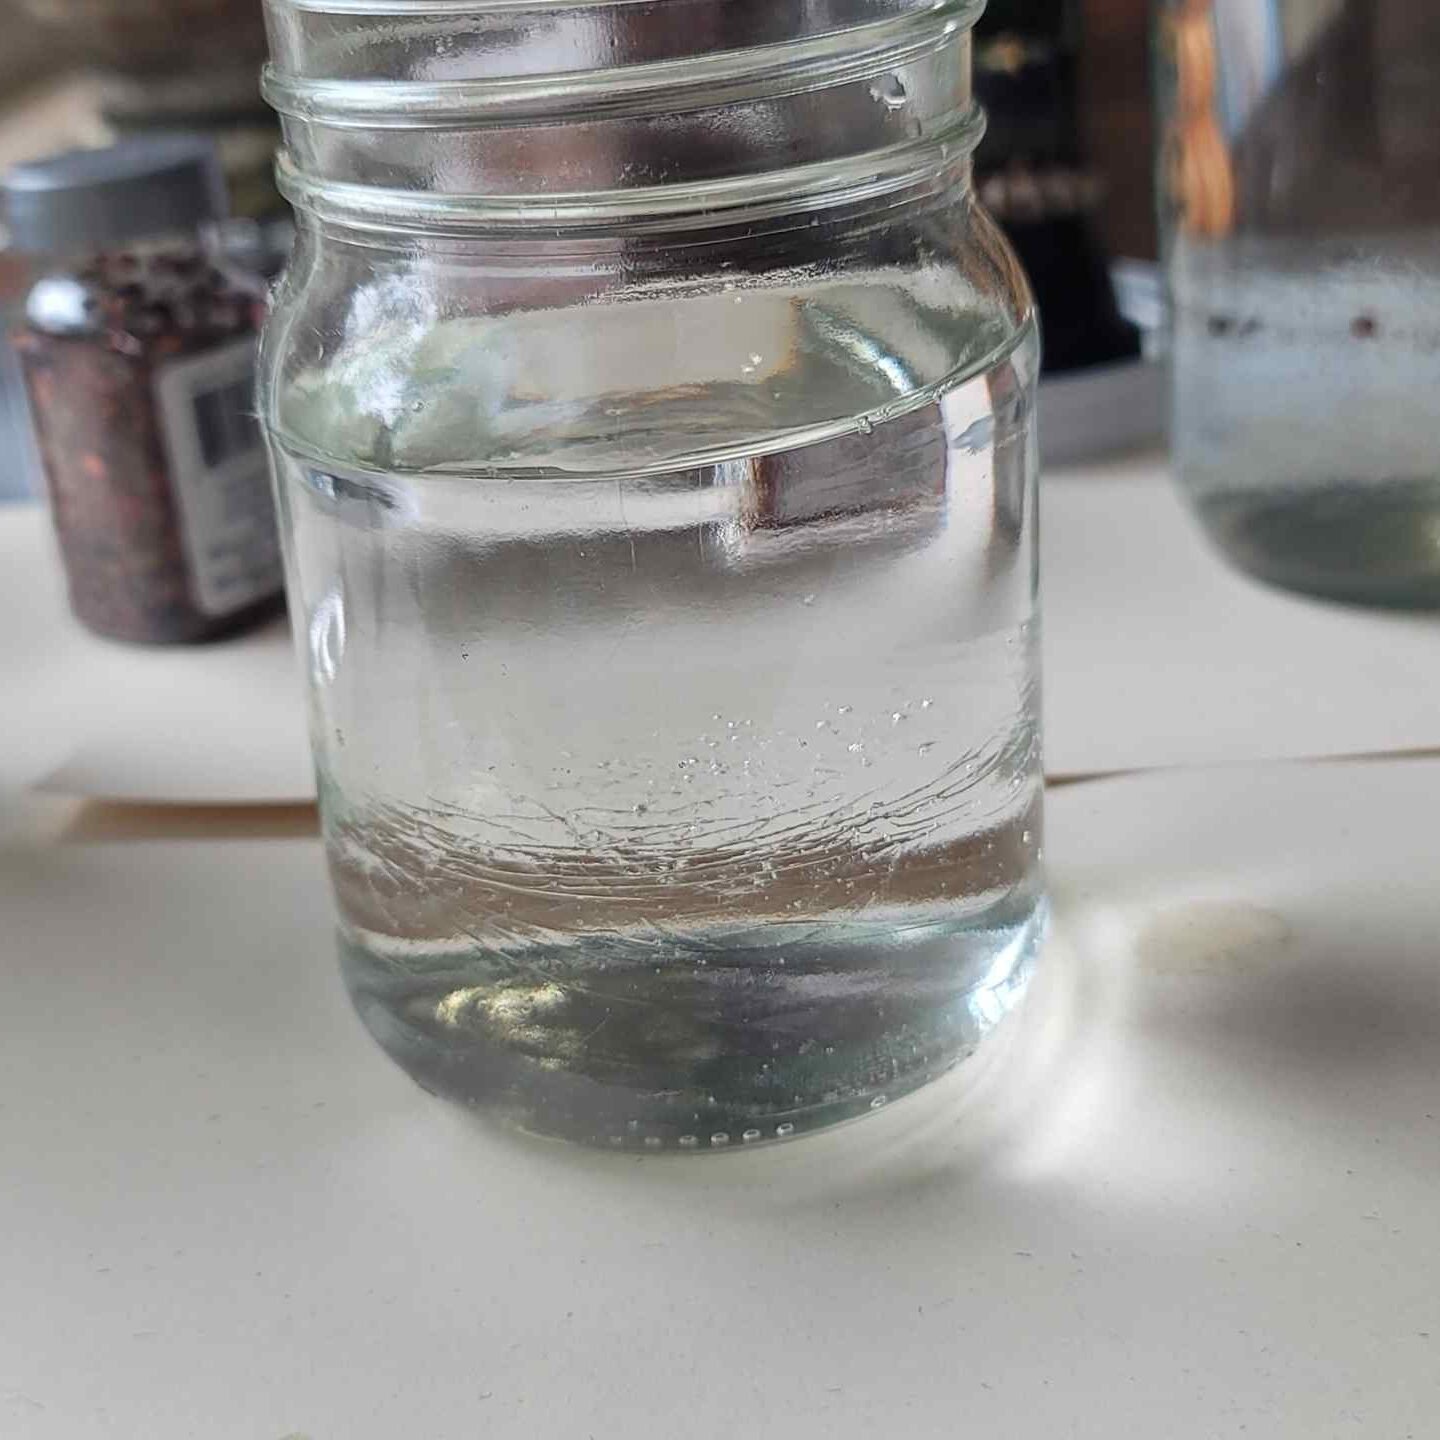
Now grab your jar, distilled water and clear glue.
Fill the jar about half way with the distilled water.

Then fill the other half with the clear glue – just don’t fill it ALL the way to the top.
Leave room for the figurine to fit, you can always top it off with water off later.
Can you see the clear glue is a bit suspended?
Look at the swirls.
Pretty cool, right?
The glue is heavier than the water. When it is mixed, it will help suspend the glitter for a longer swirl time.
Next, pick some fun glitter – I use 2 to 3 different types for dimension.
I used gold leaves and a large copper hologram glitter for the jack-o-lanterns.

For the witch, I used a combo of the same large copper hologram glitter, a silver glitter and extra fine copper glitter.

Once the super glue on the figurines is dry, the Halloween snow globe is ready to assemble.
Test it by placing the figuring upside down.
Does water spill out or is there too much space left?
You can easily remove water.
Or you can add water to make sure there isn’t much air left in the jar.

Make sure to twist the lid on tightly and give it a good shake to mix the water, glue and glitter.
A tight lid is key, you don’t want it to leak.
Don’t worry if you have a ton of bubbles after you shake it.
Let the snow globe settle and the bubbles will pop.
See how the glitter is suspended?
The clear glue helps suspend the glitter, so it takes longer to settle.
It has such a magical effect.

She is kinda cute, not so spooky after all.
I am working on a full video tutorial, but you can check them out in action – they are just so fun!
Just give them jars a gentle tilt & swirl to make the Halloween snow globes come to life.
The Halloween snow globes (or glitter globes) were so easy to make and add just a touch of magic to the holiday.
Since we are decorating for fall, did you get a chance to check out my easy way tone down faux fall foliage?
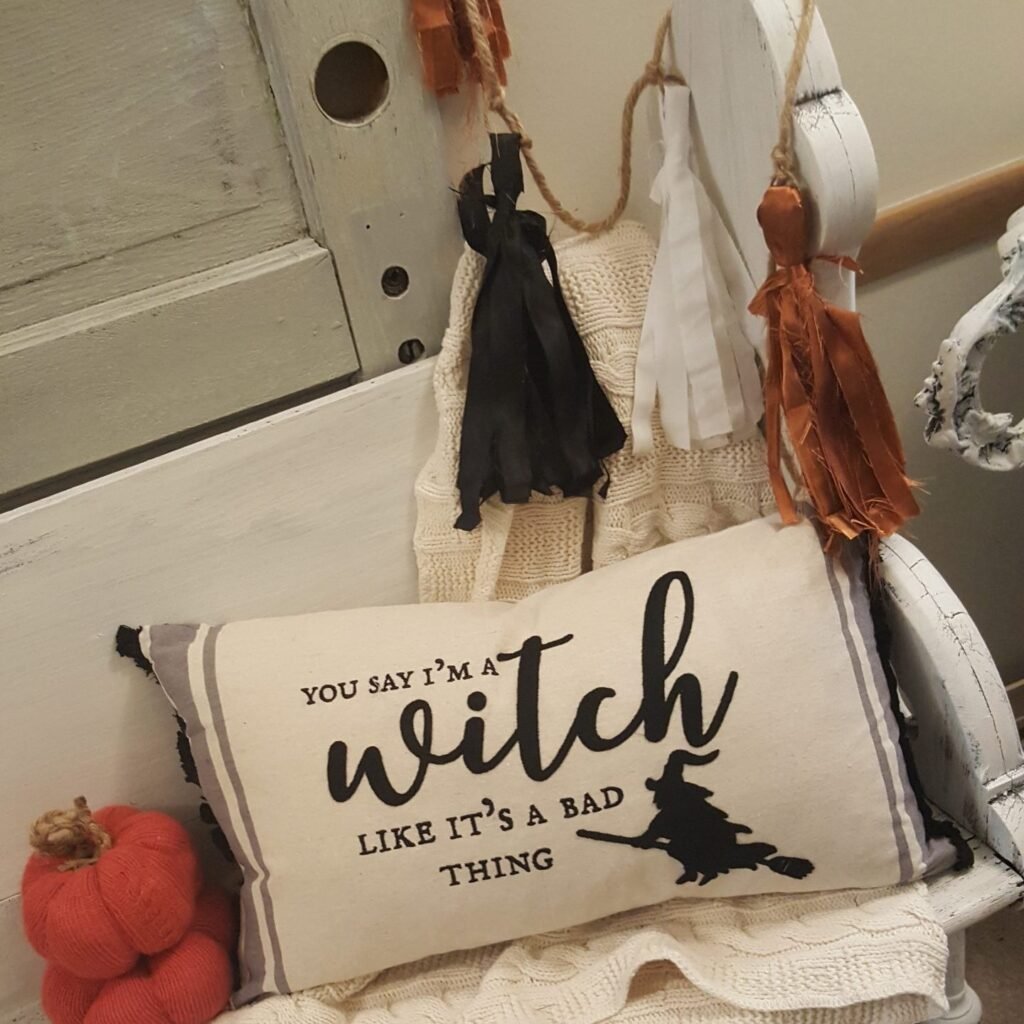
then add a touch of color with my Halloween inspired fabric tassel garland
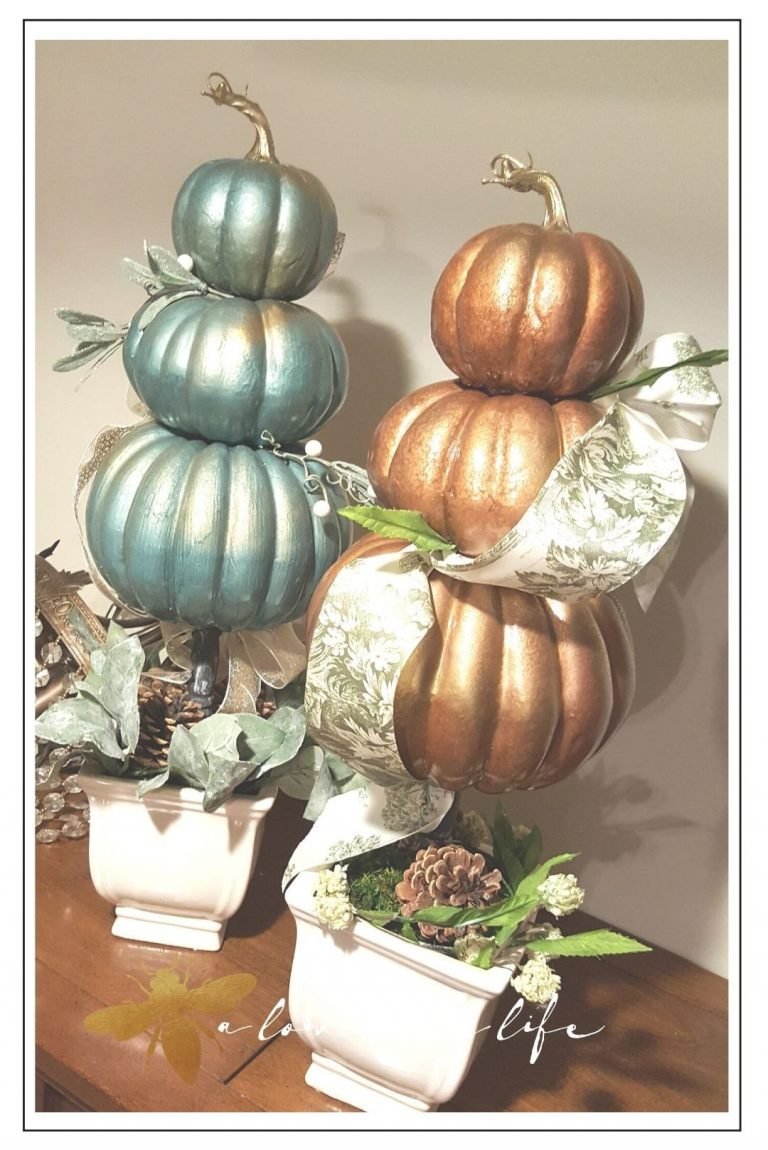
Or the Moondance inspired decoupaged pumpkins?

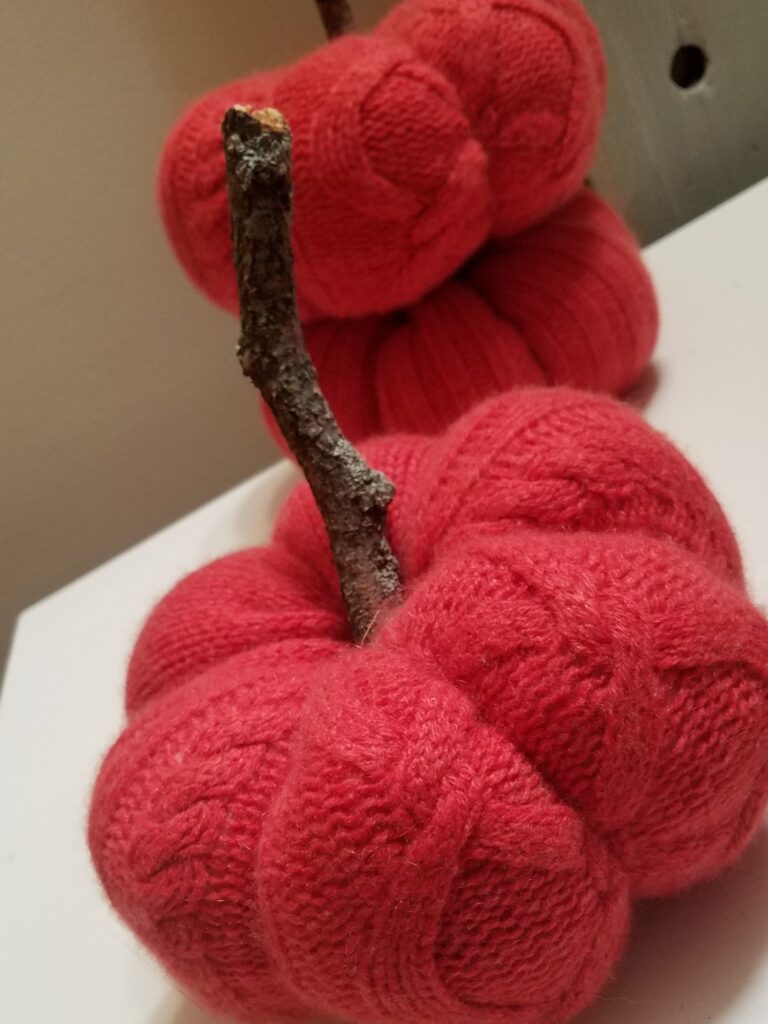
and speaking of pumpkins, my fairy tale sweater pumpkins can be left out until Thanksgiving – they make the sweetest hostess gifts, to!
It’s also time for Another Loverly Blog Hop, so a few of my blogger friends have joined me to share some fun Halloween DIY’s with you, too!
It’s a little like trick or treating – but instead of knocking on doors, you are visiting their blogs for some treats!
Go check them out and let me know what your favorite DIY is in the comments.

Sue from Shop at Blue is sharing her spooky Tombstone DIY

Leslie from Feet Under My Table shows us how to create a magical fairytale garden inspired tea party

Nicole from Adorn the Table created 3 Halloween inspired DIY’s for a fun party

Kristen over at Fifth sparrow no more shows us how to make this adorable and kid friendly spider wreath and you will NEVER guess what she used for the web!
Don’t forget to PIN the post!

If you are a blogger, I would love for you to share a Halloween themed post or 2 – keep it G-rated, please. This is a family friendly post.


Loving all this pretty Halloween content!
Thank you Libbie
Oh, Juliet, what a fun and creative Halloween snow globe! I love all the details and especially the glittery leaves. Thanks for the tutorial. AND, thanks for hosting such a great party. Make it a fun Halloween!
Thank you Meegan – I love the fun and magic of Halloween – the the gory stuff.
I hope you have a fabulous Halloween!
I’m such a snow globe lover! Great tutorial! Thanks for hosting all the fun!
Thank you Leslie and thank you for taking part in the hop – the fairy tale garden tea party was so charming!
I love this idea so much and it is an idea that can be adapted to any season.
I love the suspended glitter!! Great Halloween DIY project.